Raspberry pi astrophotography
Introduction
Proper astronomy cameras/sensors are very expensive, and beyond the budget of many hobbyists. Some resorted to using SLRs, but they are not ideal for a multitude of reasons. So For a long time, people have attempted to adapt cheap CMOS/CCD webcams for amateur astronomy/astrophotography. However the resolution of the webcams were low, and it involved a lot of reverse engineering to try to get decent resolutions and RAW output. Beyond that, many had built in IR filters which were hard to remove without damage, and bayer filters and other "features" that while were good for their target market, made them less than ideal for this particular use case.
I used to try to adapt webcams for astrophotography until around January 2017 (you can find my results at the bottom of this page if you are interested), when the raspberry pi came out with the CMOS camera attachment. That seemed like a great opportunity to me. No more did you have to take apart webcams to try to work out if you could remove the IR filter, no more did you have flip odd registers, hack away at the drivers or otherwise struggle to just get a RAW image out.
As such I renamed my old article on webcam astronomy and got to work trying to make a decent astrophotography kit with the pi.
The goal of this project is to see what quality of astronomy captures I could get out of the camera, in the hope of being able to get some decent "budget" astro shots from the system. With the evolution of the raspberry pi, camera and the project, I split it into marked versions, from newest to oldest.
The Software
However before I could even begin with this project, I needed some software that could do astrophotography on the pi. When I started, there was no such software. All I found online was a collection of one off scripts that would do bits of what I needed.
So I decided to write my own as part of the "Mark I" version. It is a client/server model, where the controlling PC instructs the pi to take captures according to parameters, and transfers the images back over a TCP connection. This allows you to have the pi attached to your scope across the internet if you wanted to.
I made this software open source, and it was originally hosted on this site. However I have since split it out. The software can be found at github.com/ZivaVatra/raspberrypi-astro-capture, and the hardware will carry on being documented here.
By the time the software was usable/reliable enough for my purposes, the "v2" of the camera had showed up, so I only actually took photos with the "Mark II" version of the project onwards.
The Hardware
Here is the Hardware side of things. Unlike my other articles the updates on this one are in descending order from newest to oldest.
Mark III - 2020
In April 2020 I found out that the raspberry pi foundation released the "high quality camera" module. The full specs are here www.raspberrypi.org/products/raspberry-pi-high-quality-camera/, but it is many ways a complete evolution from the old cameras, and it is much better suited to astrophotography in my opinion.
The reasons I say this is as follows:
- Sony IMX477 sensor - decent sensitivity, largest size so far on the pi (at 7.9mm, its approx the same size as sensors you get in stand-alone digital cameras),
- Aluminium case, with screws going through the PCB to the rear - This should make it easier to conduct the heat away from the sensor, improving performance.
- C mount - No need to custom fabricate an interface to your scope. Adaptors for C mount are available, and I am sure will become more common with time
As such, I bought the camera as soon as it was available, and I will integrate it with the "Mark III" version of this project, which will be documented here. I hope that the 10s exposure length limitation I had with the previous camera version will not reoccur here, but we shall see.
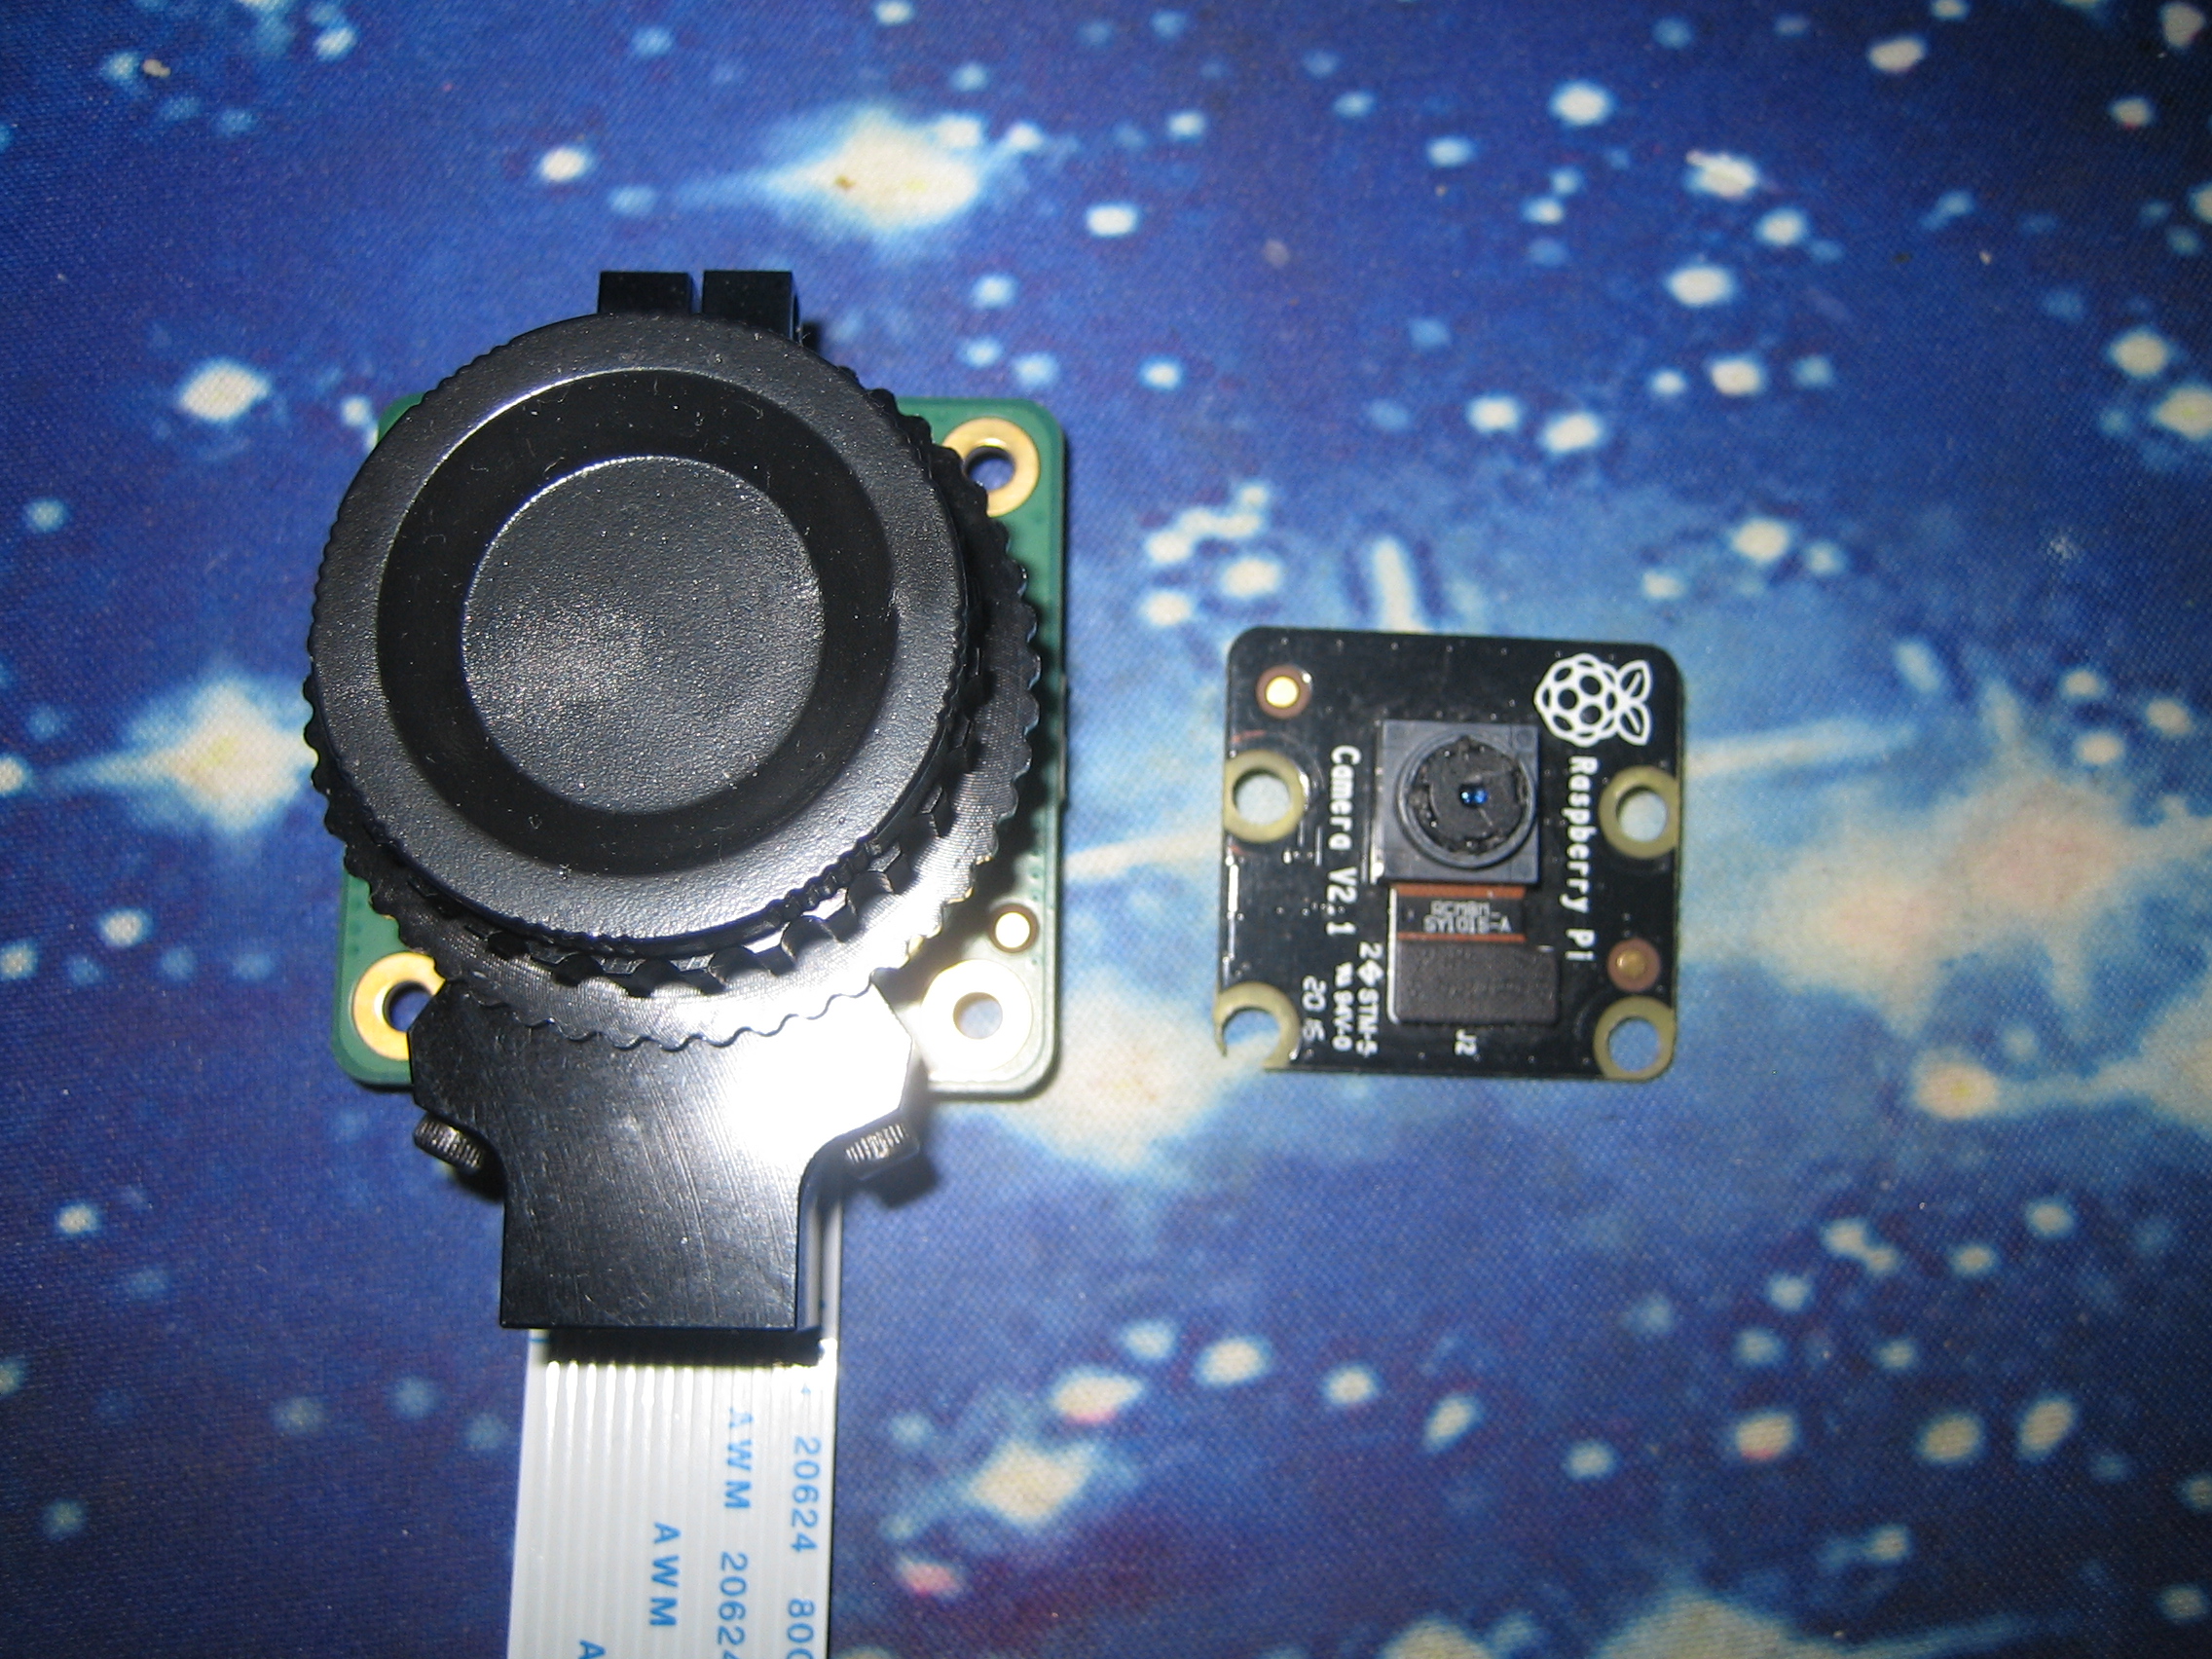
Until then, here is a photo of the new camera next to the old one, to show you the difference in size alone:
Hopefully I can do a write up soon about how this camera performs!
Mark II - 2019
In 2018 I got myself the "v2" camera module, a Sony IMX219 8 megapixel (3280 x 2464px) camera. This is a decent improvment over the v1. More than the increase in pixel count, the Sony sensors are considered better in colour and contrast, and have better performance in low light conditions.
With the software side now working, I concentrated on the hardware. I made some decisions for what I wanted this version to posess, namely:
- The ability to attach to a scope/camera lens. I wanted to make use of existing camera lenses I already had, before I invest in a "proper" telescope
- The ability to active cool the sensor - This means fitting a thermocouple to the back of the camera, so we can cool it to reduce the noise
- A more robust casing, nothing that involves taping things down or things being so badly put together a small jolt will make it fall apart.
I originally planned to attach a heatsink to a thermocouple and use that for cooling the sensor. However while digging through my junk box I found a bunch of watercooling stuff (in fact this is the system I made for my G5 ATX casemod project, from years back when it was liquid cooled), and I decided to reuse it, starting with the old CPU waterblock, which had developed fatigue cracks and had stripped threads.
When I thought about it more, watercooling had more benefits. Benefits that came to mind are:
- It makes the system shorter and removes weight (no heavy heatsink hanging off the back)
- Fans, etc... whirring away would impart their own vibrations, no matter how small, which on long exposure photos would cause blurring. Liquid cooling detaches the whirring fans from the system by flexible piping, so providing some measure of vibration isolation
- It should also allow better cooling performance. Not being restricted to a heatsink that is feasible to mount at the back of the scope allows us the use of larger surfaces for better cooling
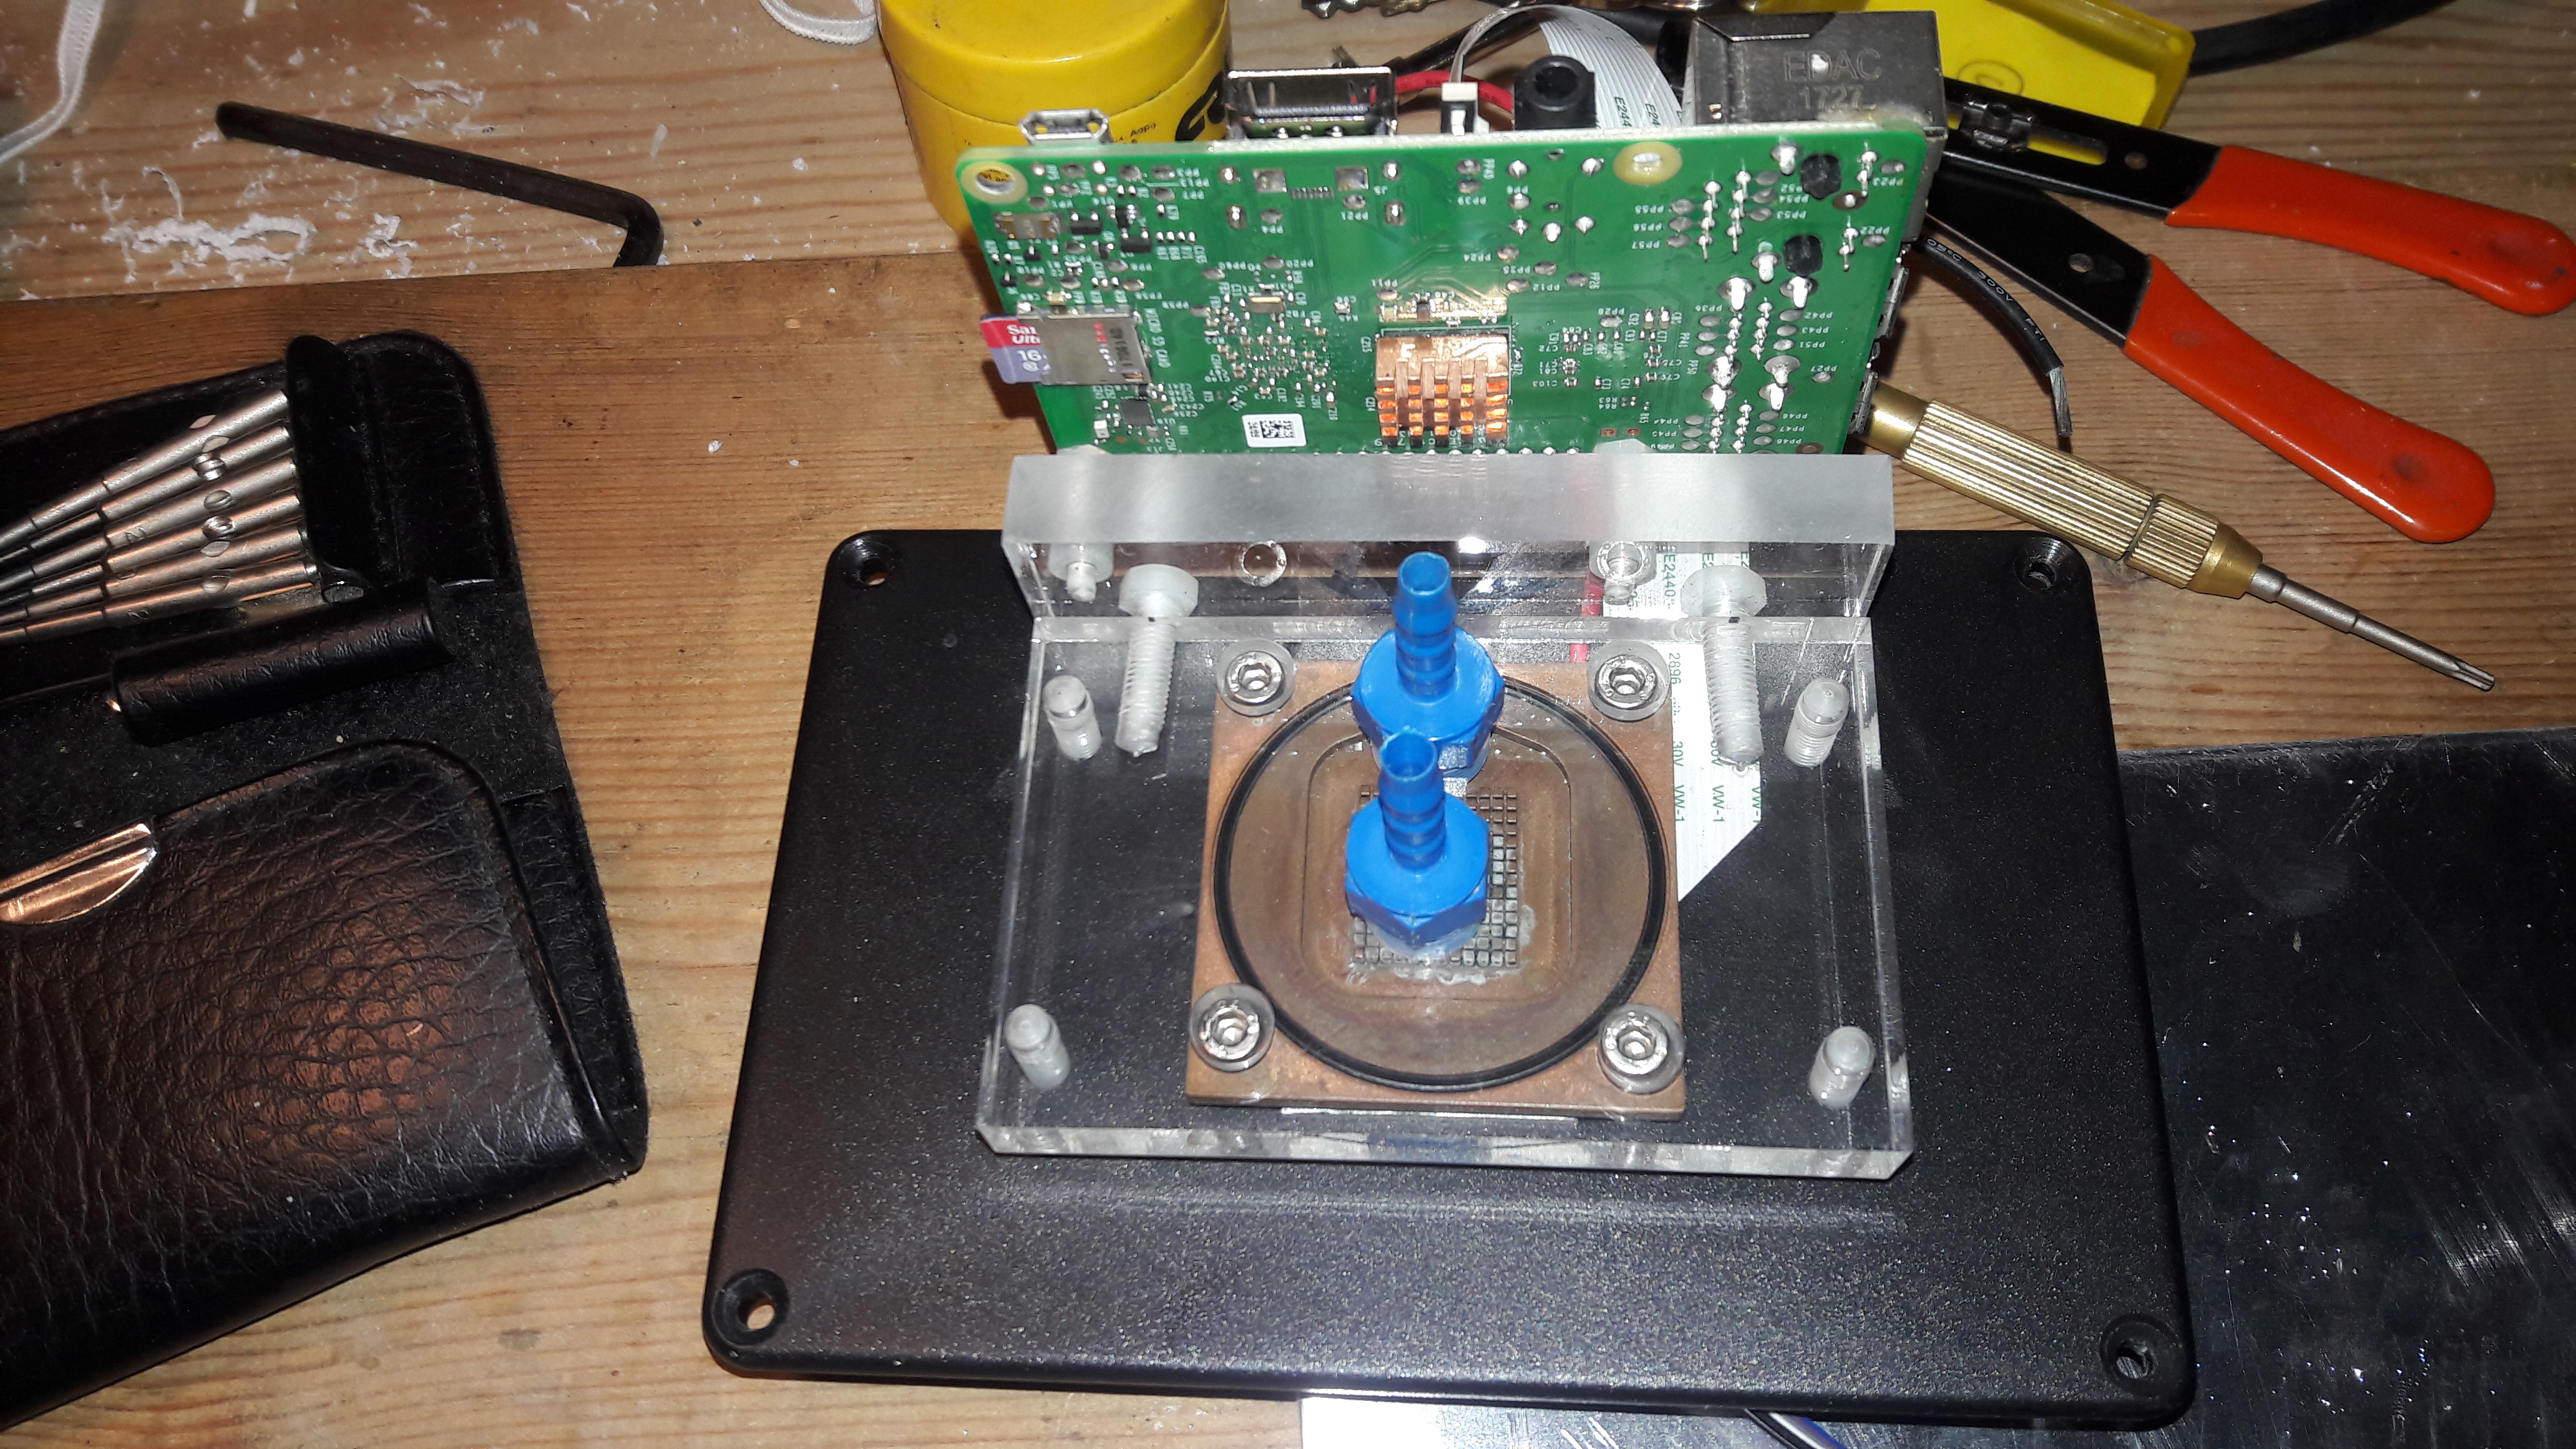
Waterblock
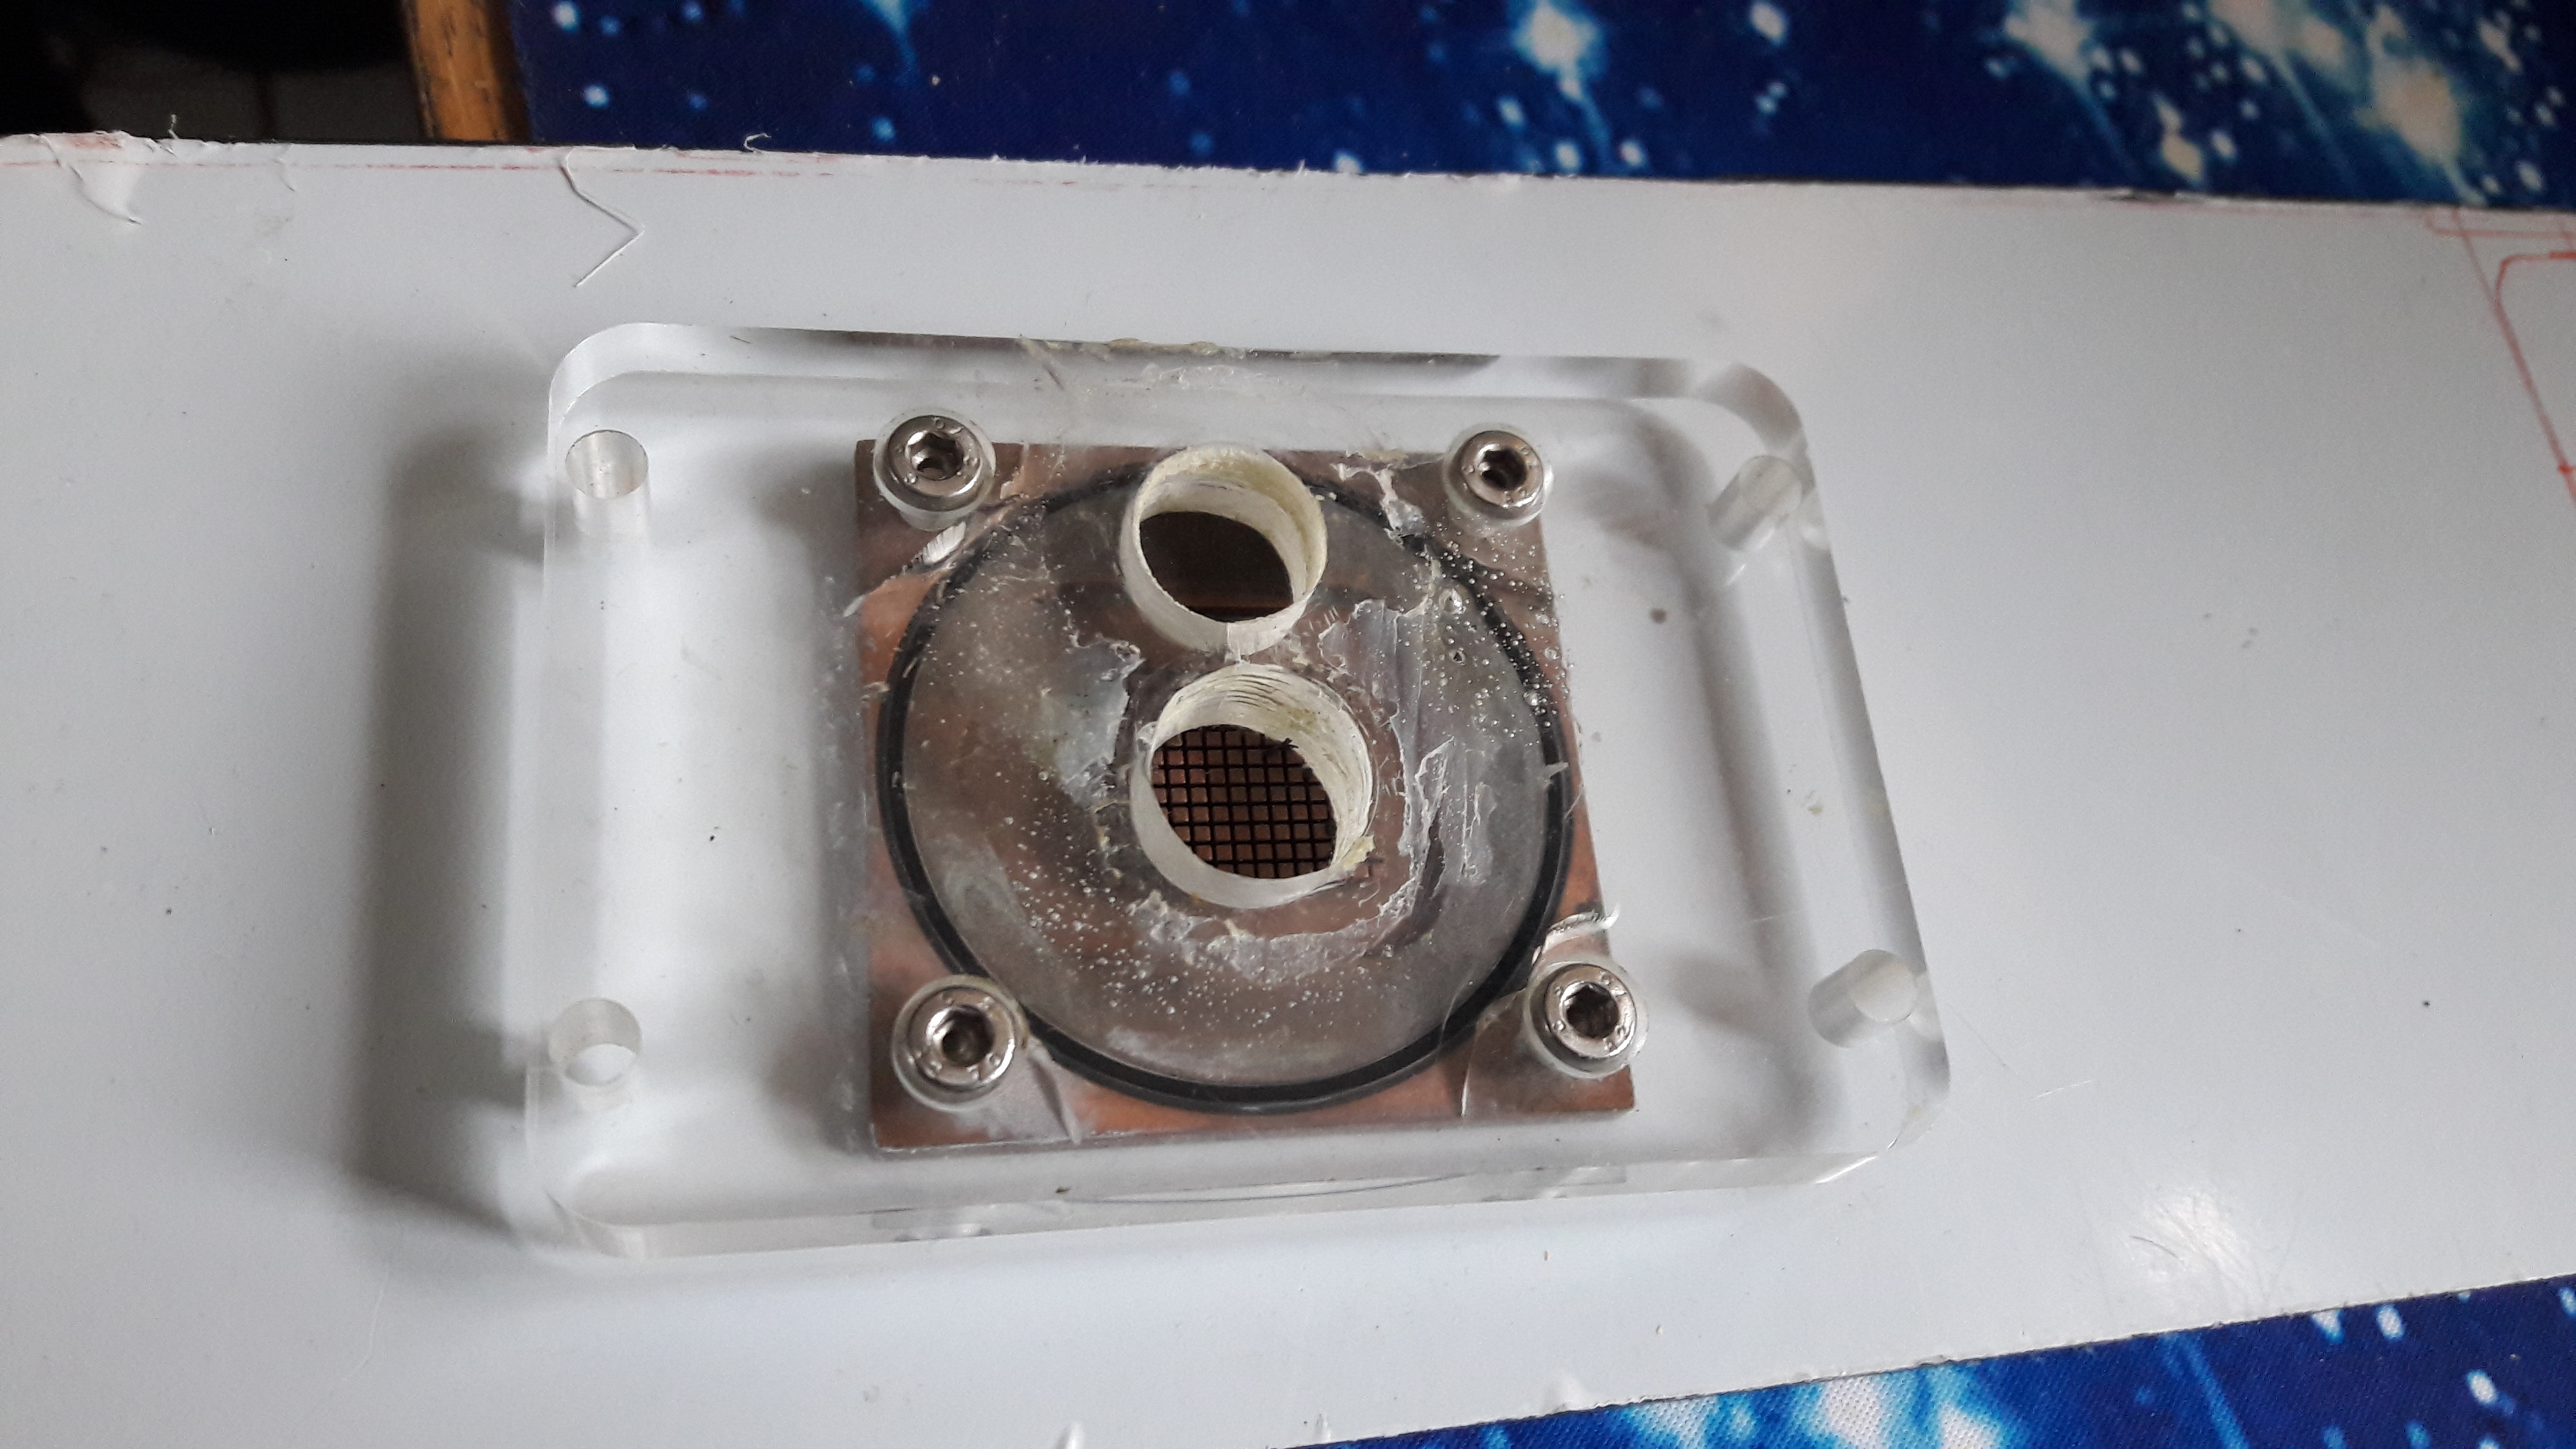
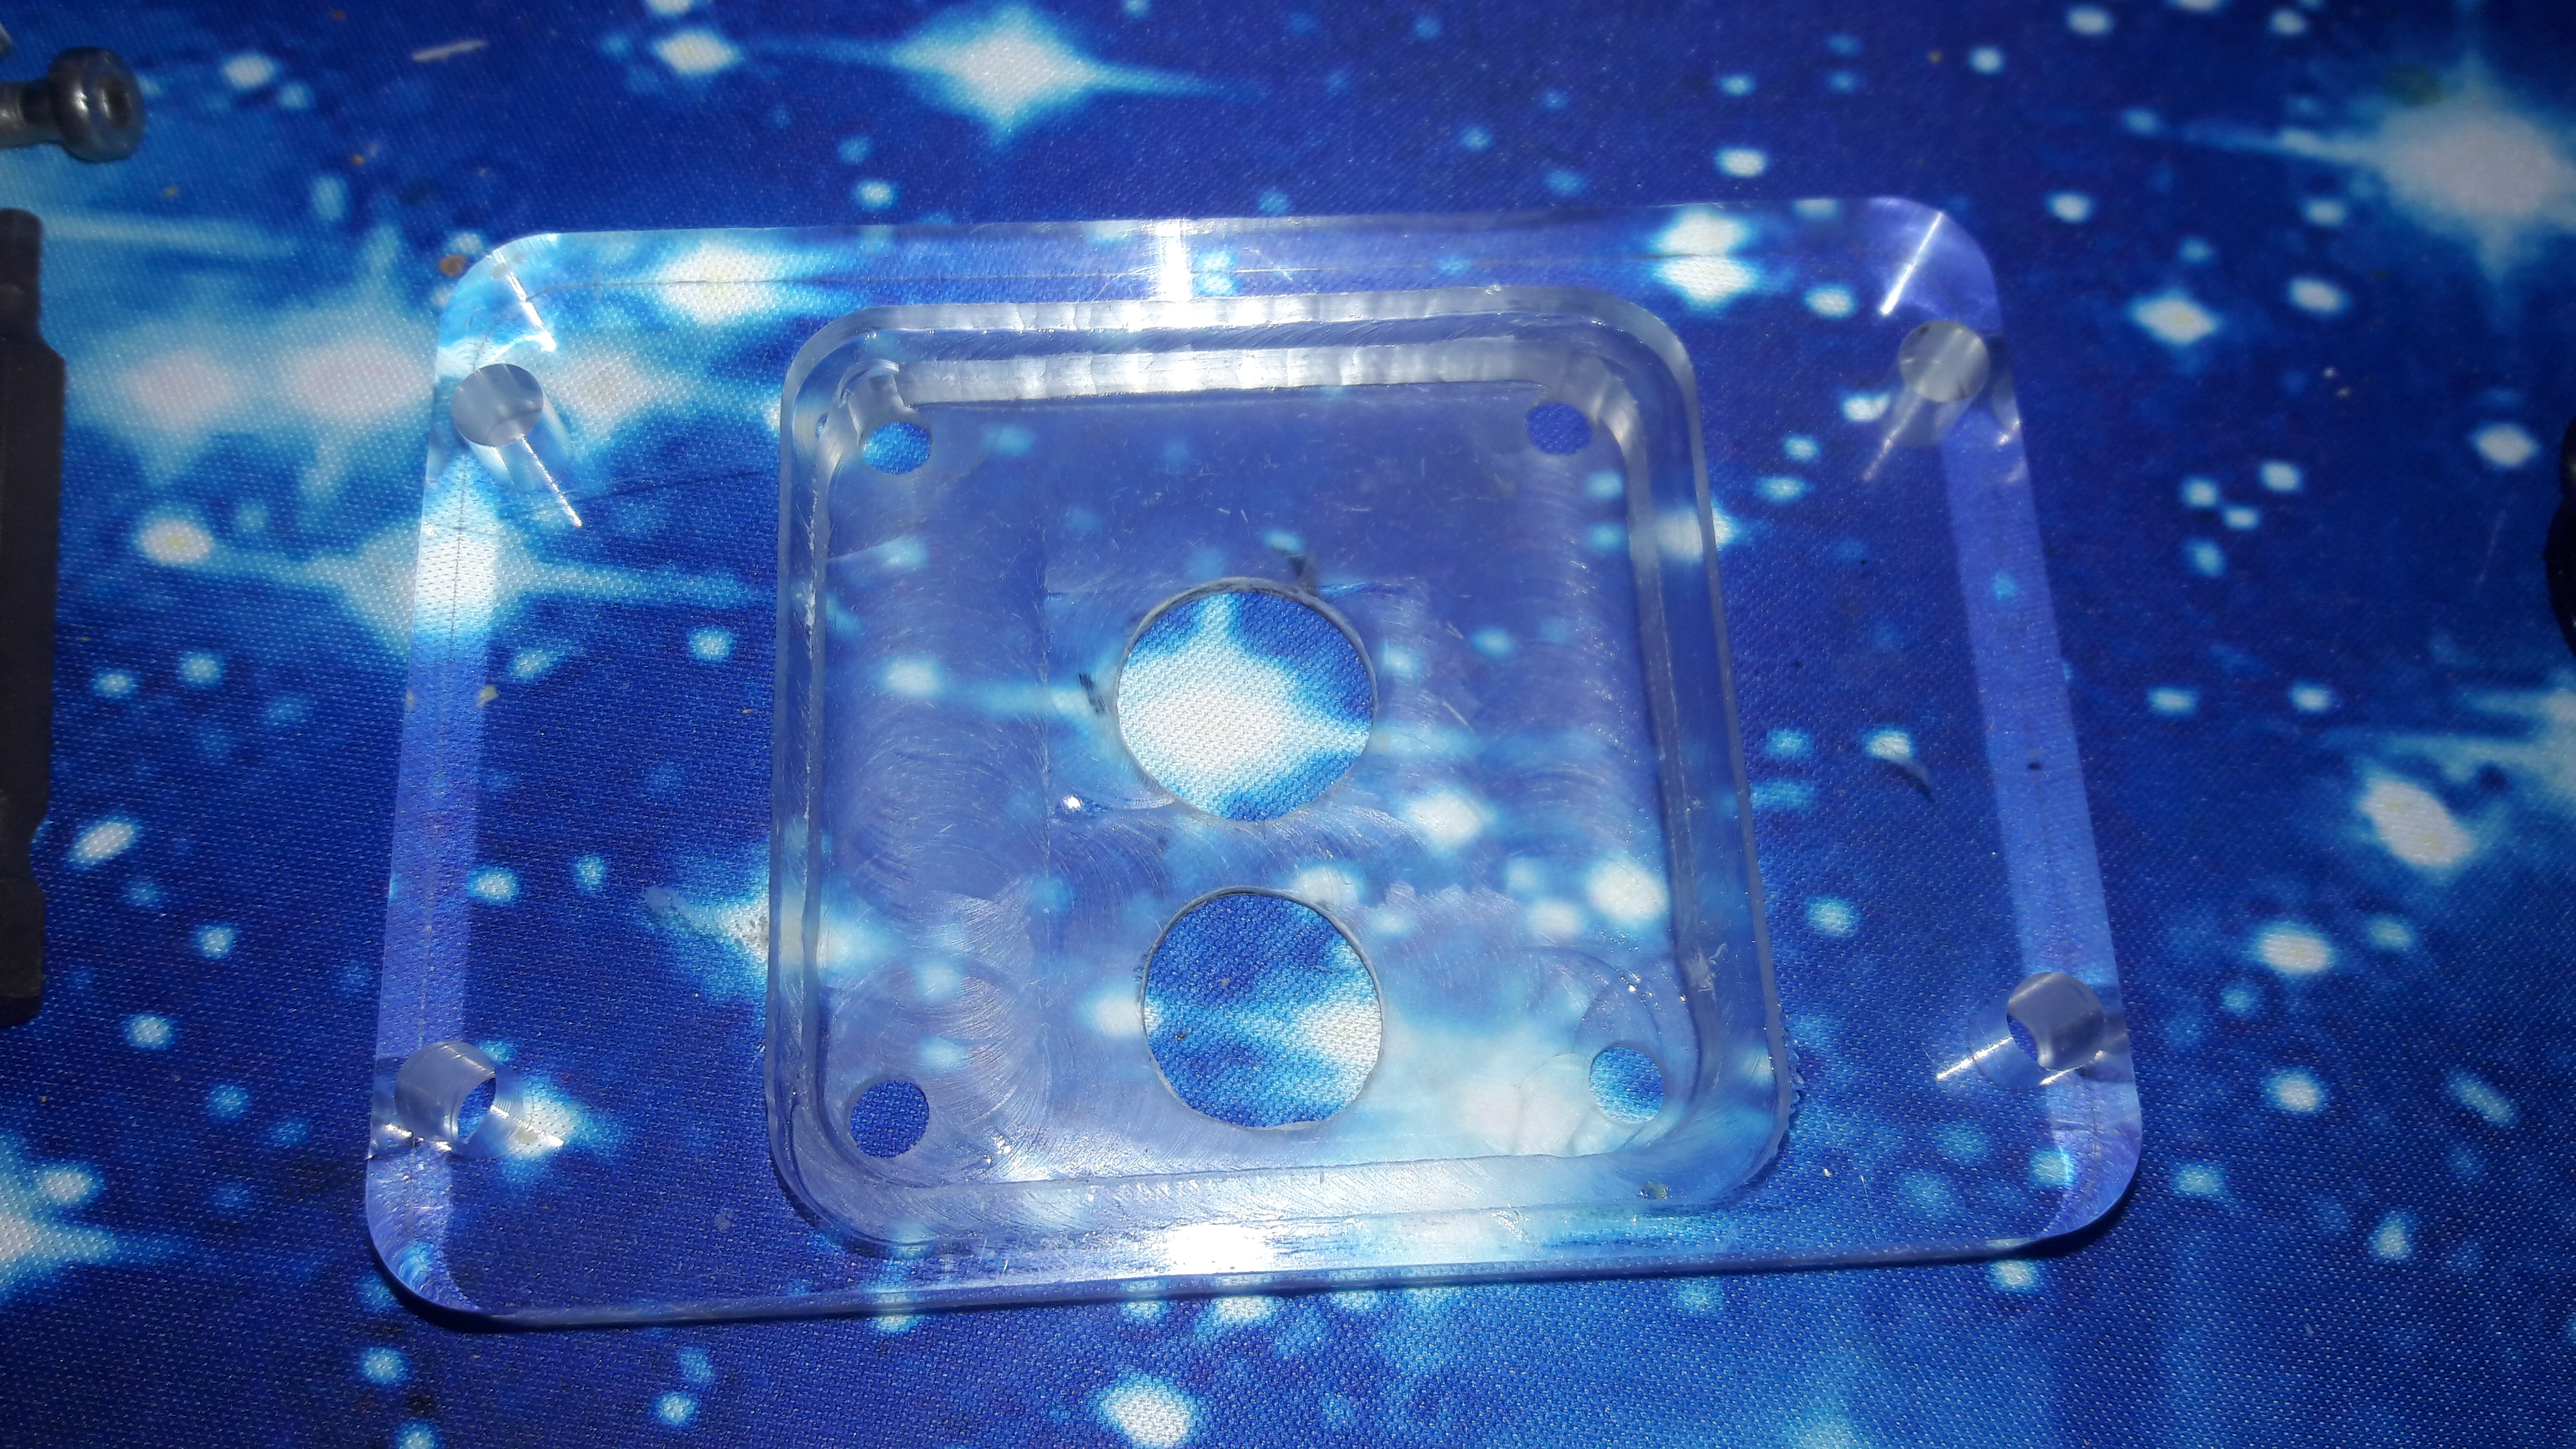
As you can see above the original waterblock casing was no longer usable due to wear and tear, so I converted it to a camera plate (shown below). I carved out a rectangle that will hold the camera and thermocouple, while the rest of the acrylic block will be the front plate to which we attach things. The central hole is large enough as it is for the camera lens, so that can be left alone.
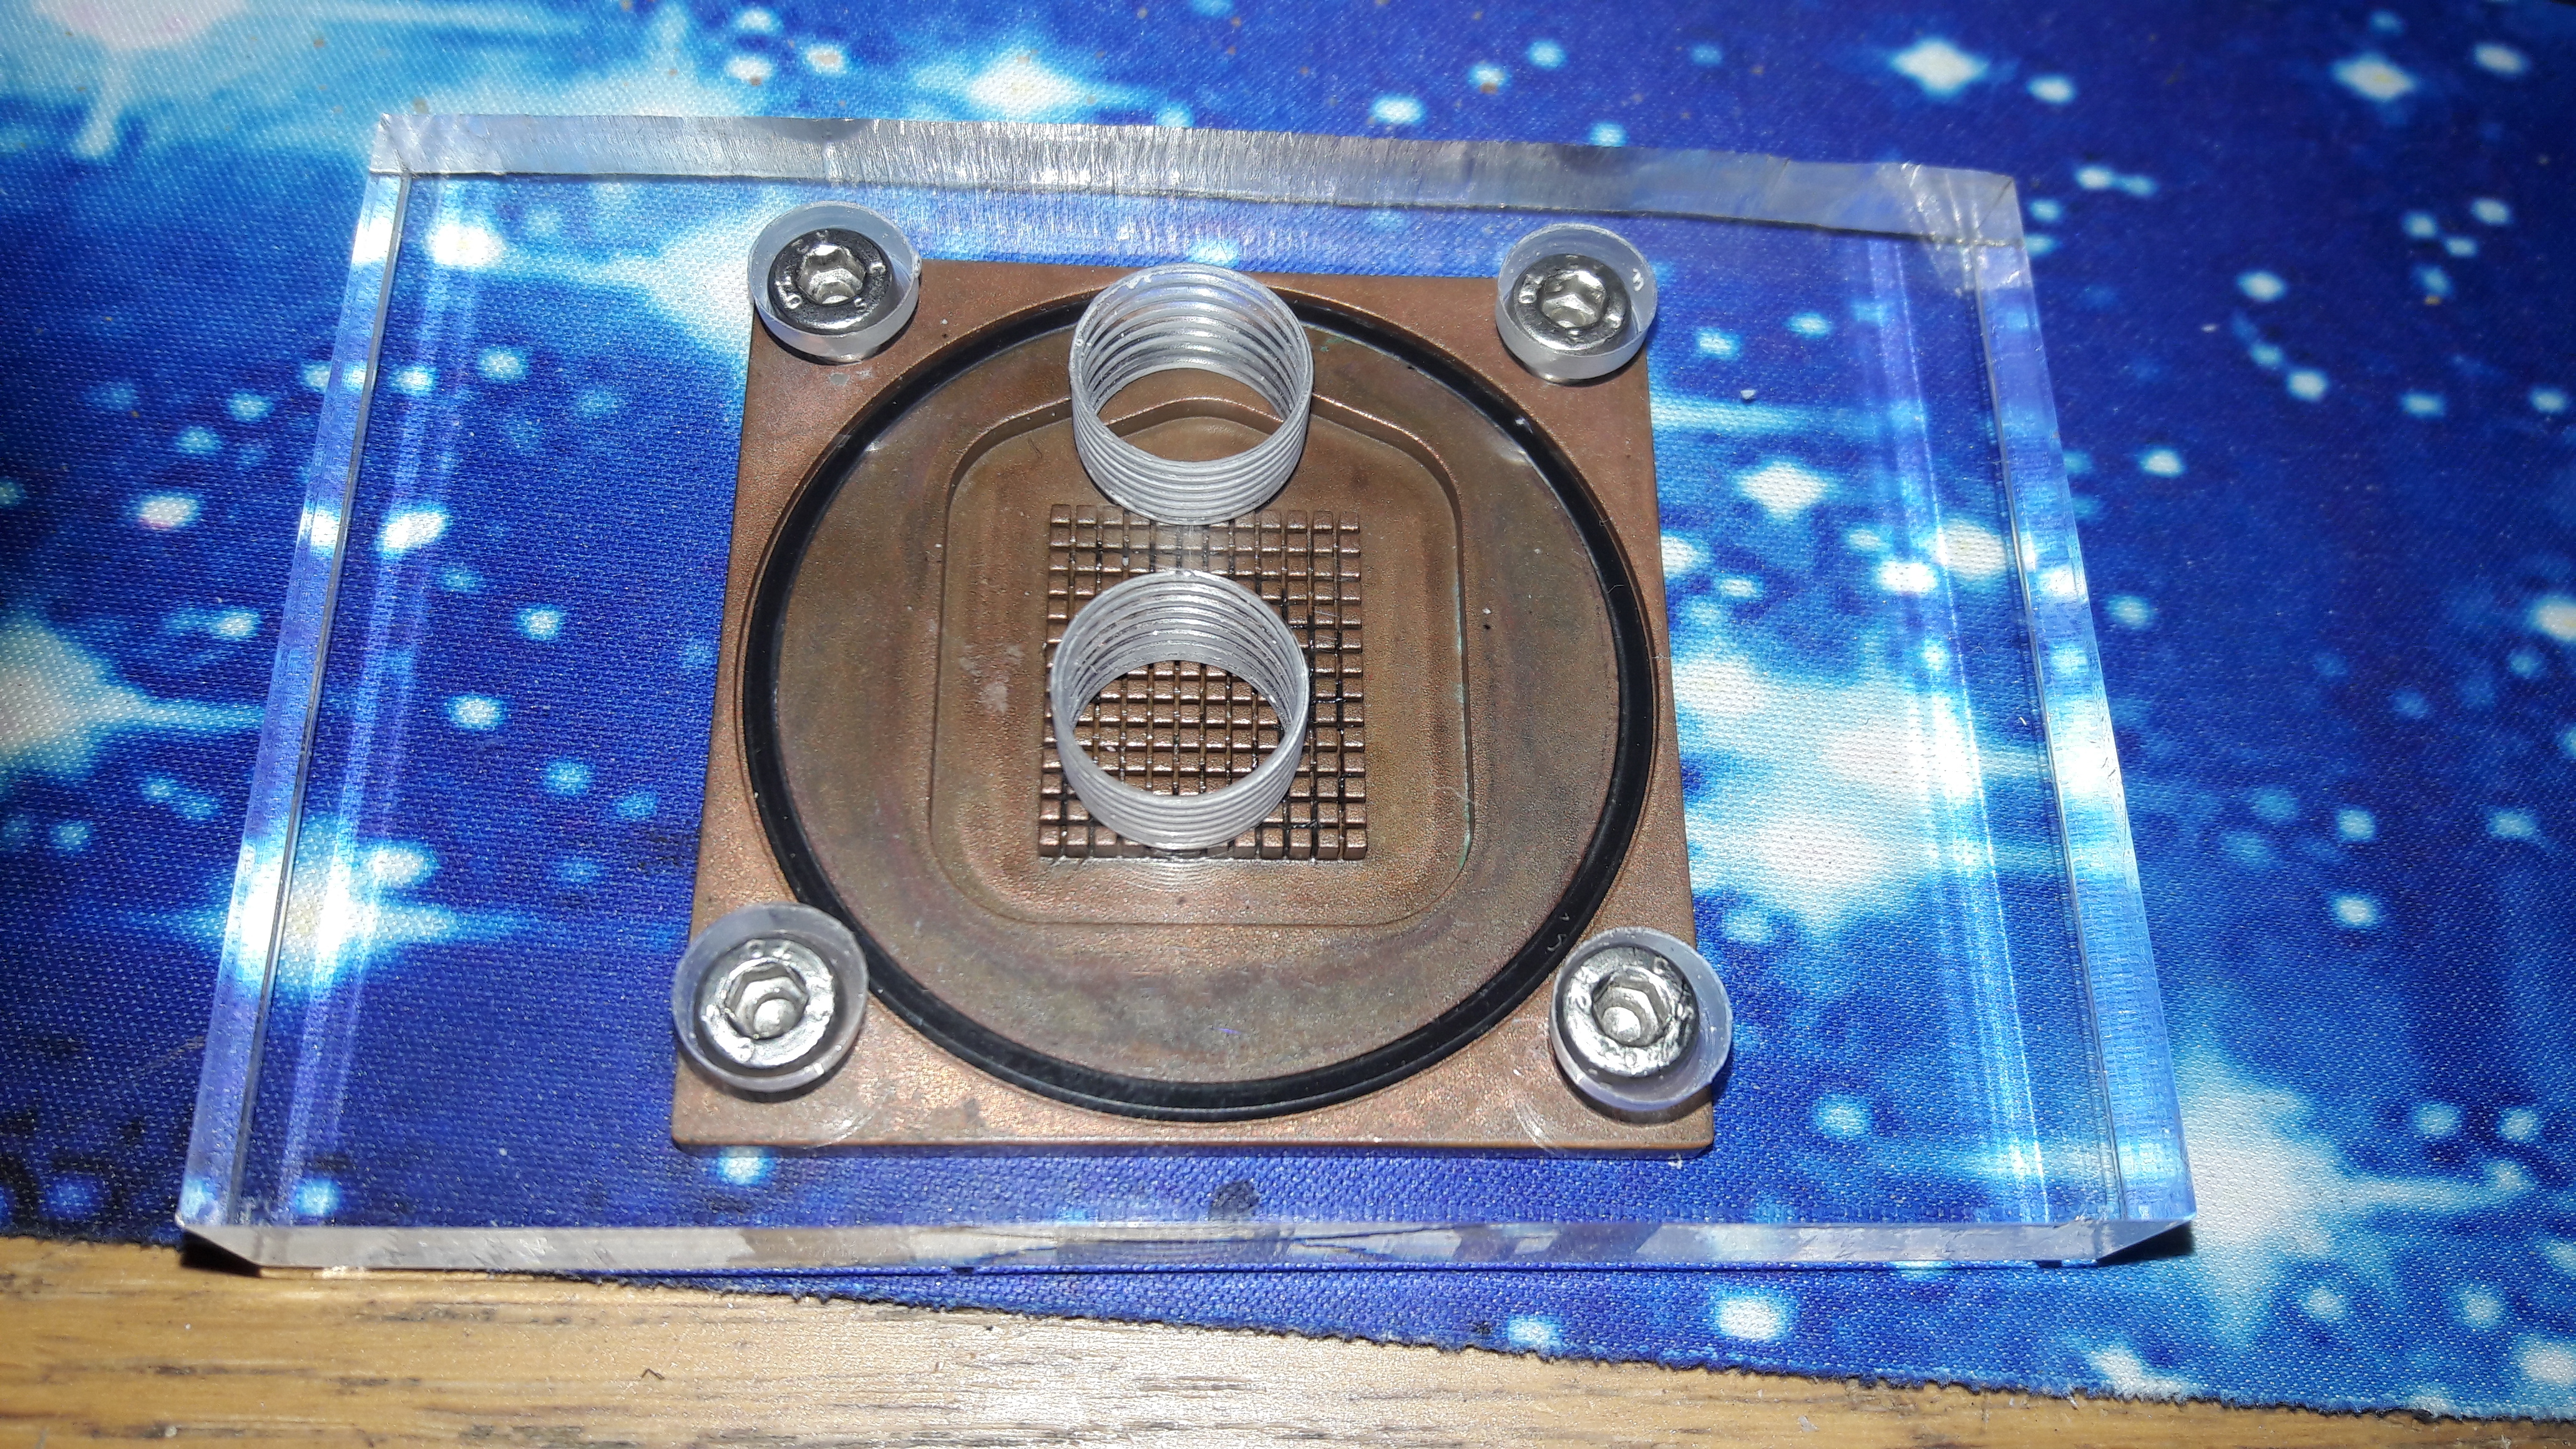
The rest of the waterblock was recycled into this new one, with a new 10mm acrylic block. It will provide liquid cooling to the "hot" side of the thermocouple to take heat away from the system. At the same time it will be the rear plate that we bolt to in order to keep the whole thing together.
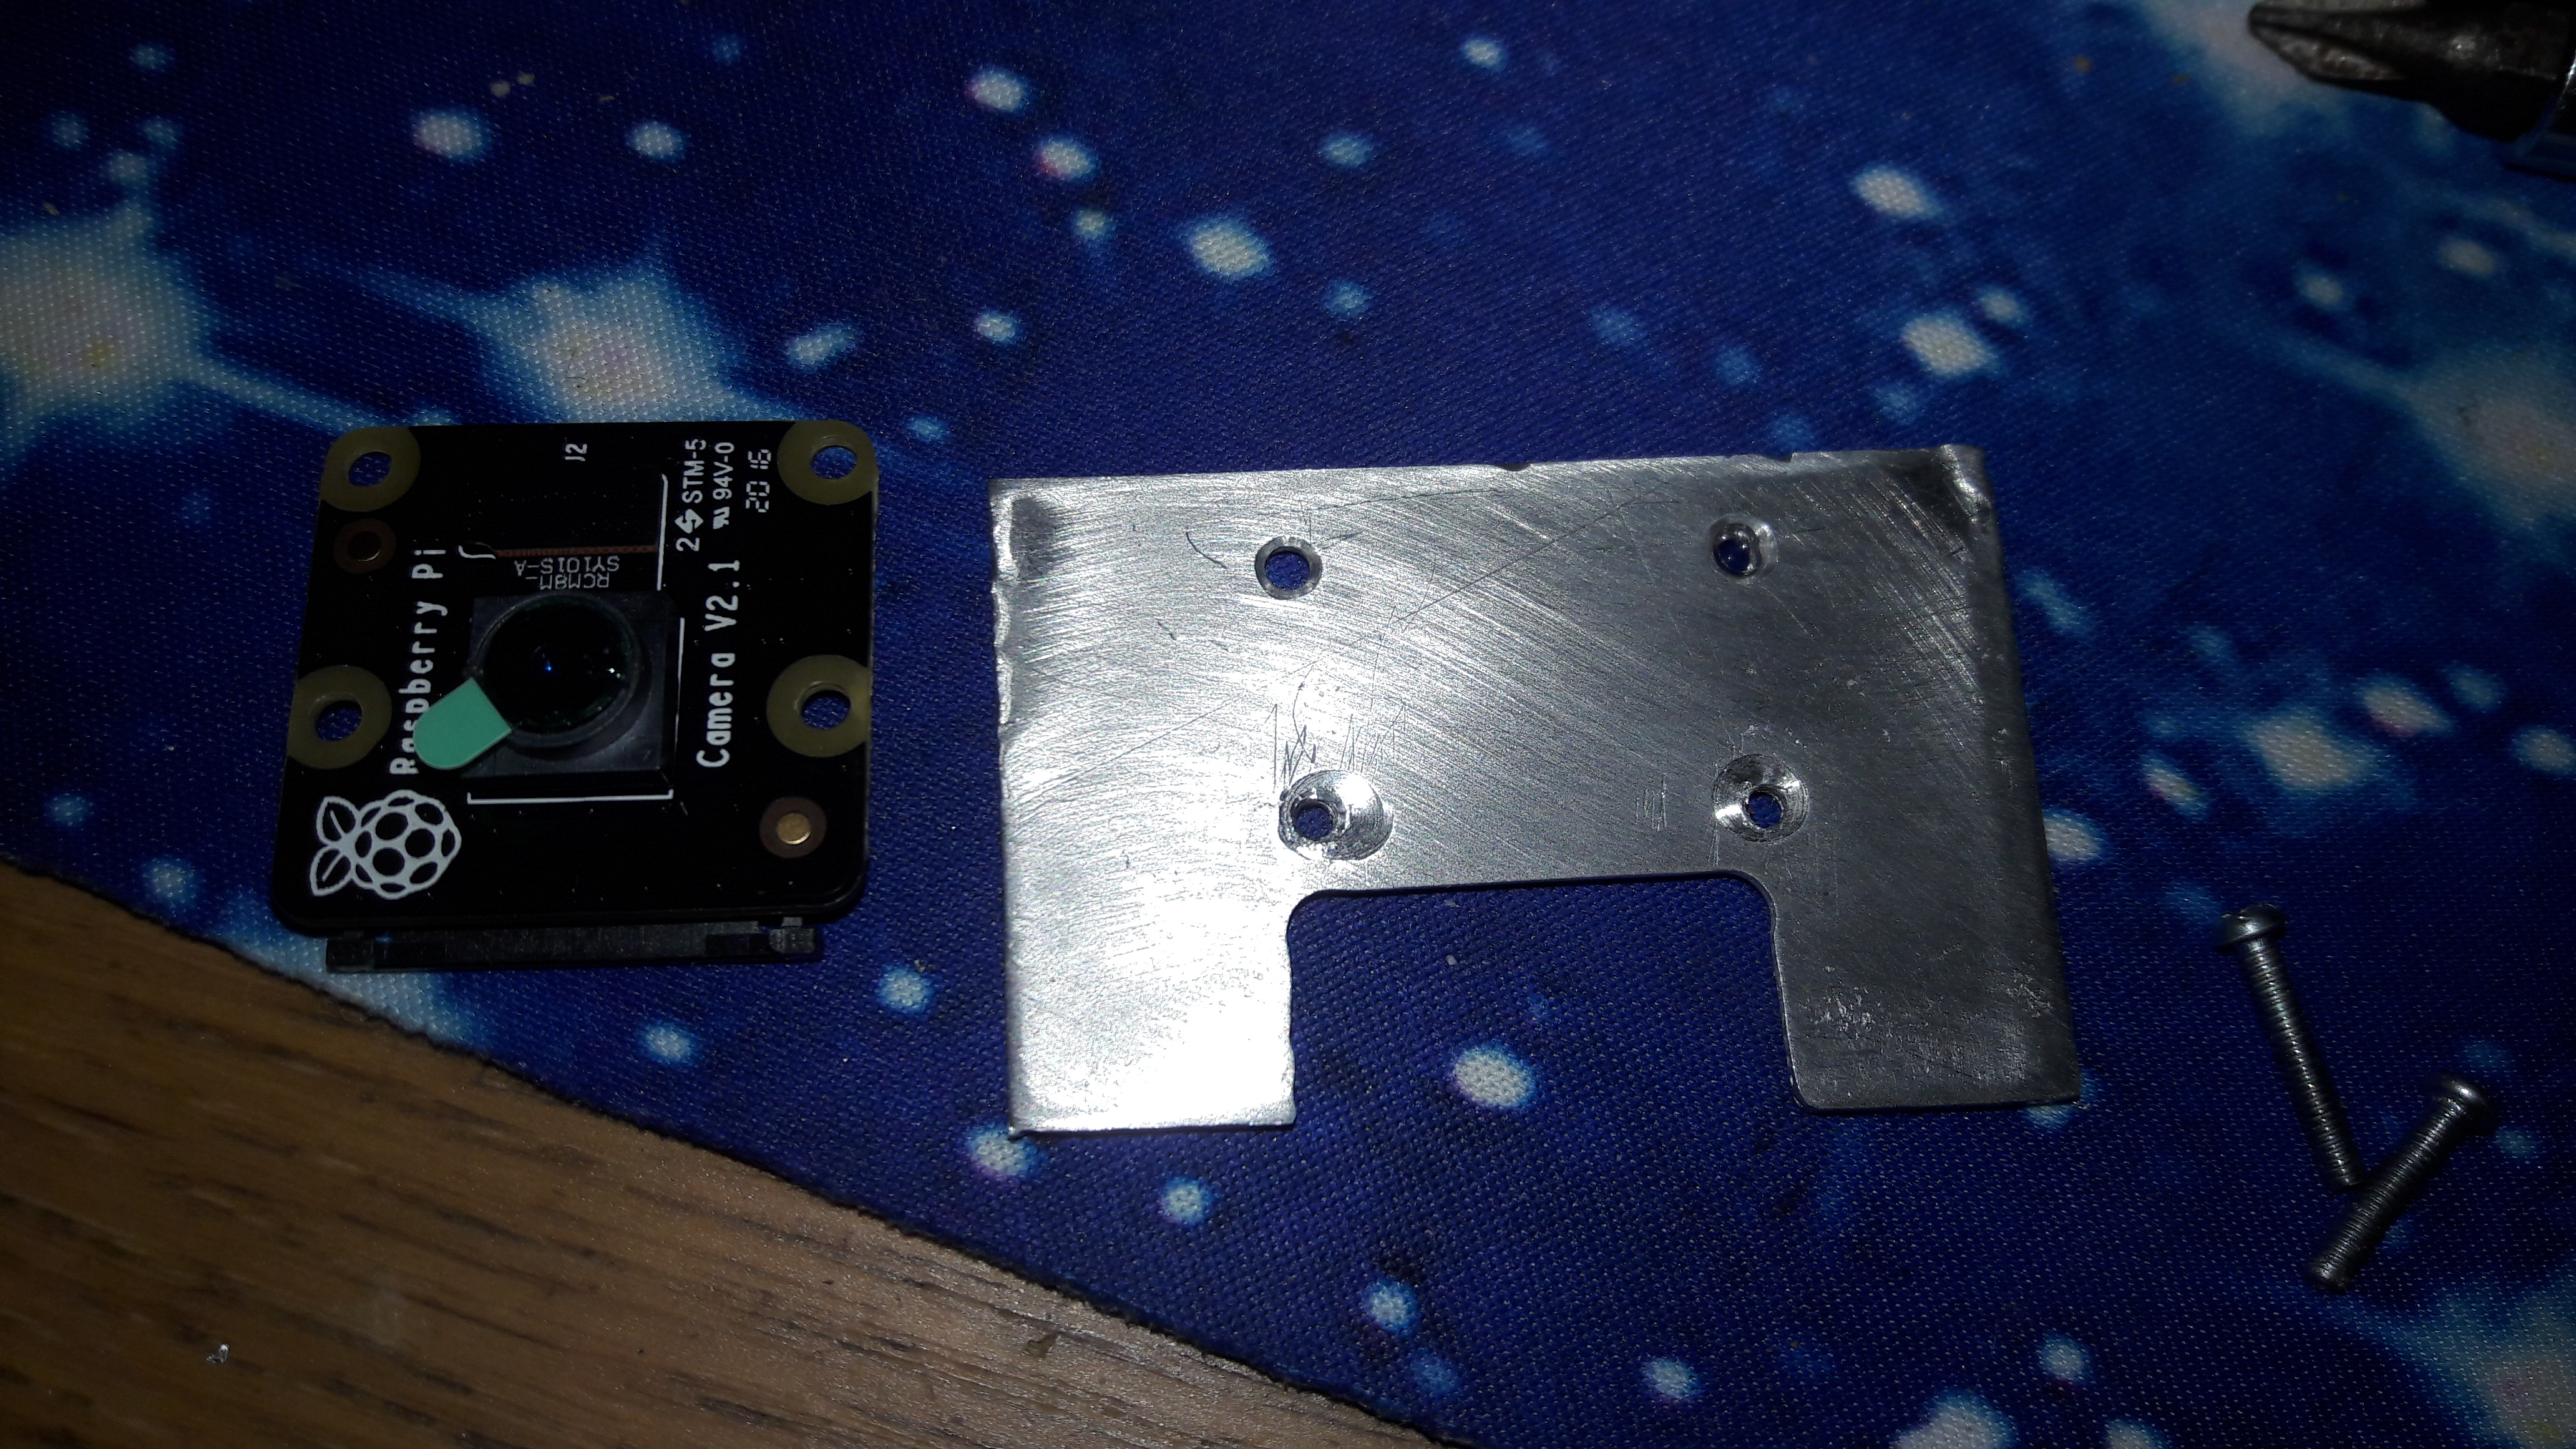
Because the raspberry pi camera is so small, a small metal shim needed to be made that would increase the area of the camera that would be cooled. As there is no way to get to the sensor itself, we have to cool the entire PCB from behind and let the heat pass through the PCB (which is an insulator) to the sensor itself. This is not ideal, but the best we can do at this time. Here is the shim, the cut out at the bottom is to allow the ribbon cable through the system. We shall see how well this works once we switch to active cooling.
This was then assembled as follows:
First we attached the pi camera to our shim

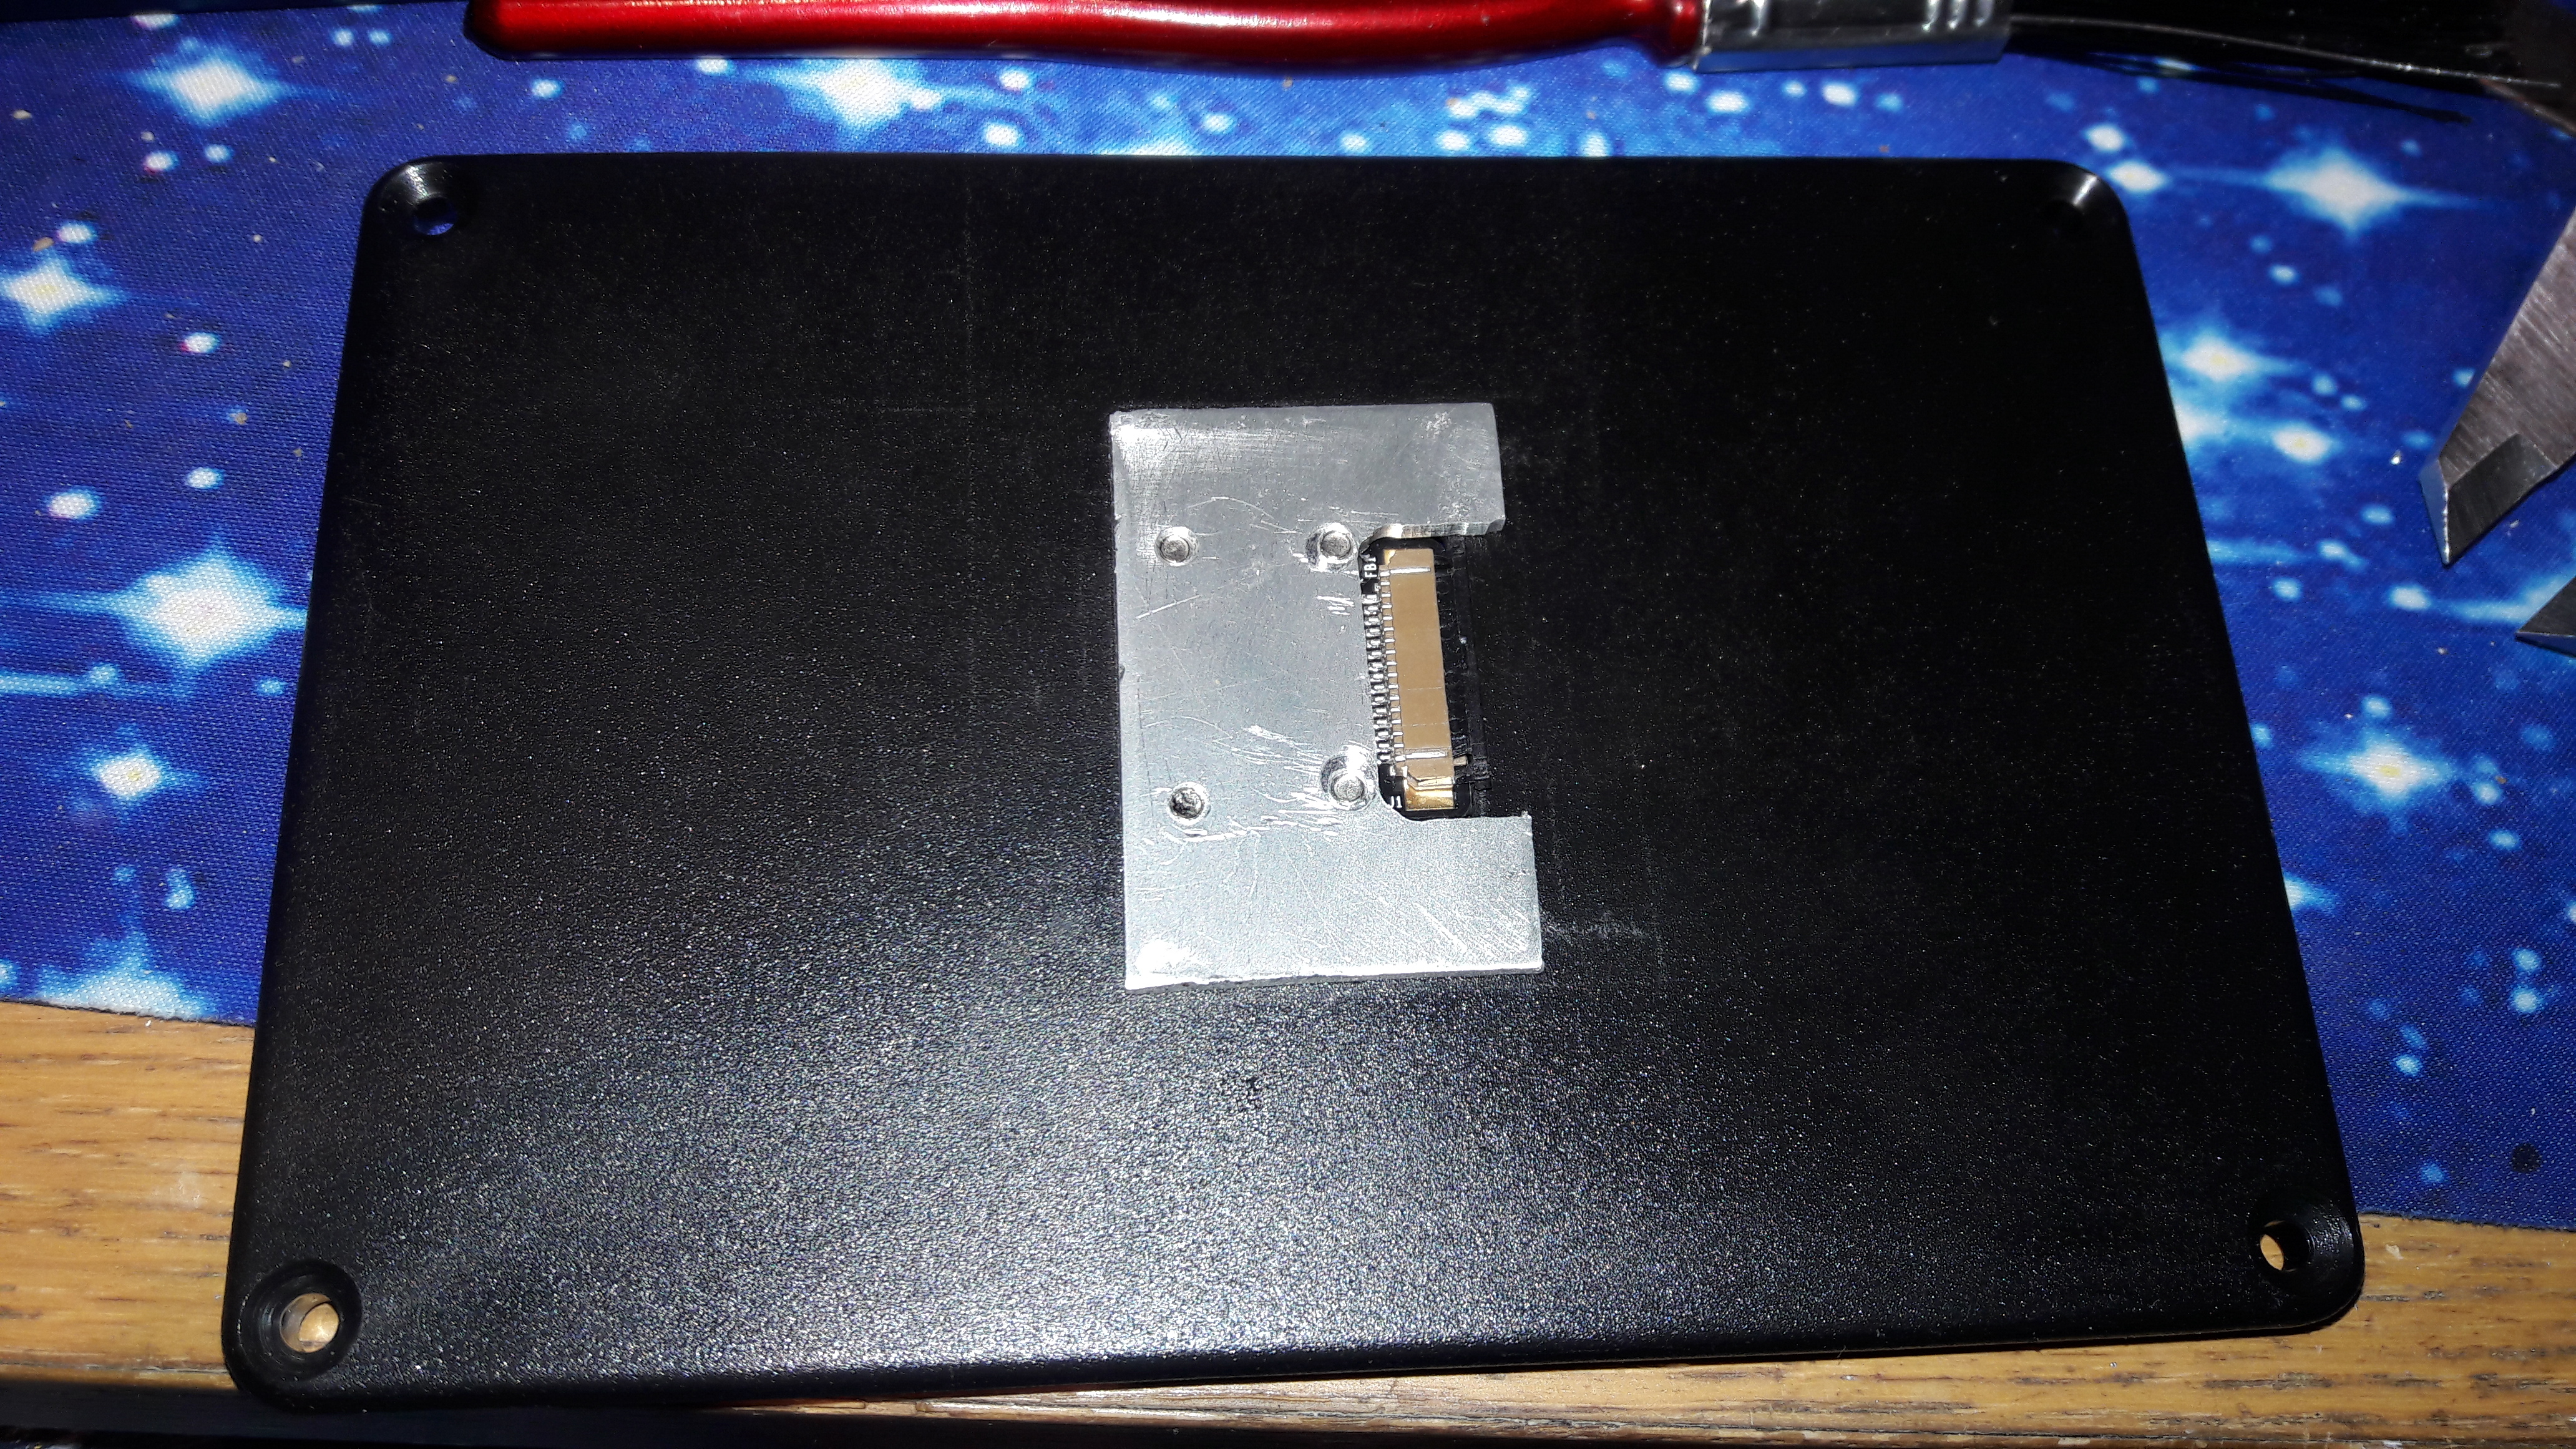
Then we attached the thermocouple and rear waterblock to the shim. In this photo we have already fitting the barb connectors for our future pipes. We will make use of 5mm pipe, as they are small and flexible, while the overall heat we need to dissipate should be low enough that the reduced liquid flow through these pipes will still provide adaquate cooling.
We then attached the front plate, using Nylon bolts to go through the entire unit (Nylon is an insulator, so we use such bolts to prevent any heat conducting through between the hot and cold sides)

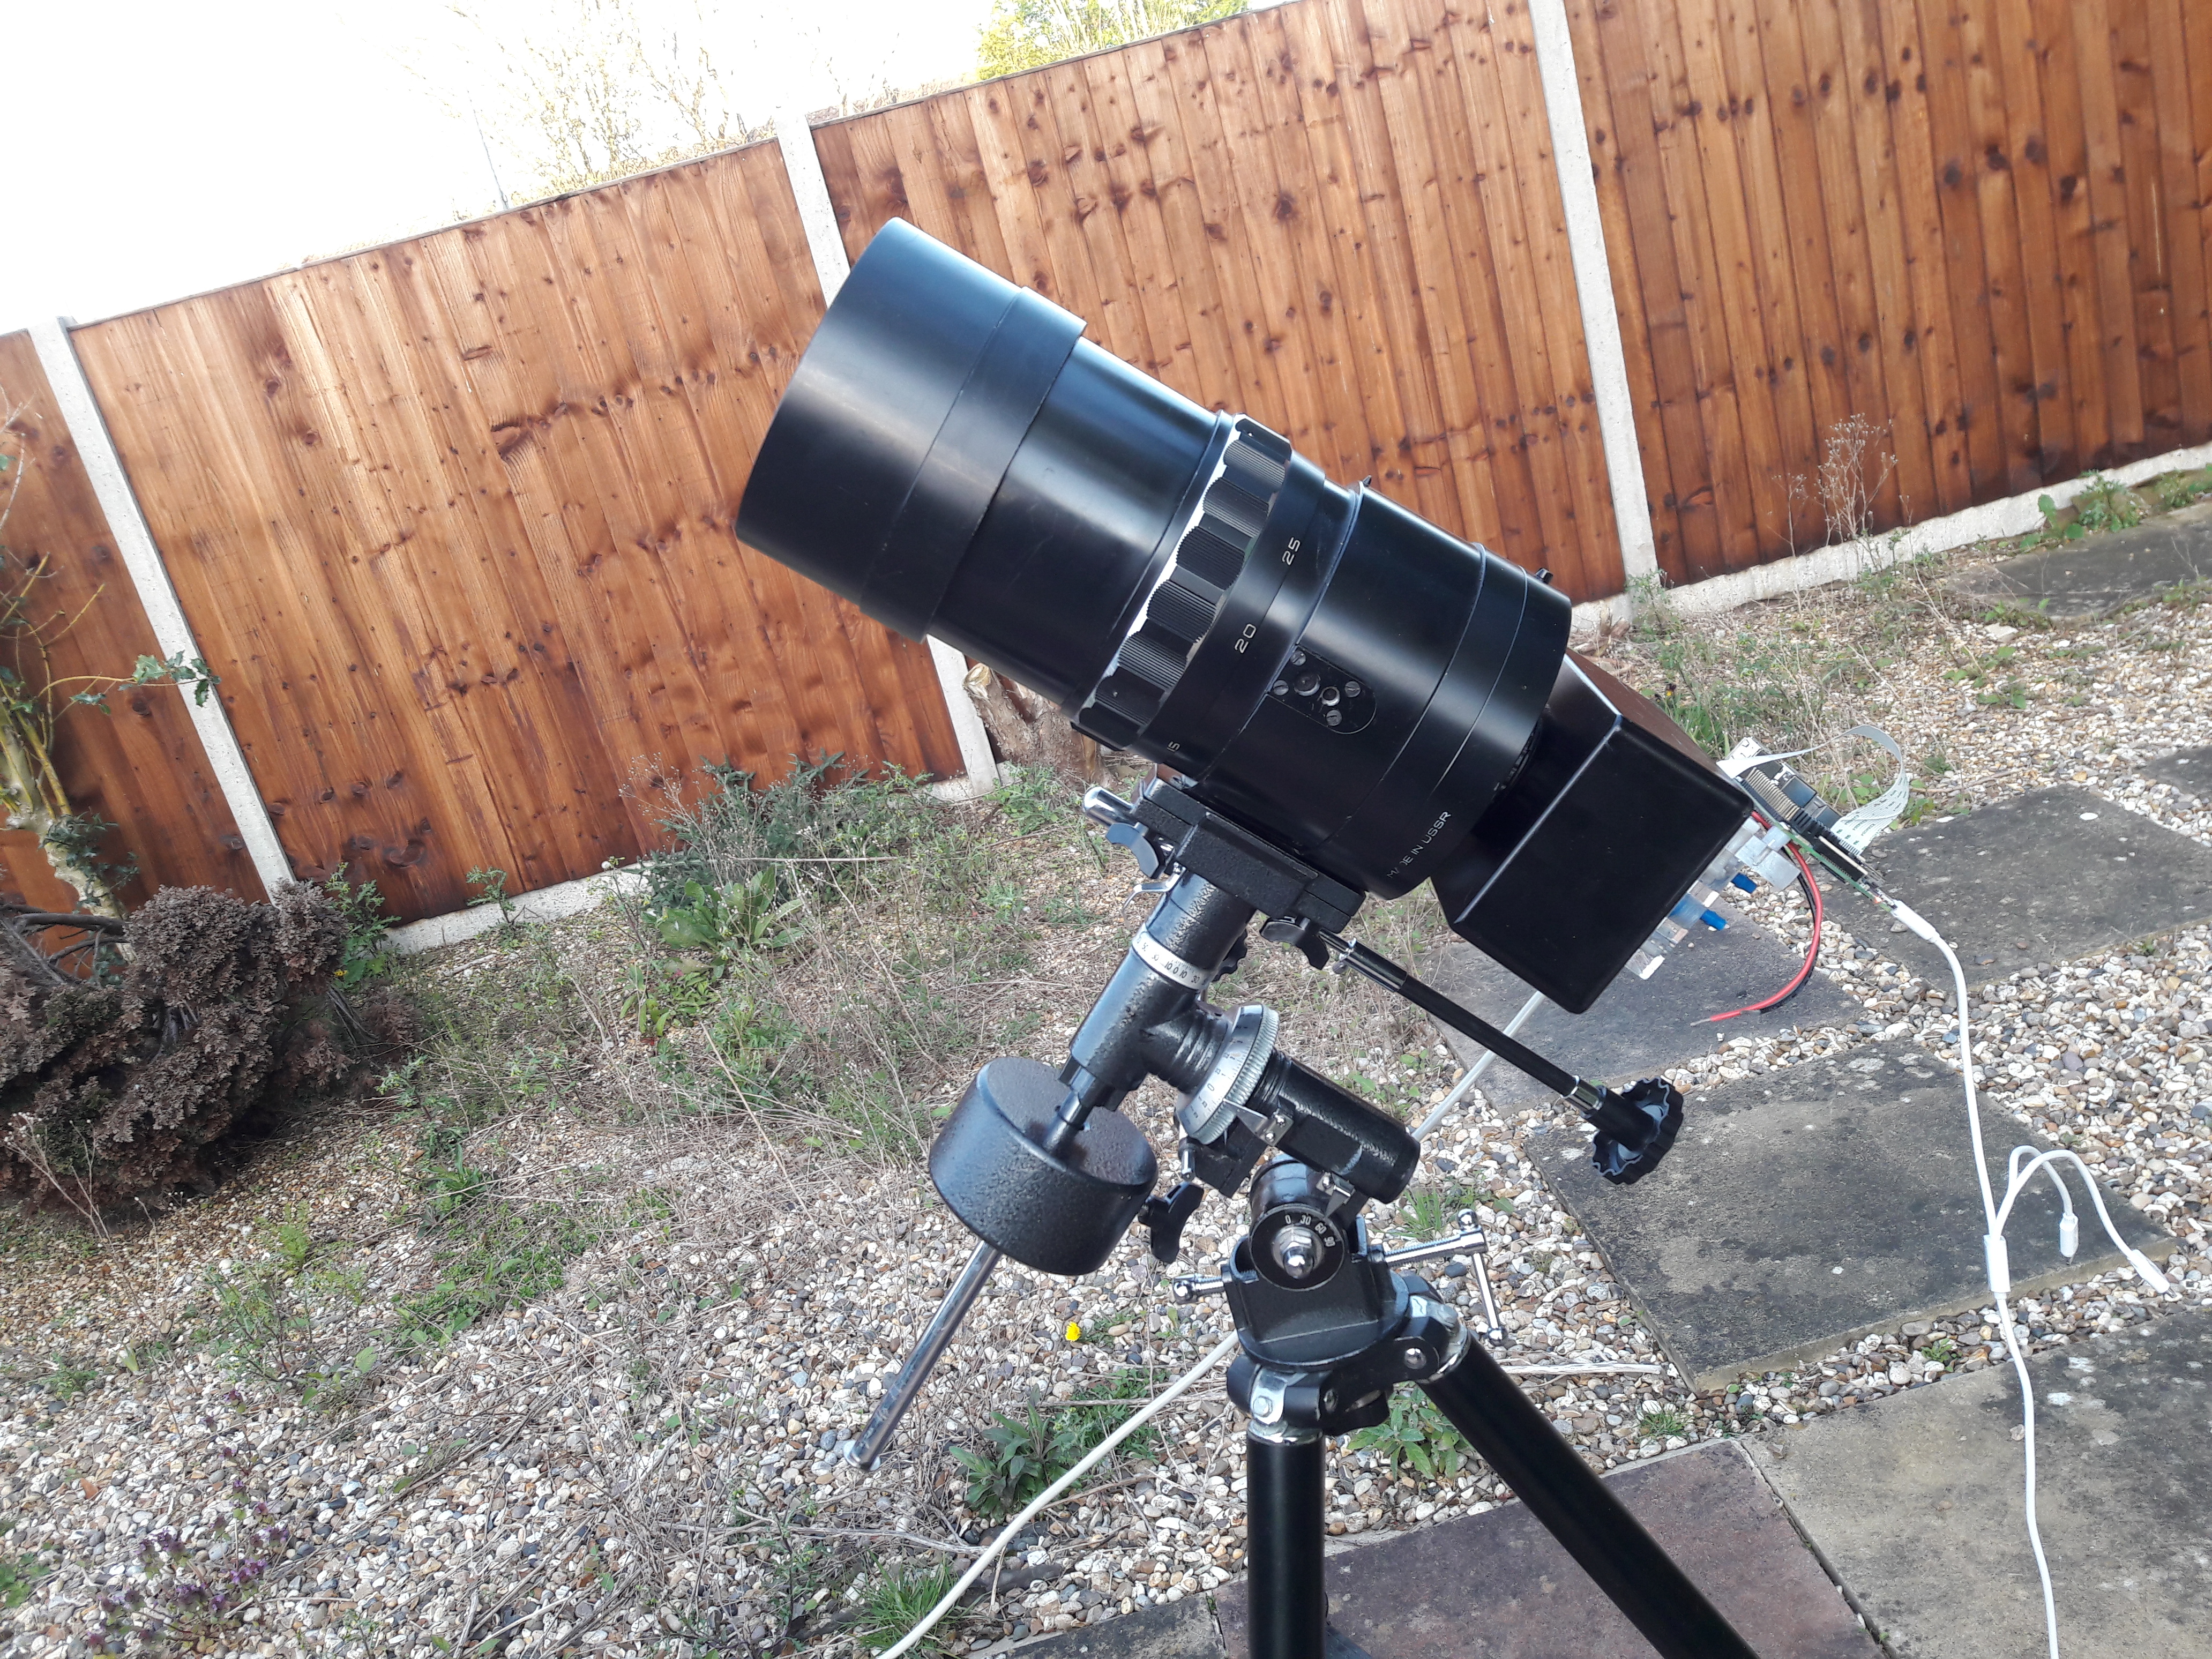
A trial fit on the box. The box is primarily to give a mounting space to the scope, and to give us future room for adding things like filters.
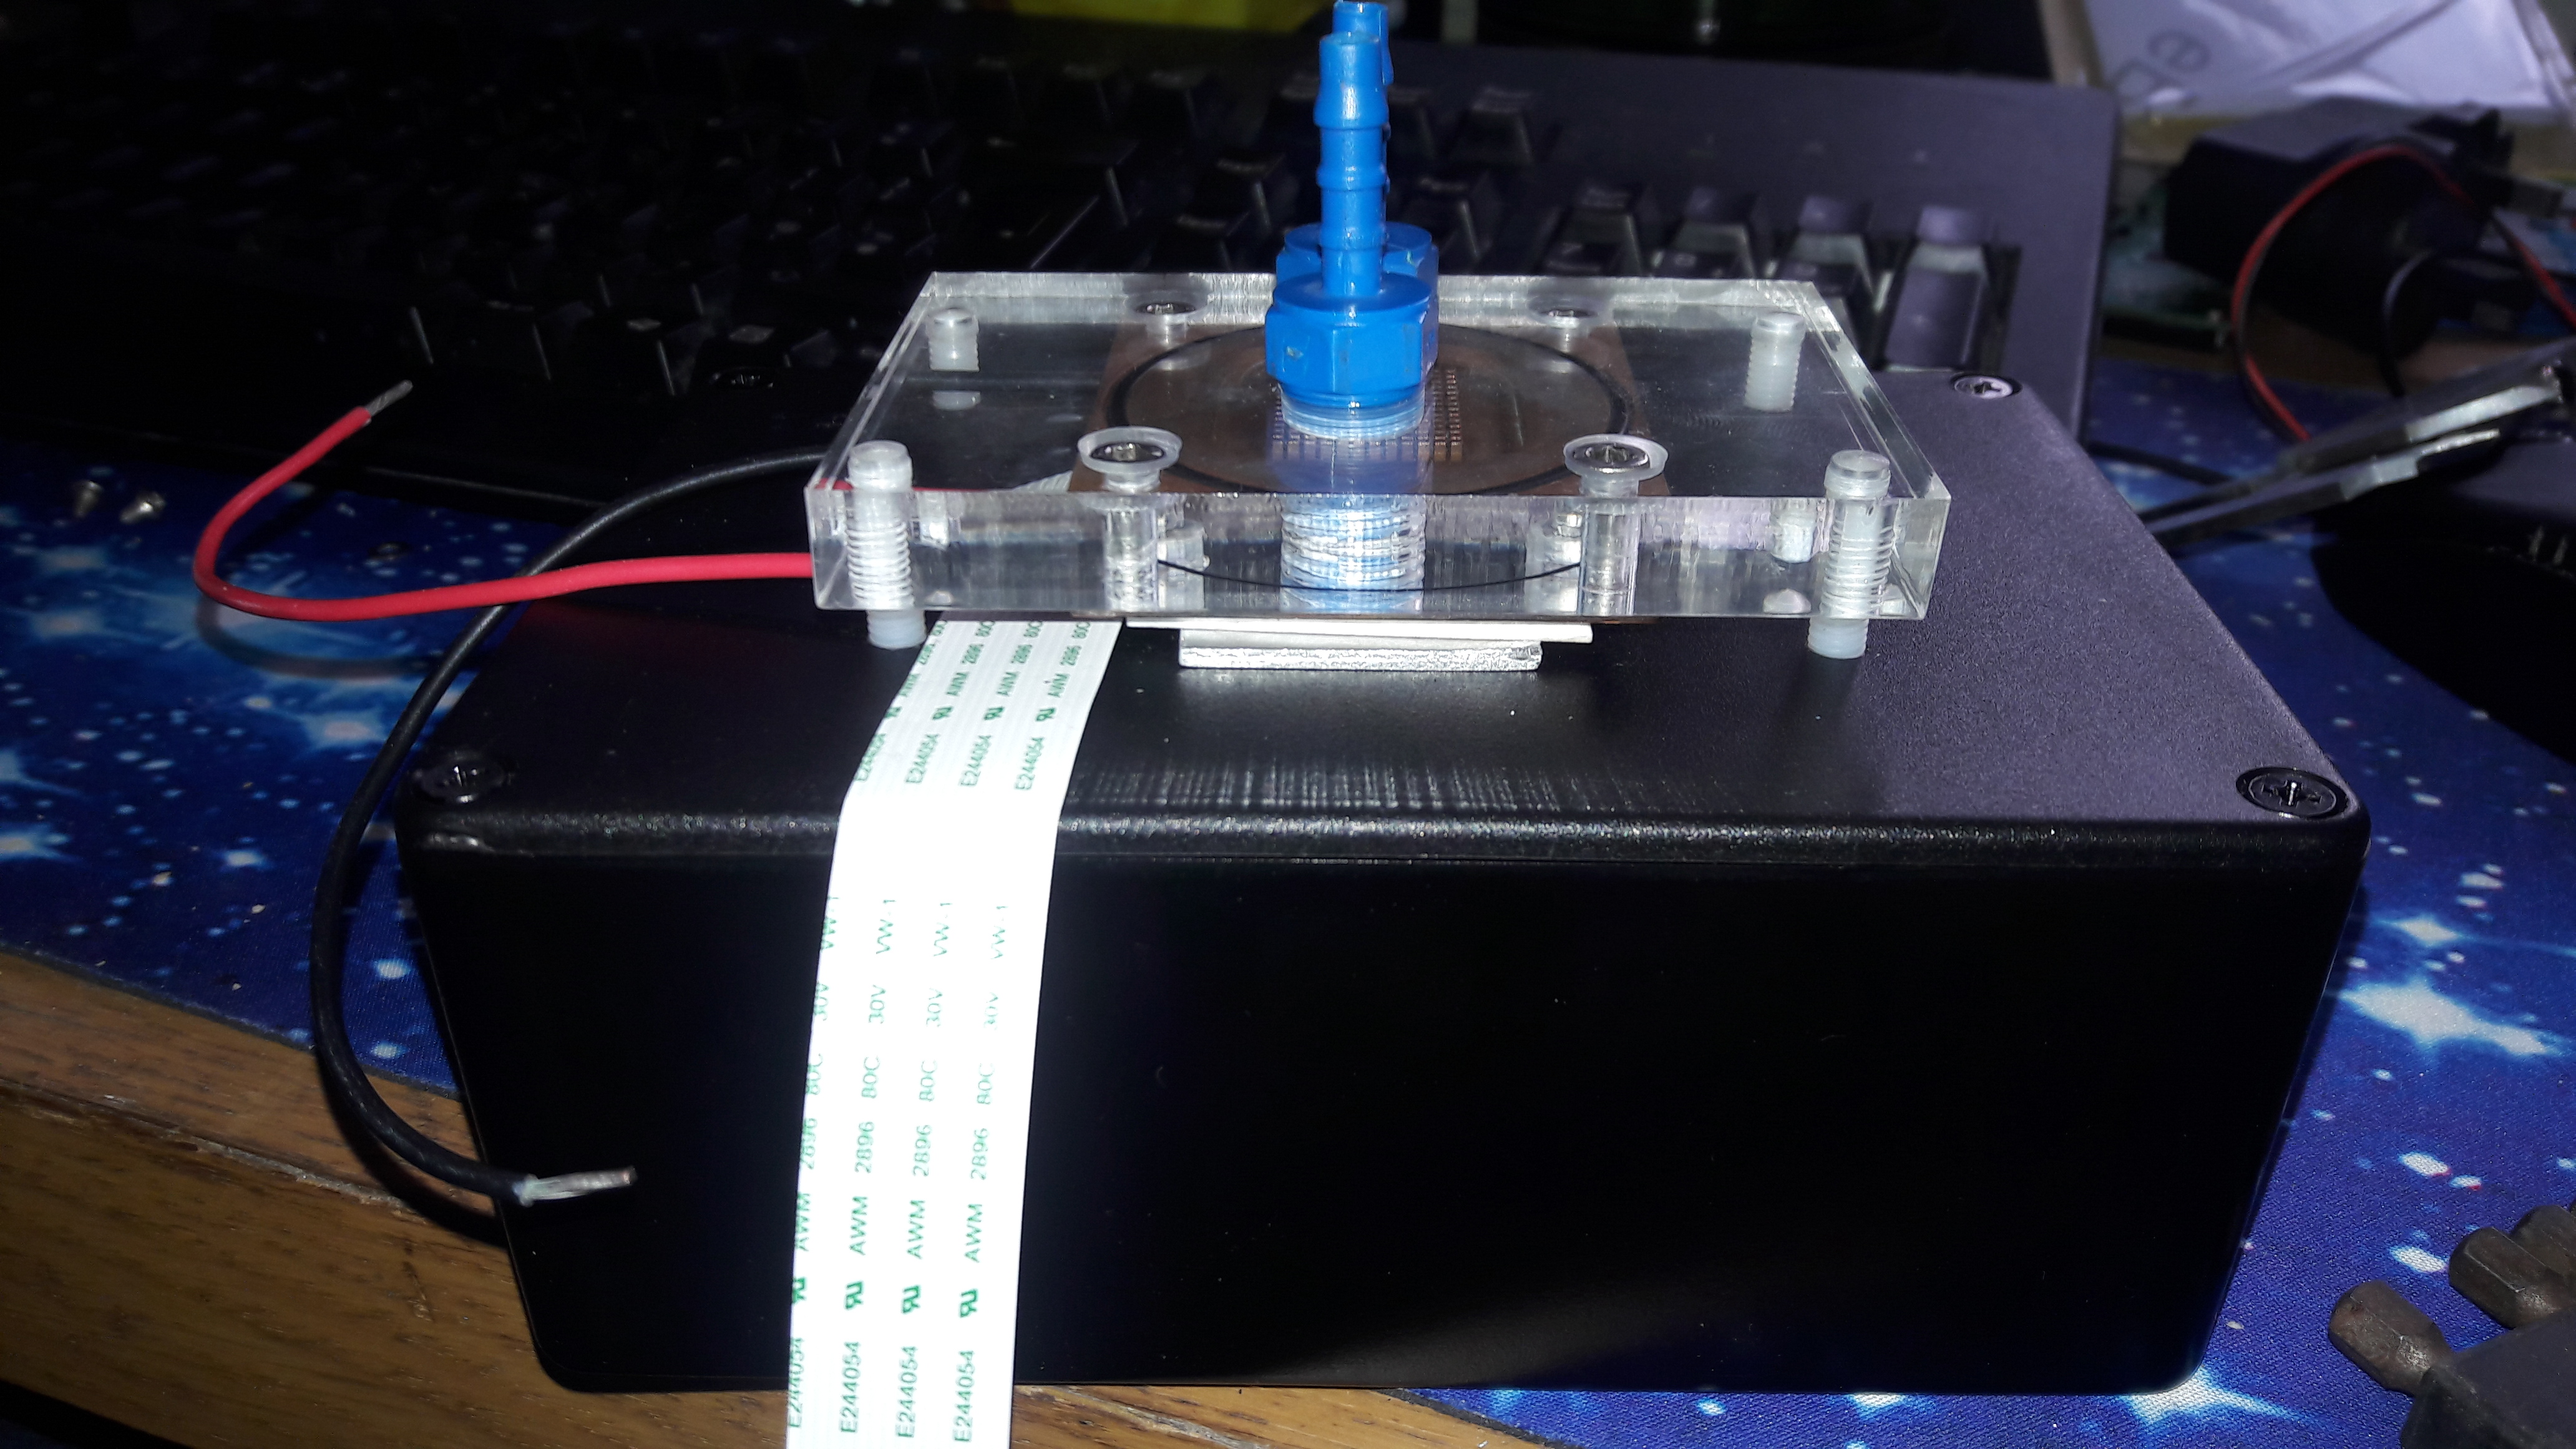
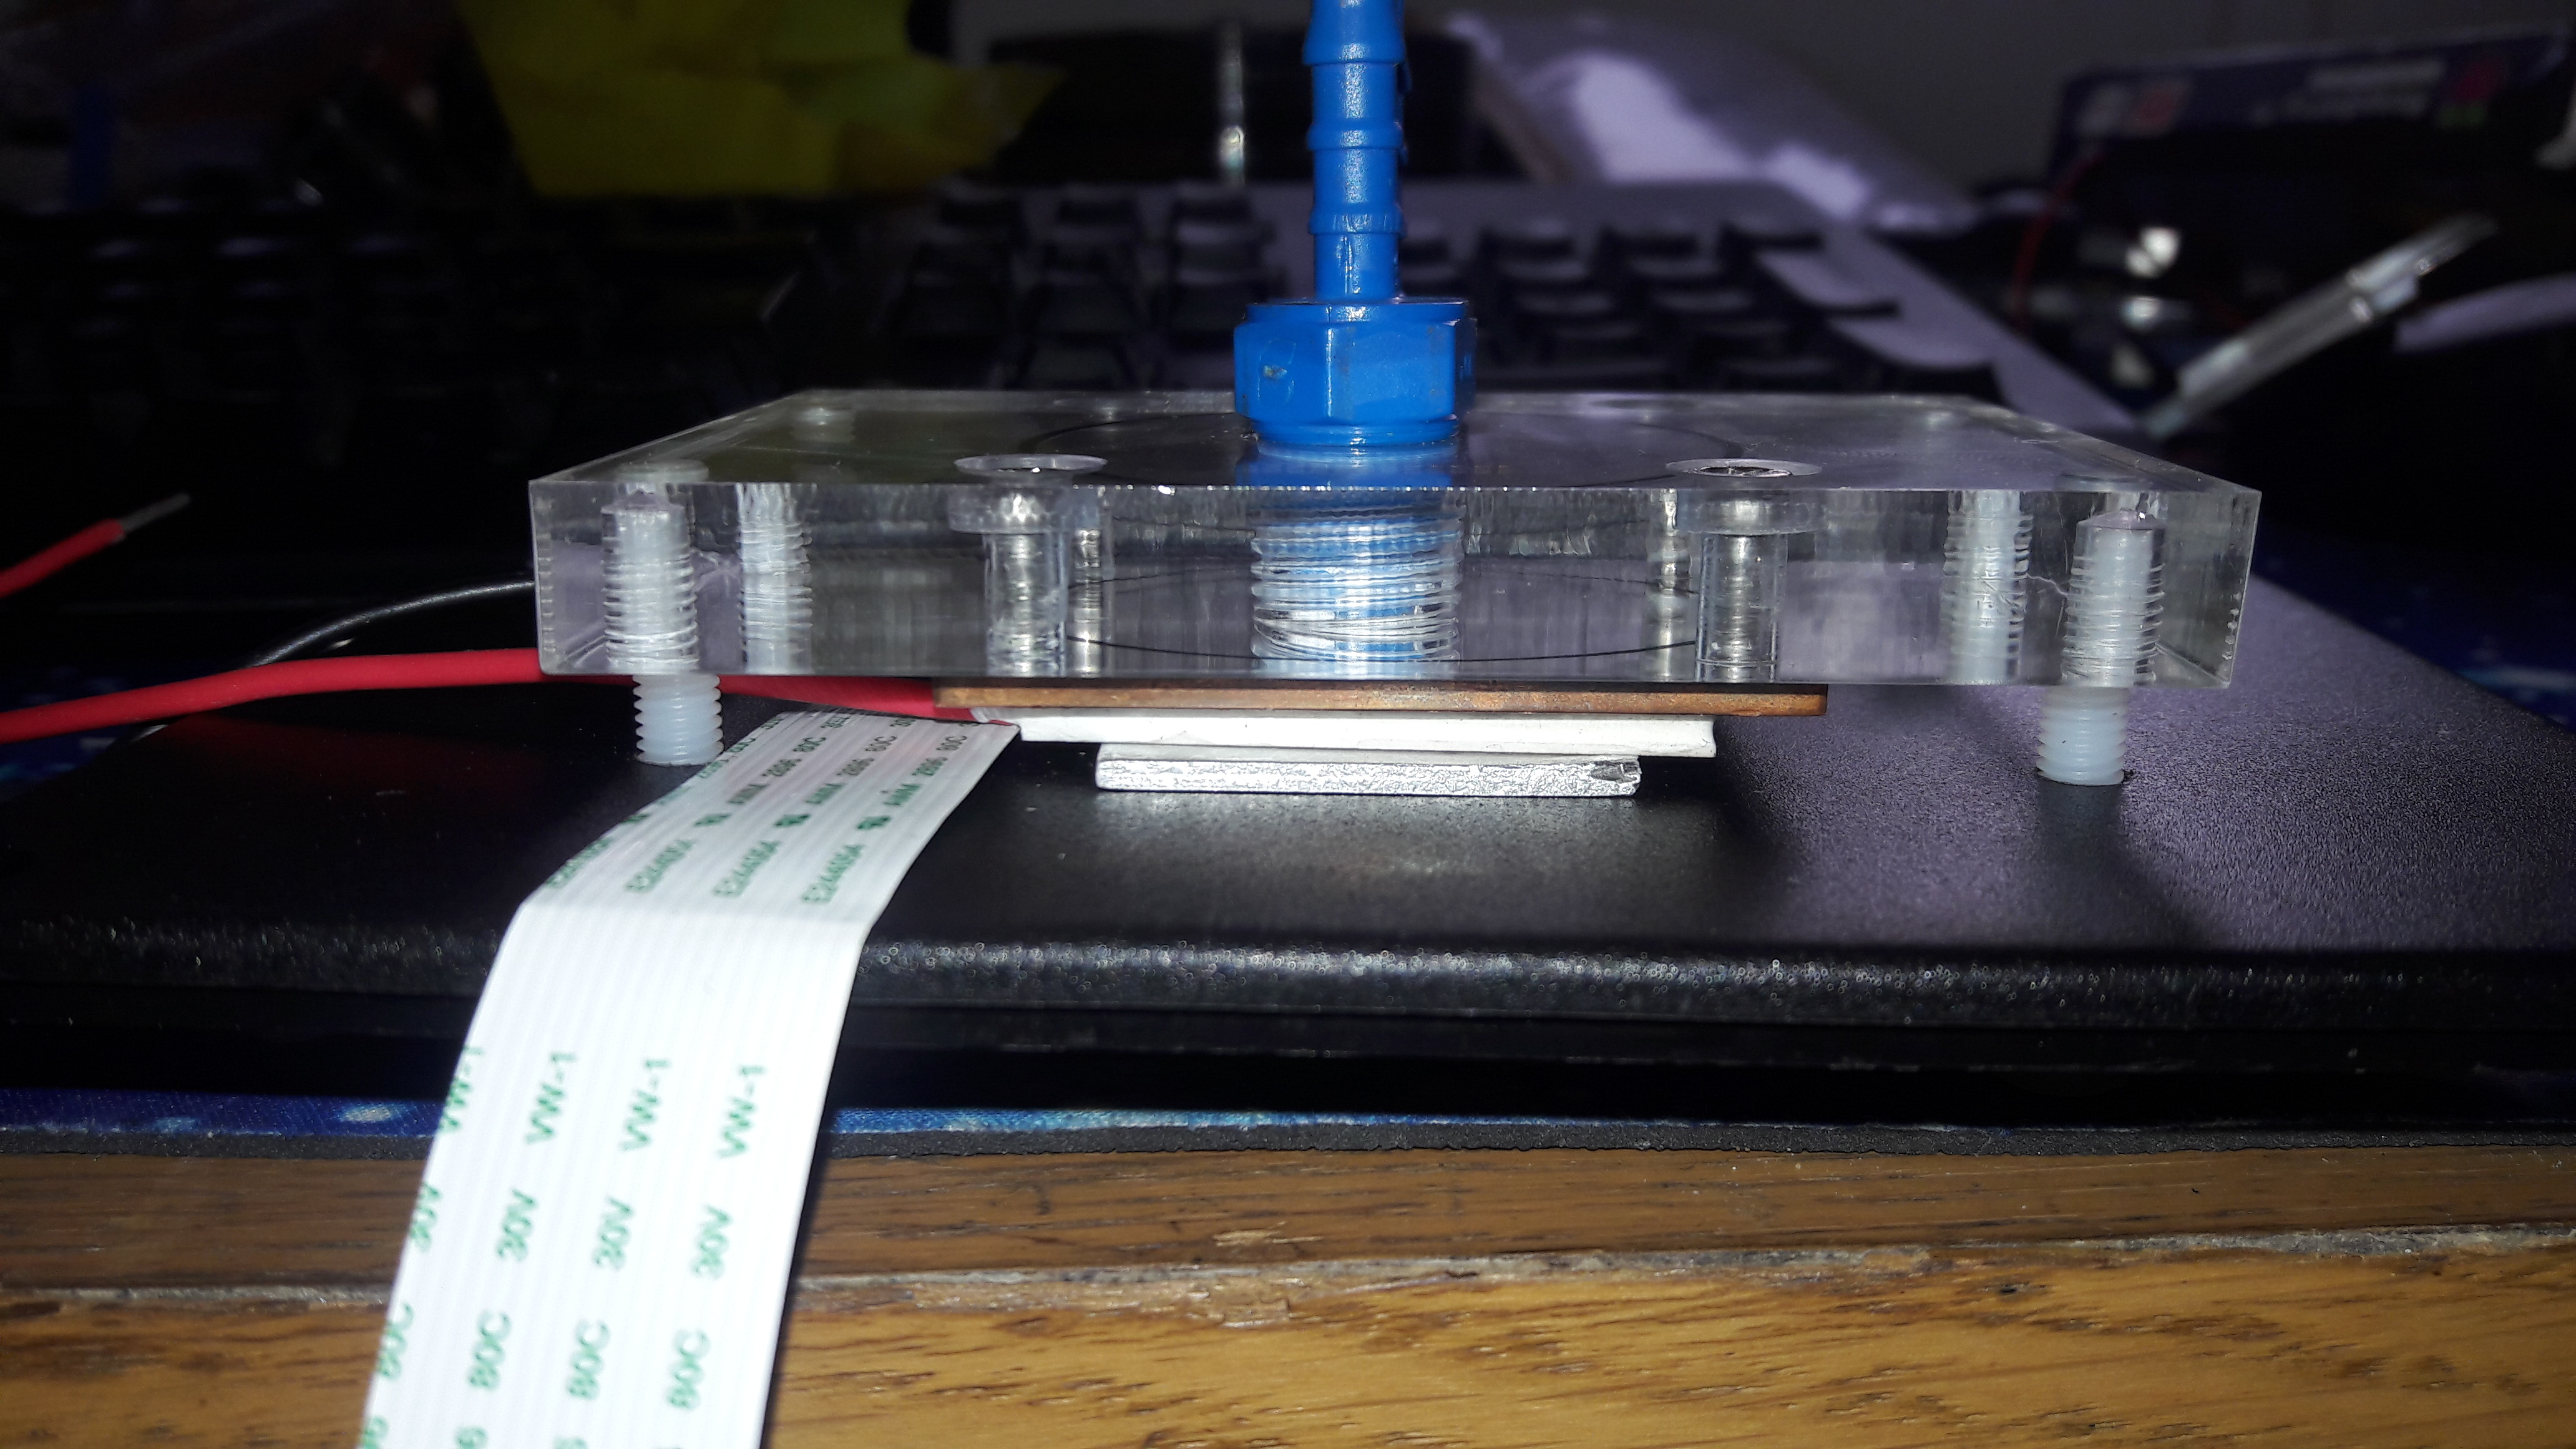
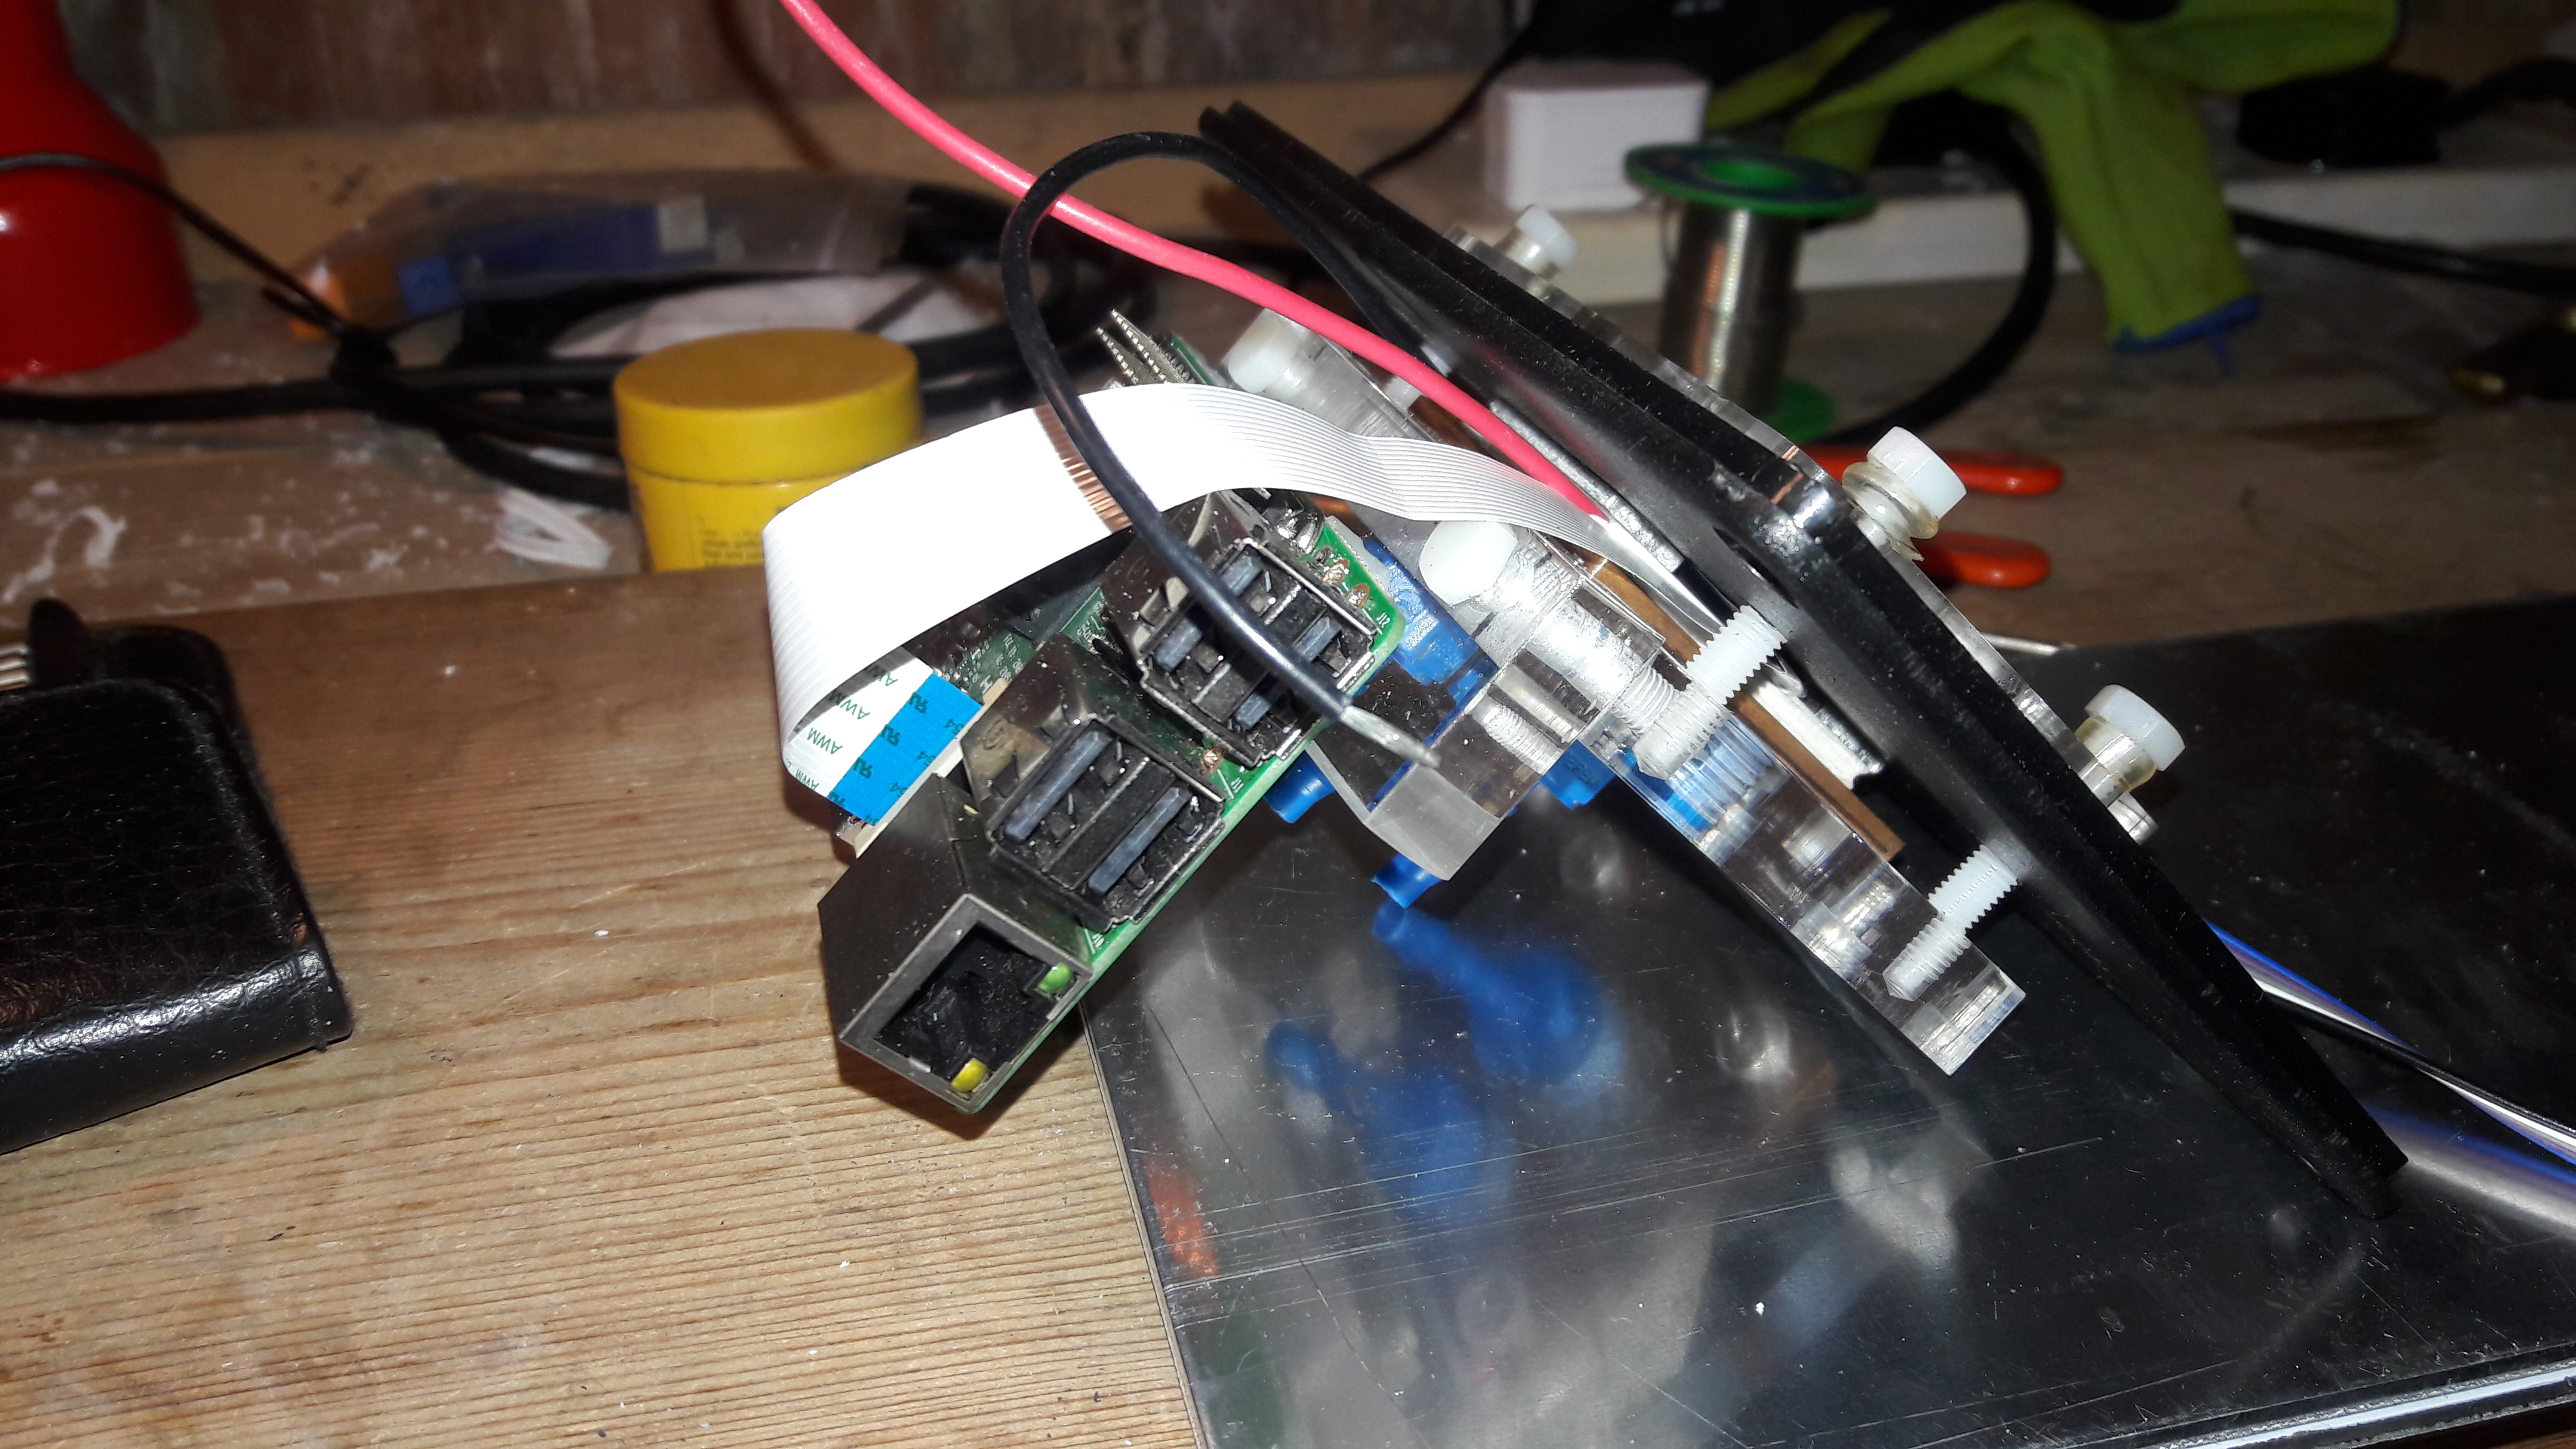
Then, to the rear waterblock we attach a little flange, which holds our raspberry pi, above the water cooling pipes (so any leaks fall to the ground, not on the pi)
A side view of the complete system, with the pi attached on top.
Sample photos
Having built the system, I was keen to give it a go. Living in a quiet village with a big garden, I was able to set up my mount outside. Good news is that the system was short enough to be mounted on the rear and still having clearance. Likewise it was not so heavy to cause issues with the stability.
However I found that without a tracking mount, I was unable to get any decent shots, I would get streaks. Even pointing it at Polaris I was unable to get a decent shot. So I decided to remove the lens and mount my little box directly, and try to capture a large part of the sky. My hypothesis was that this would not be sensitive to alignment nor would it need tracking, so would minimise the streaking and blurring.

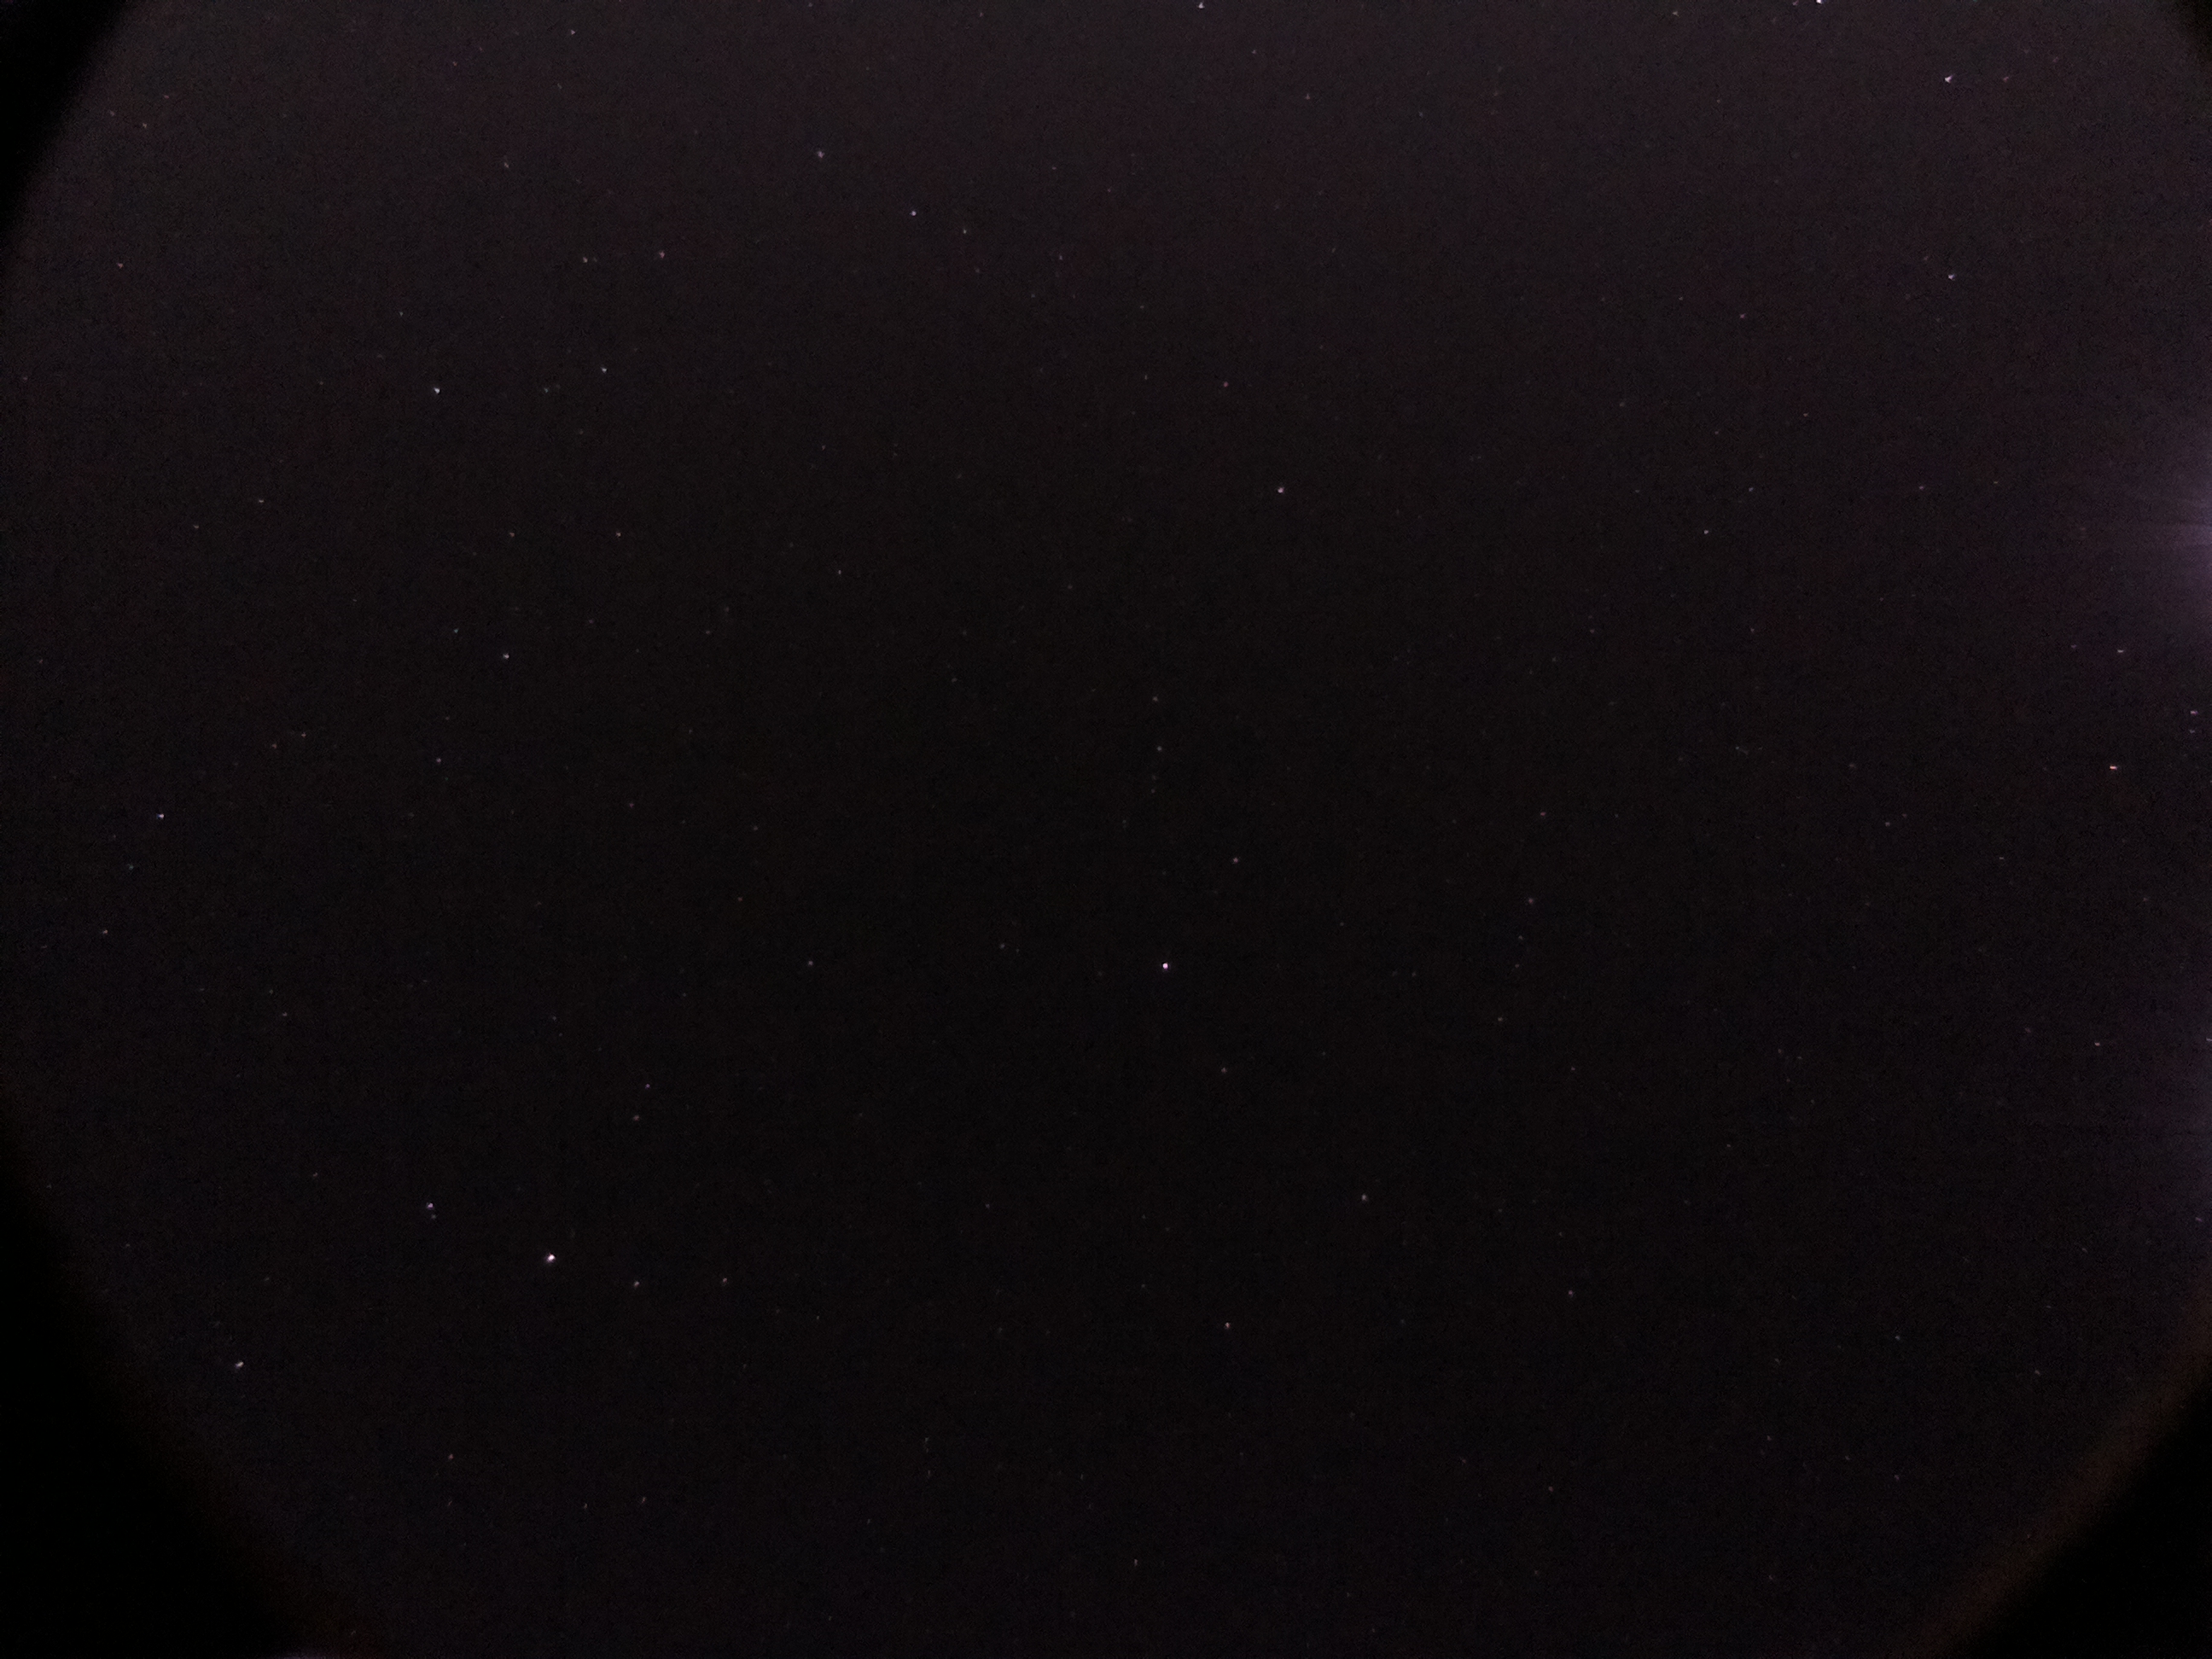
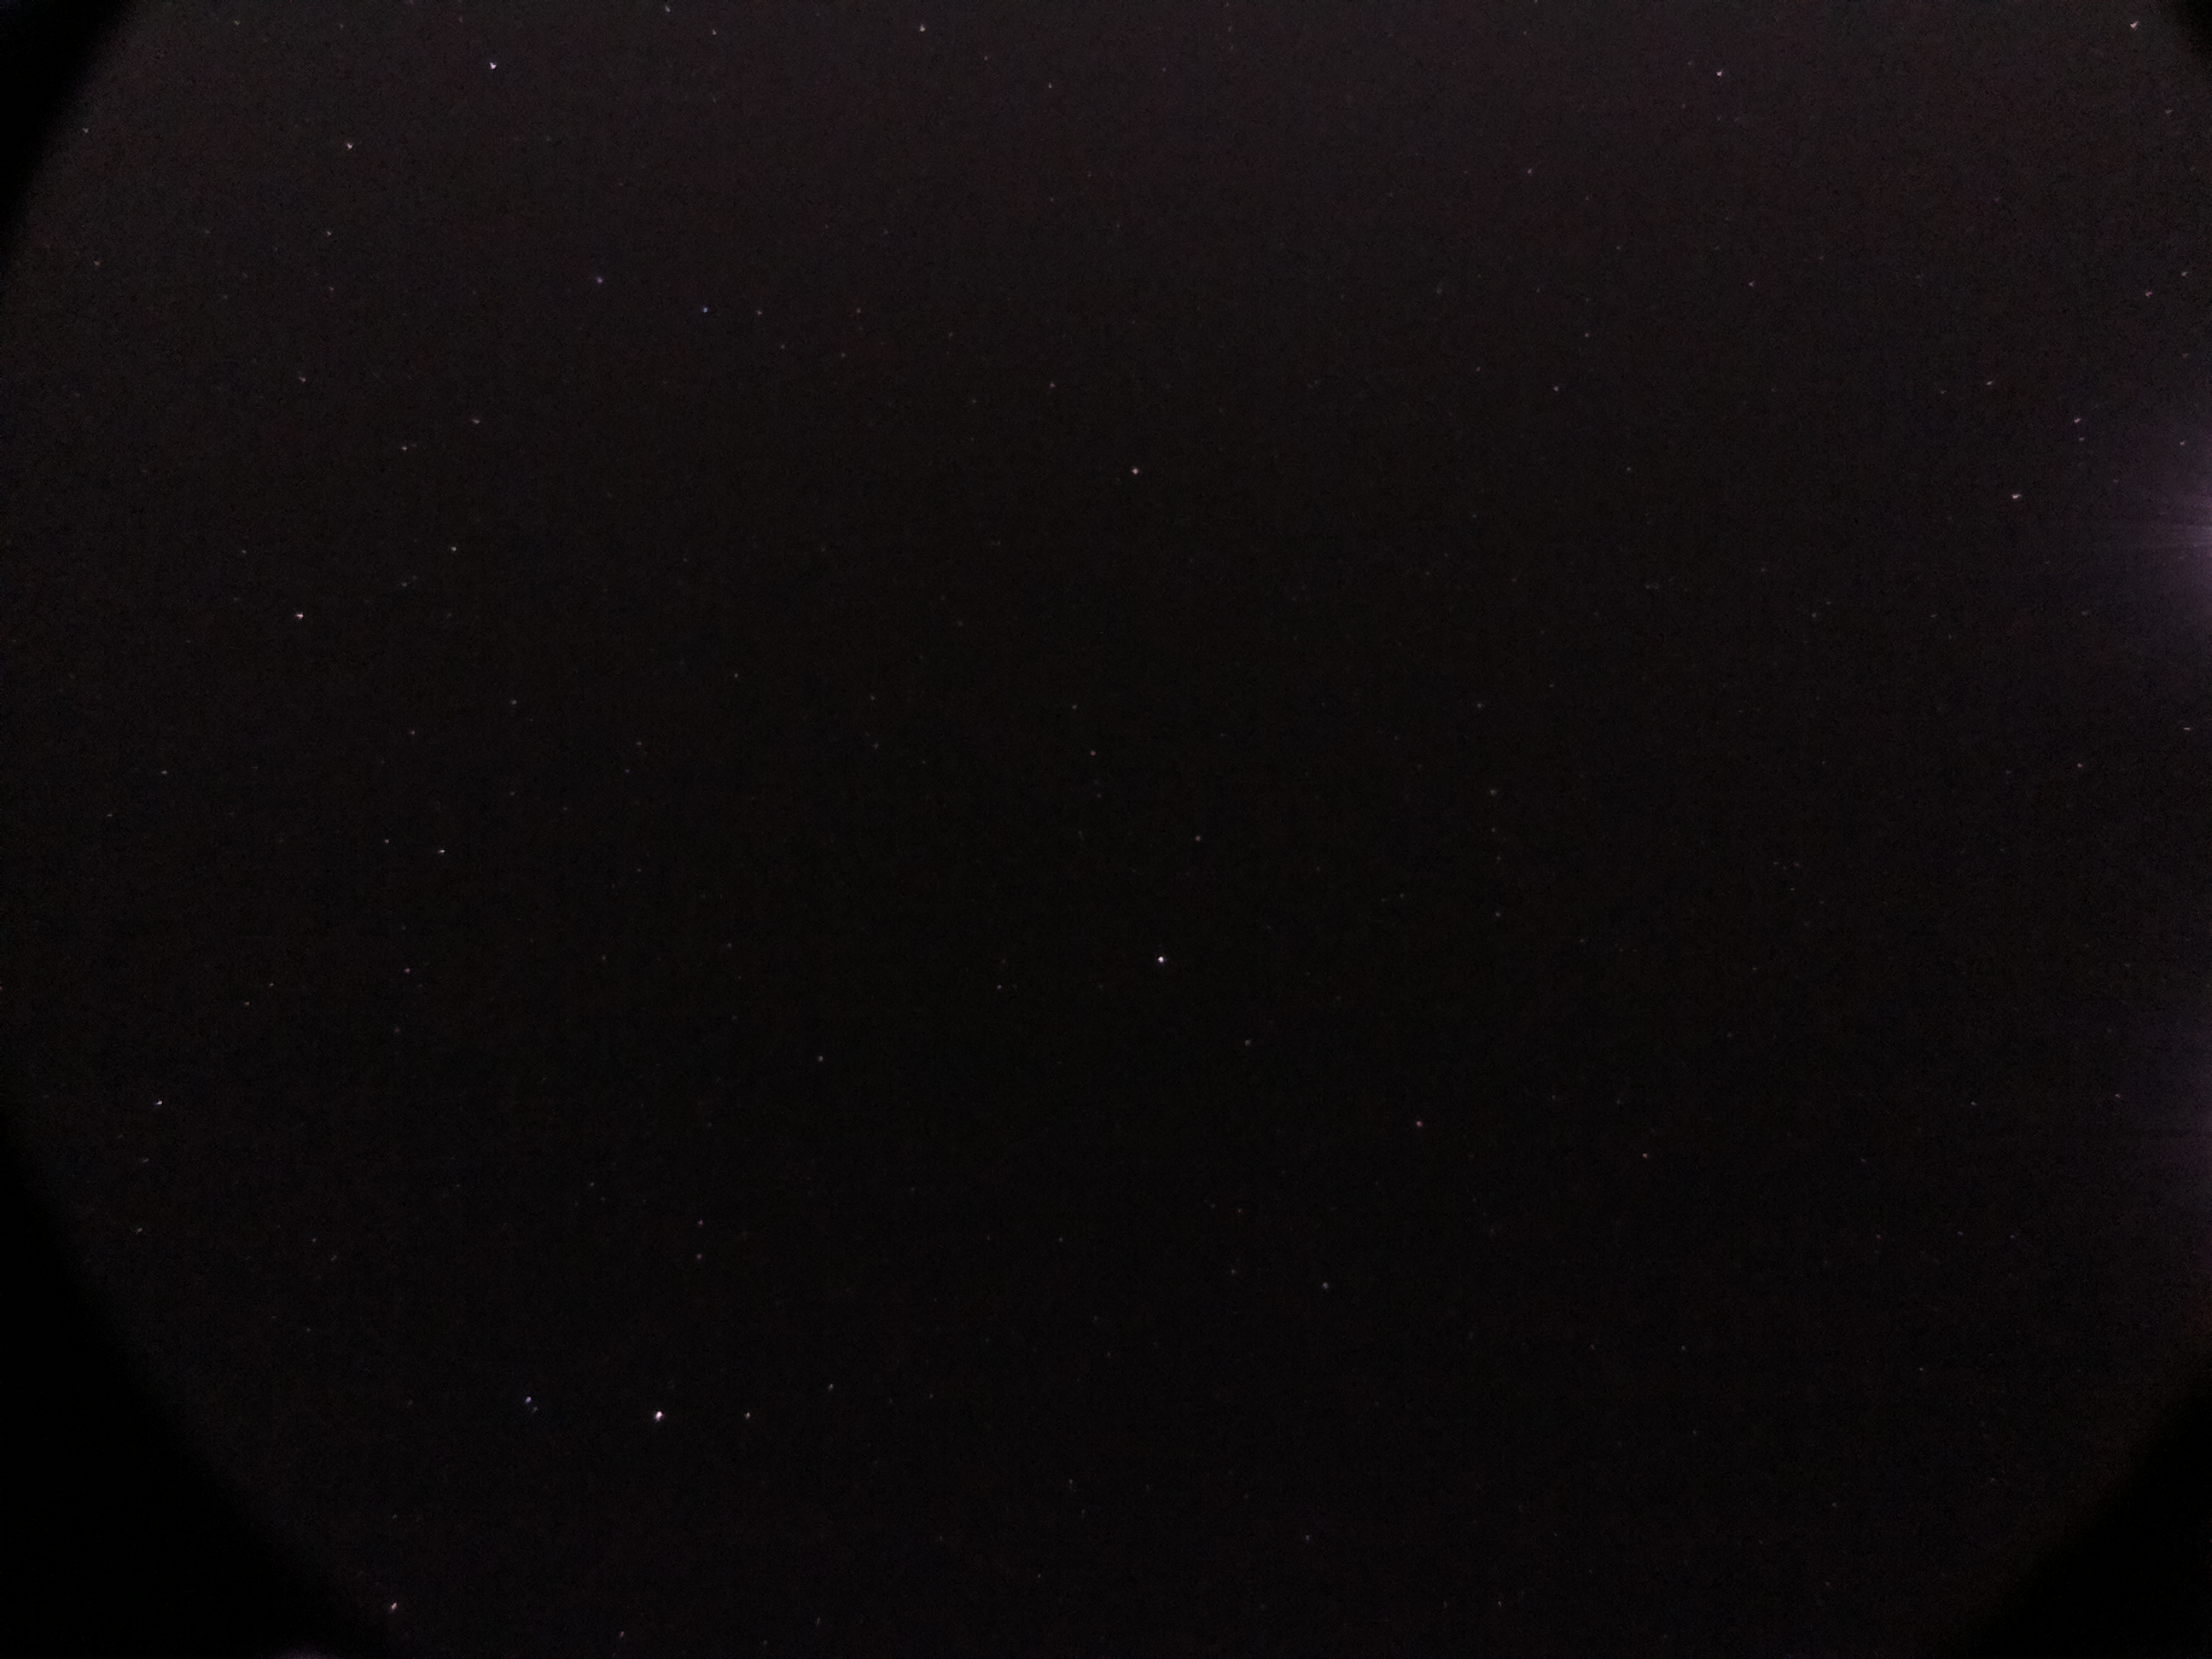
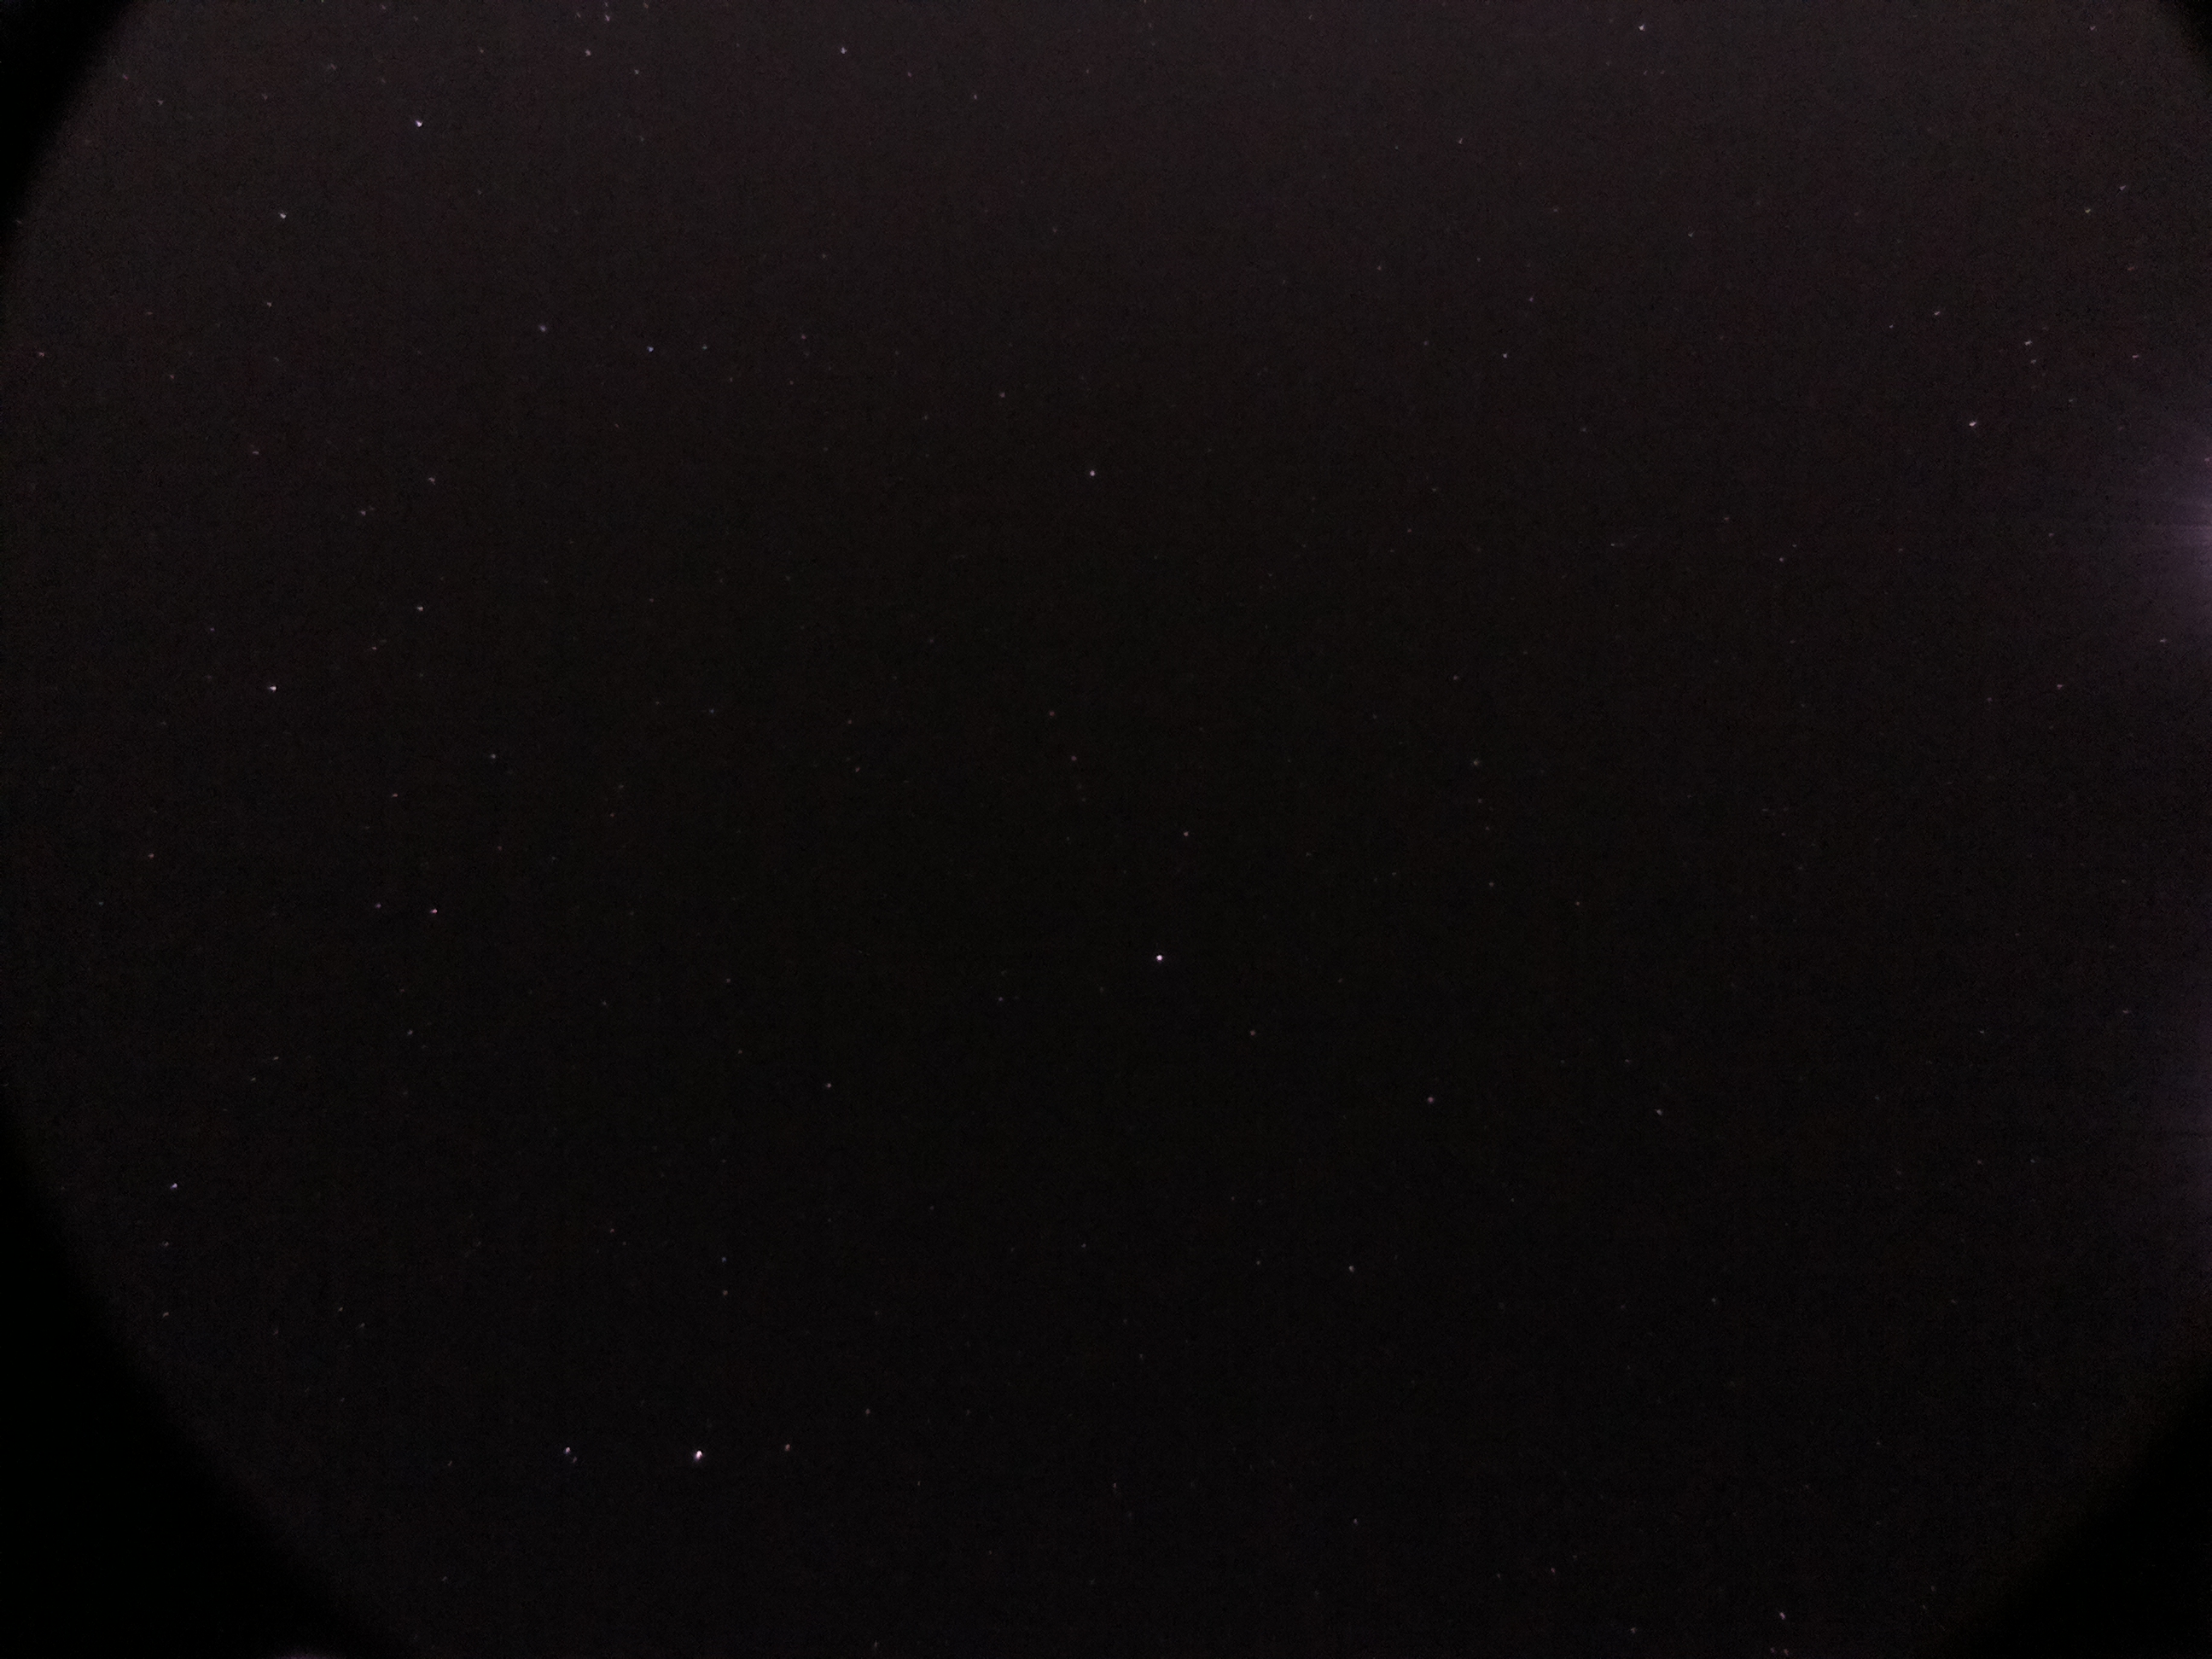
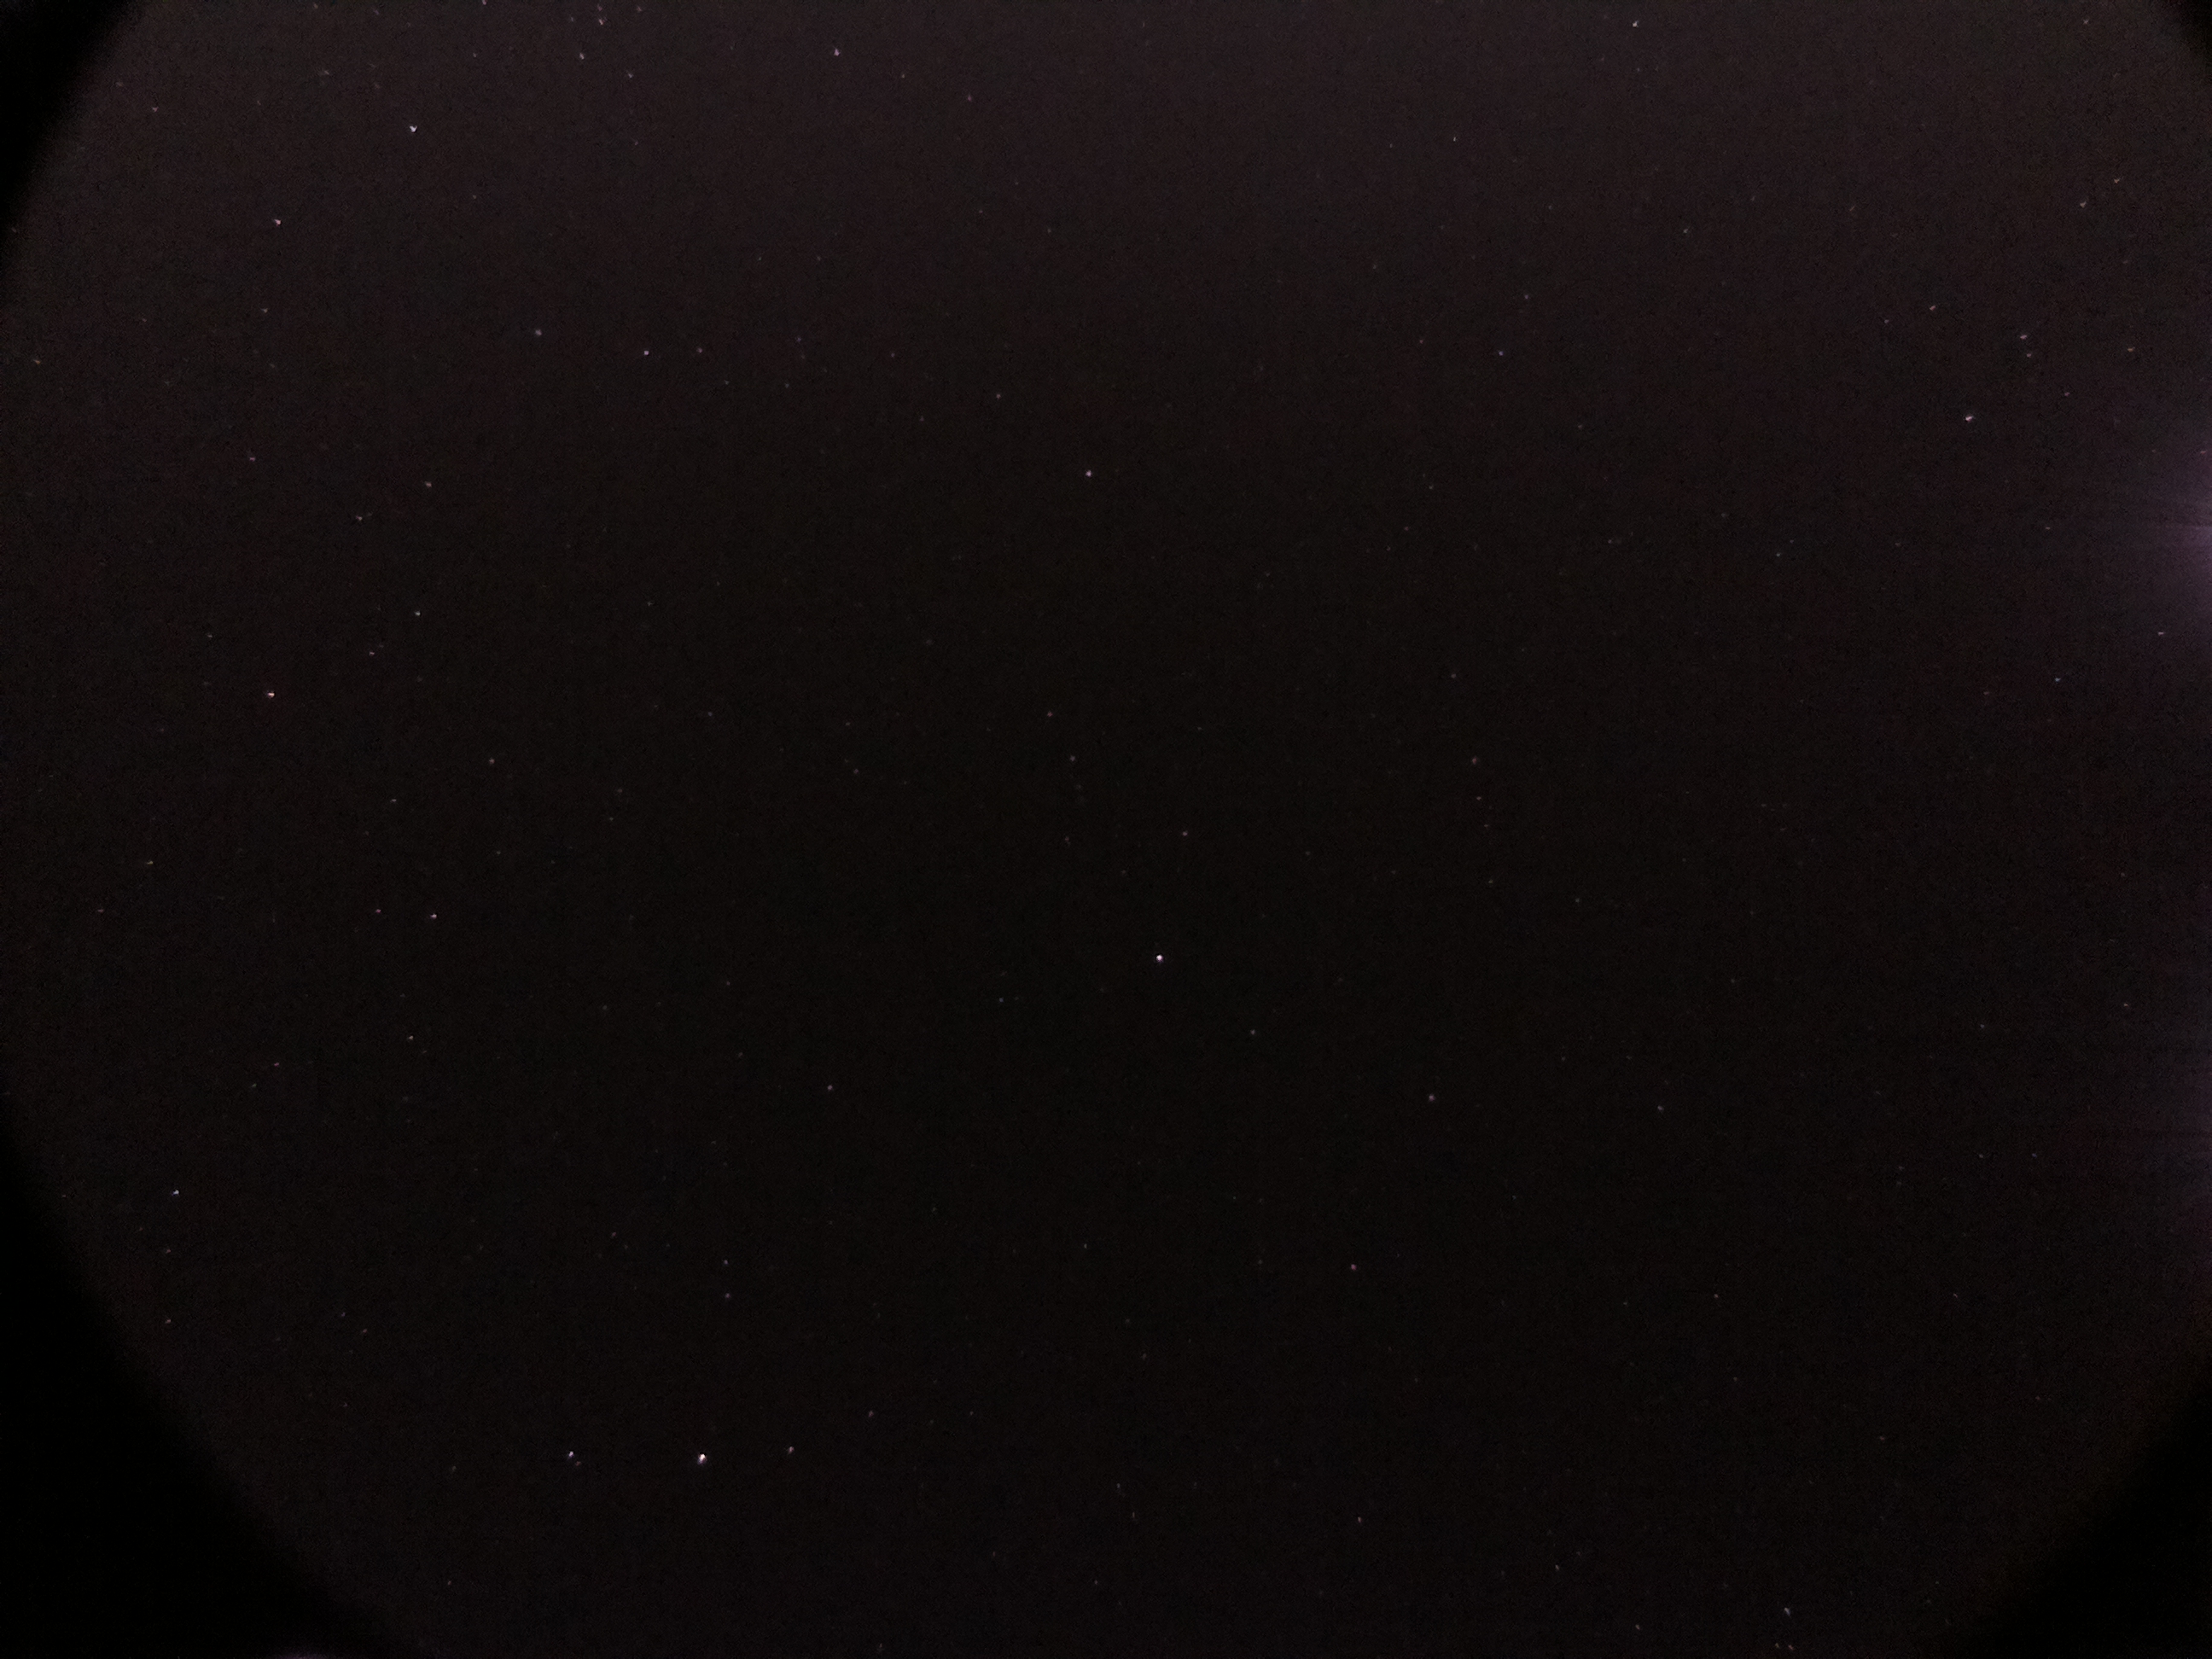
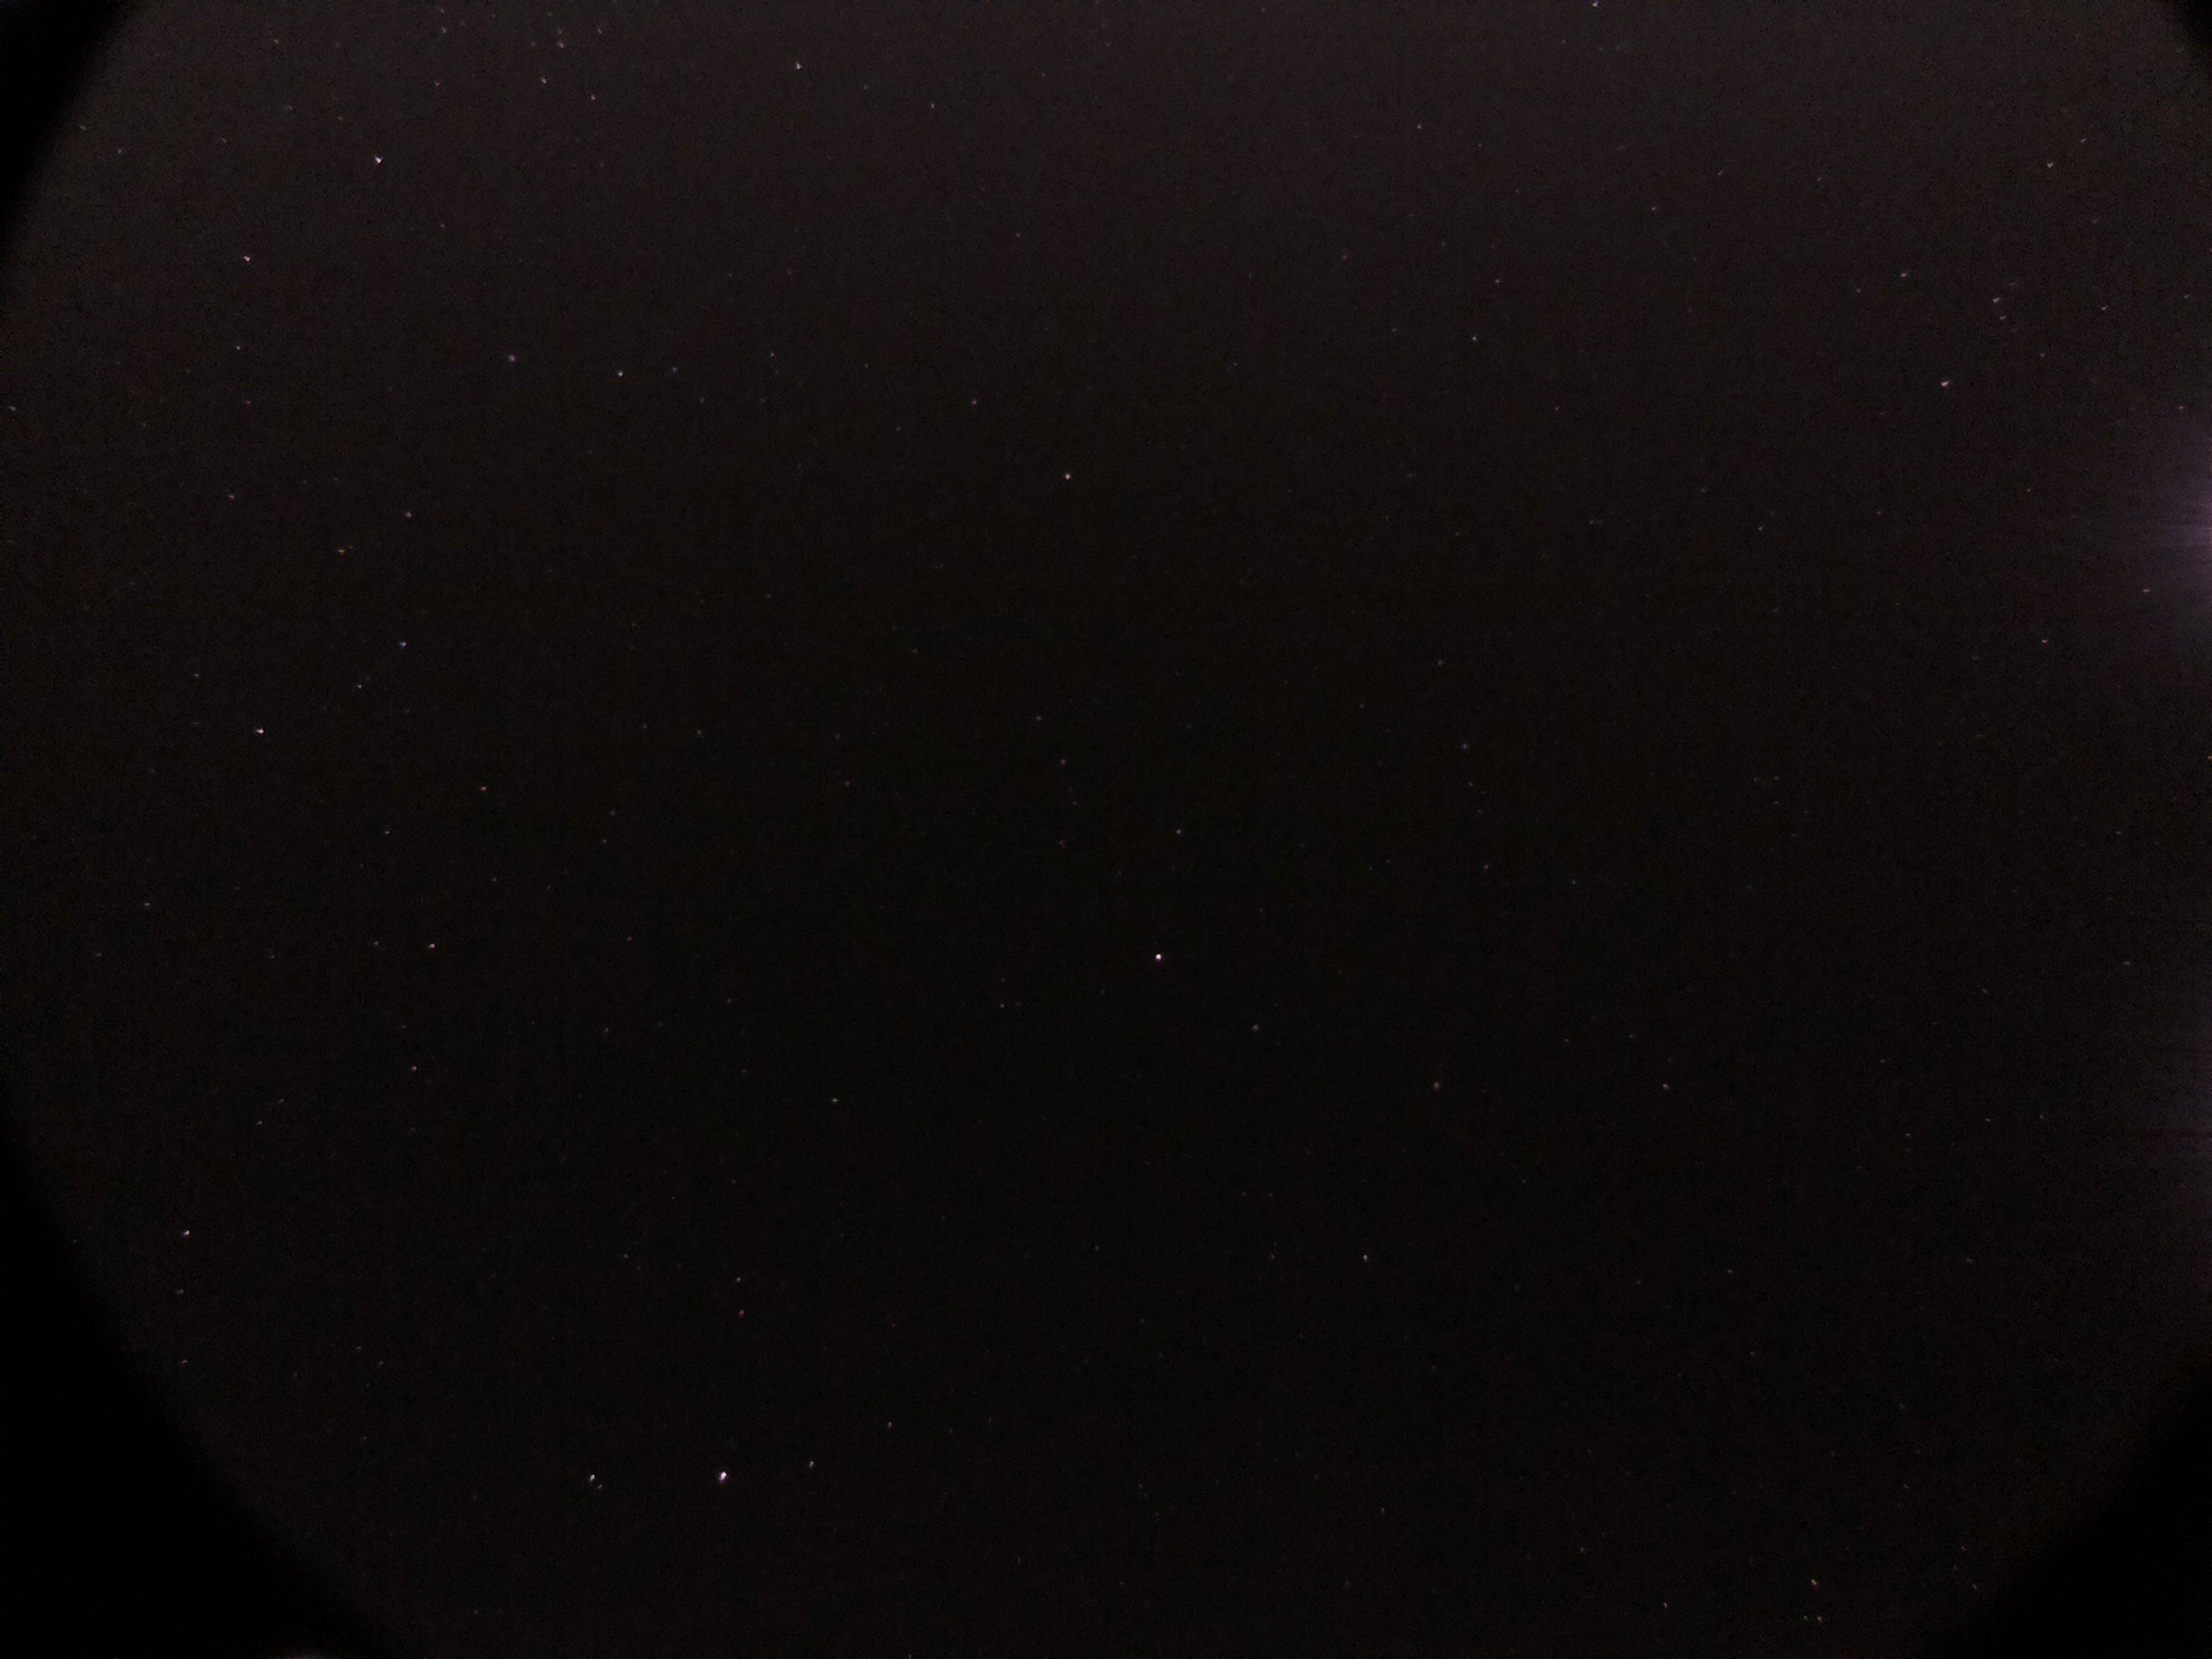
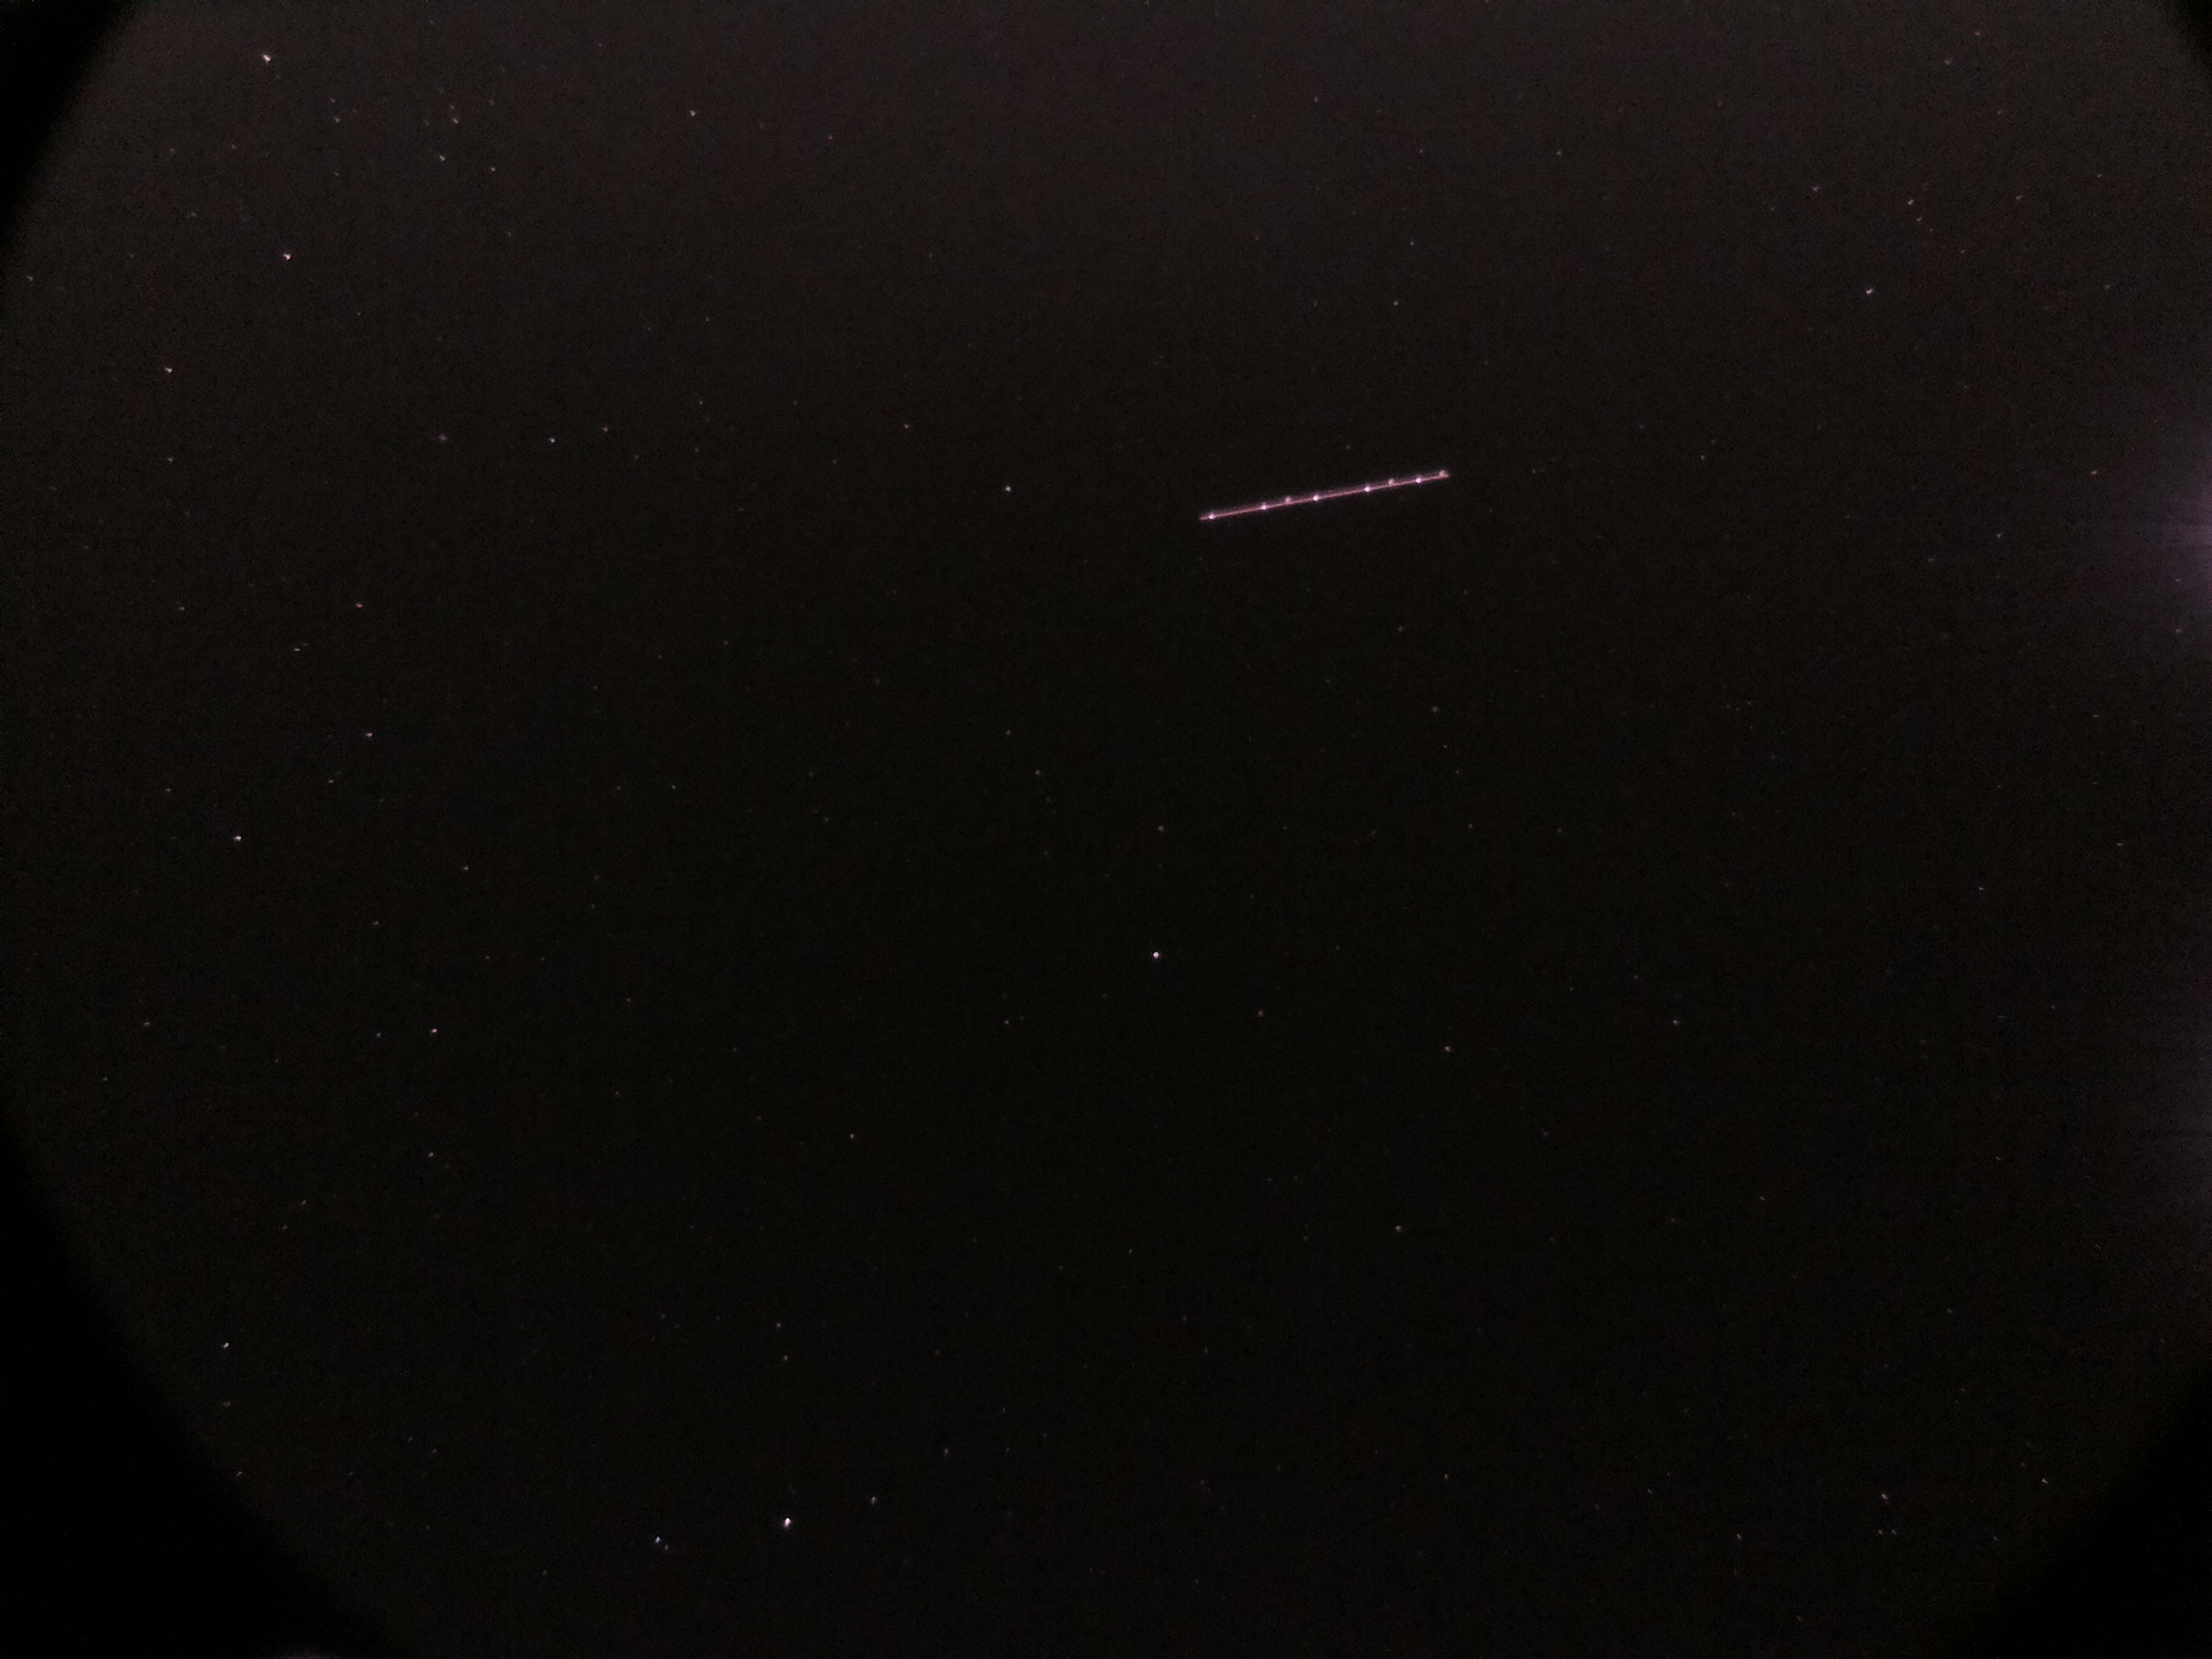
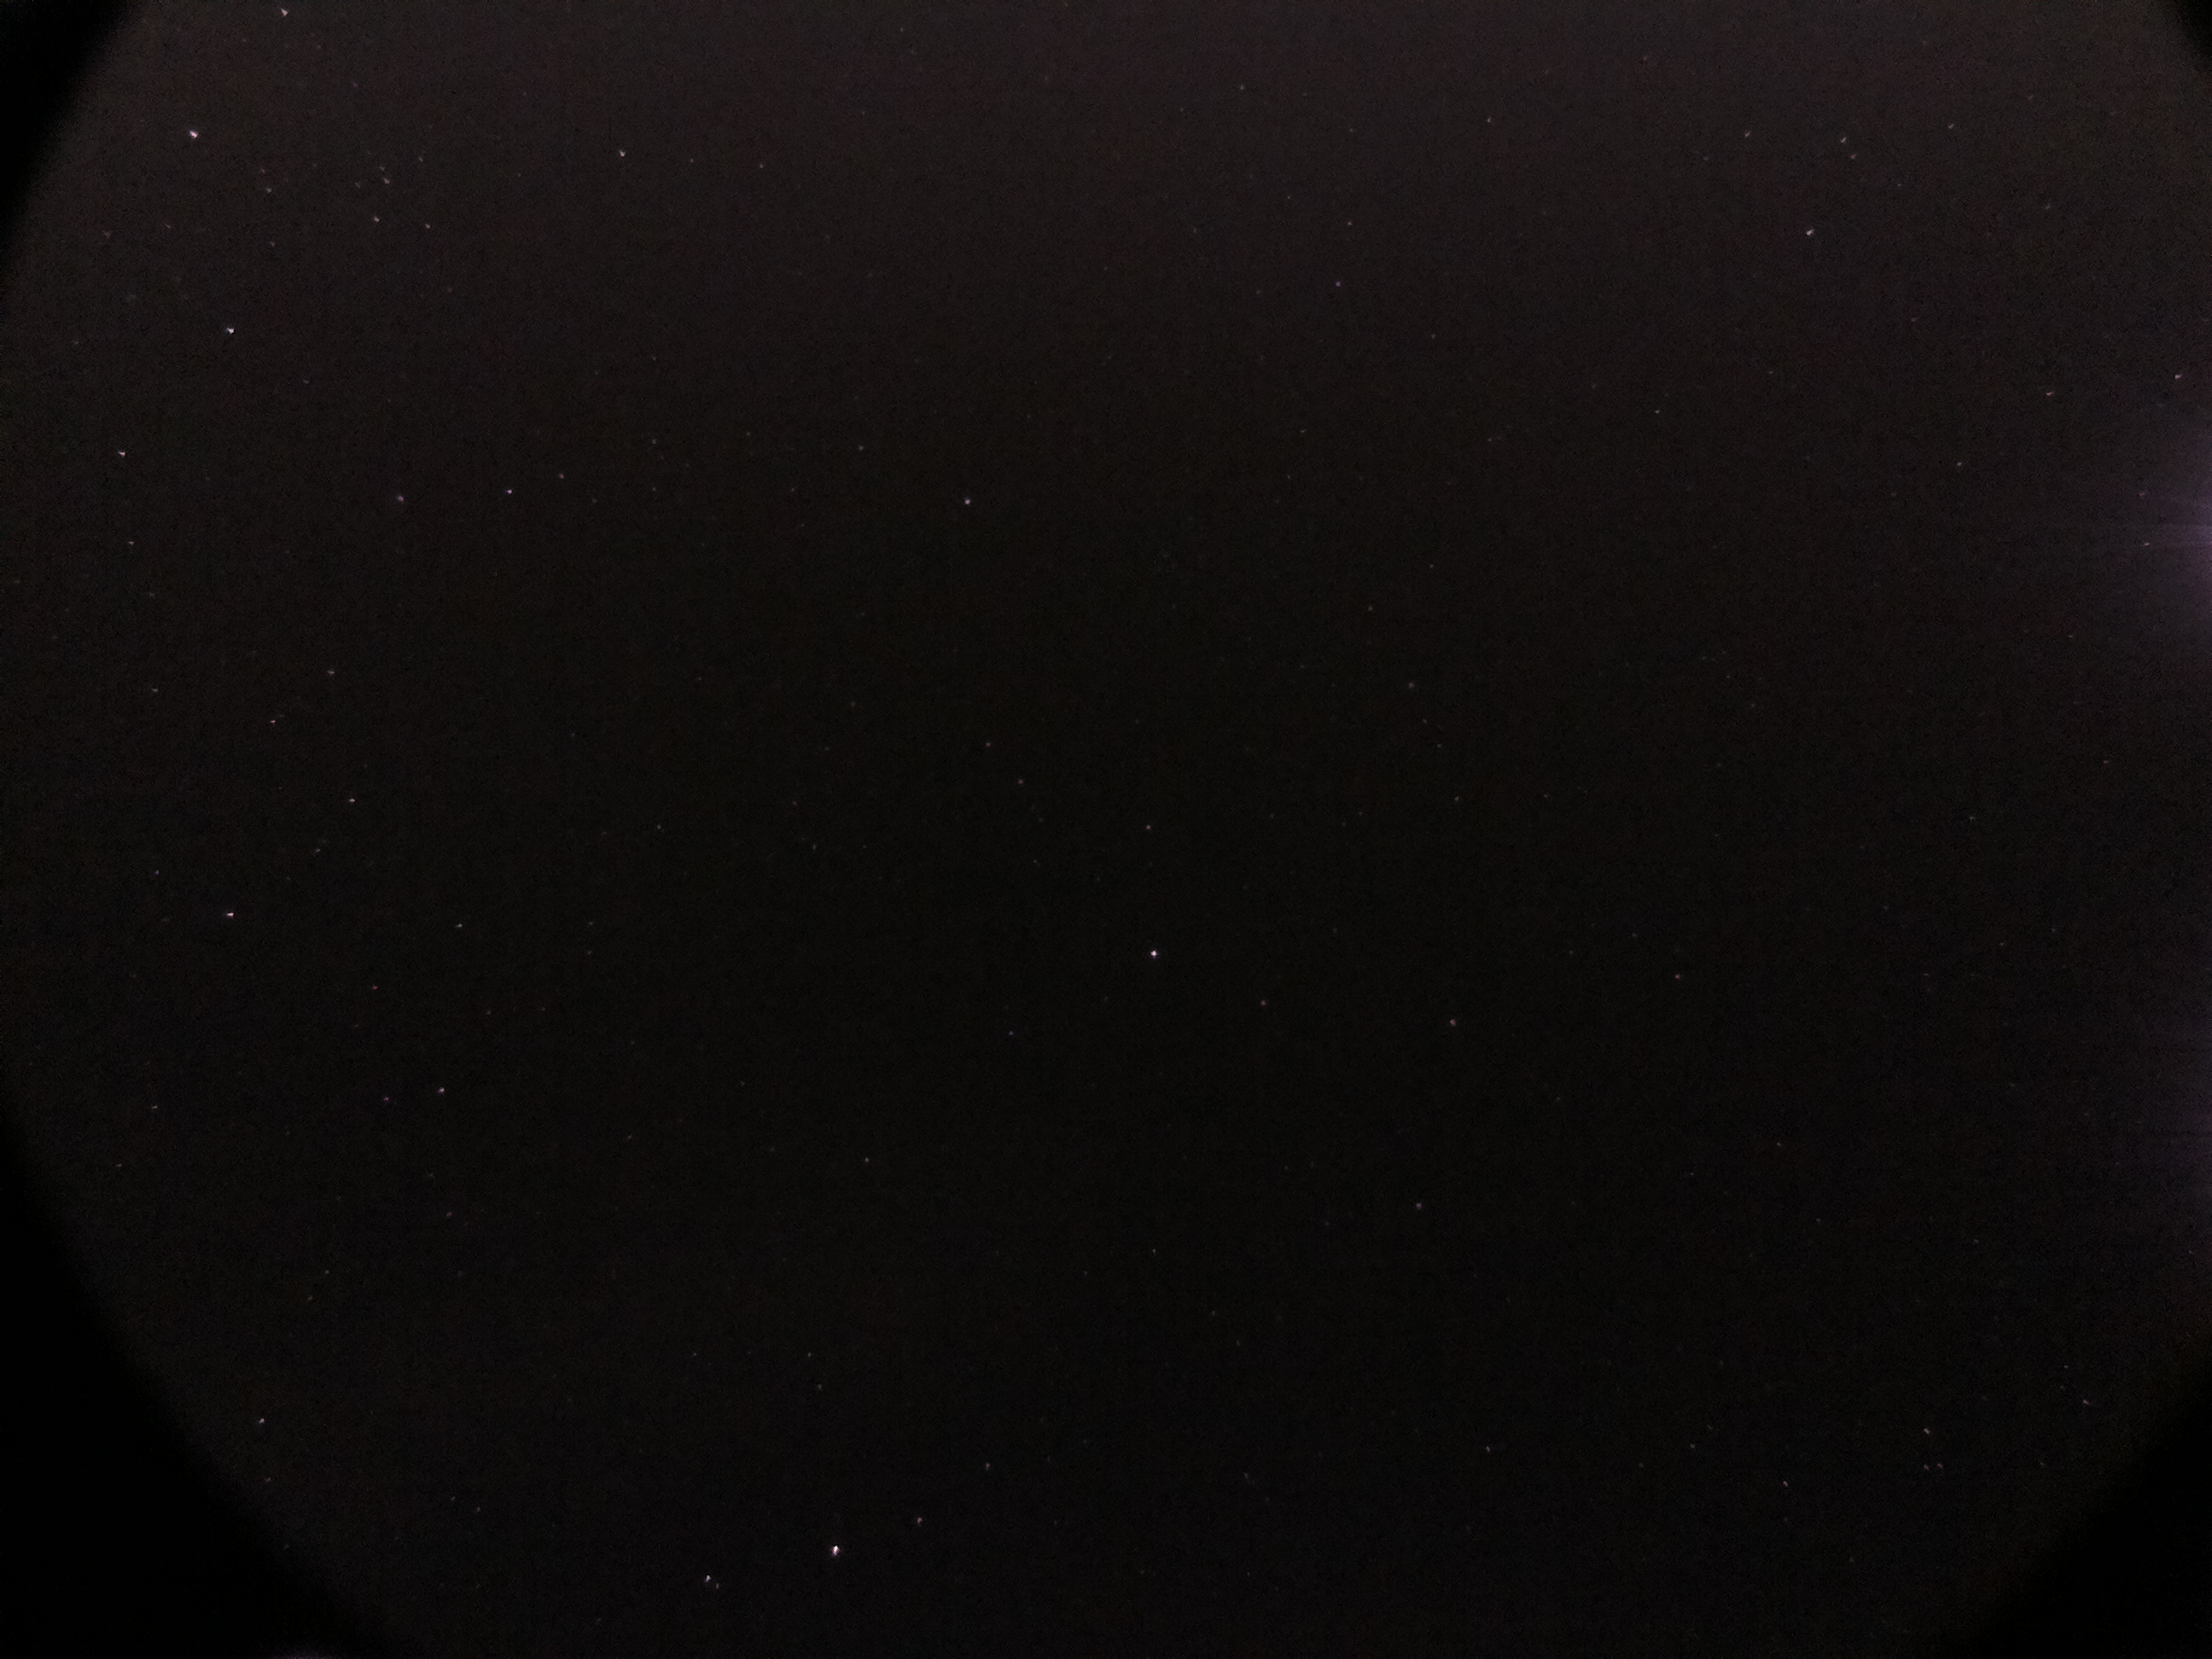
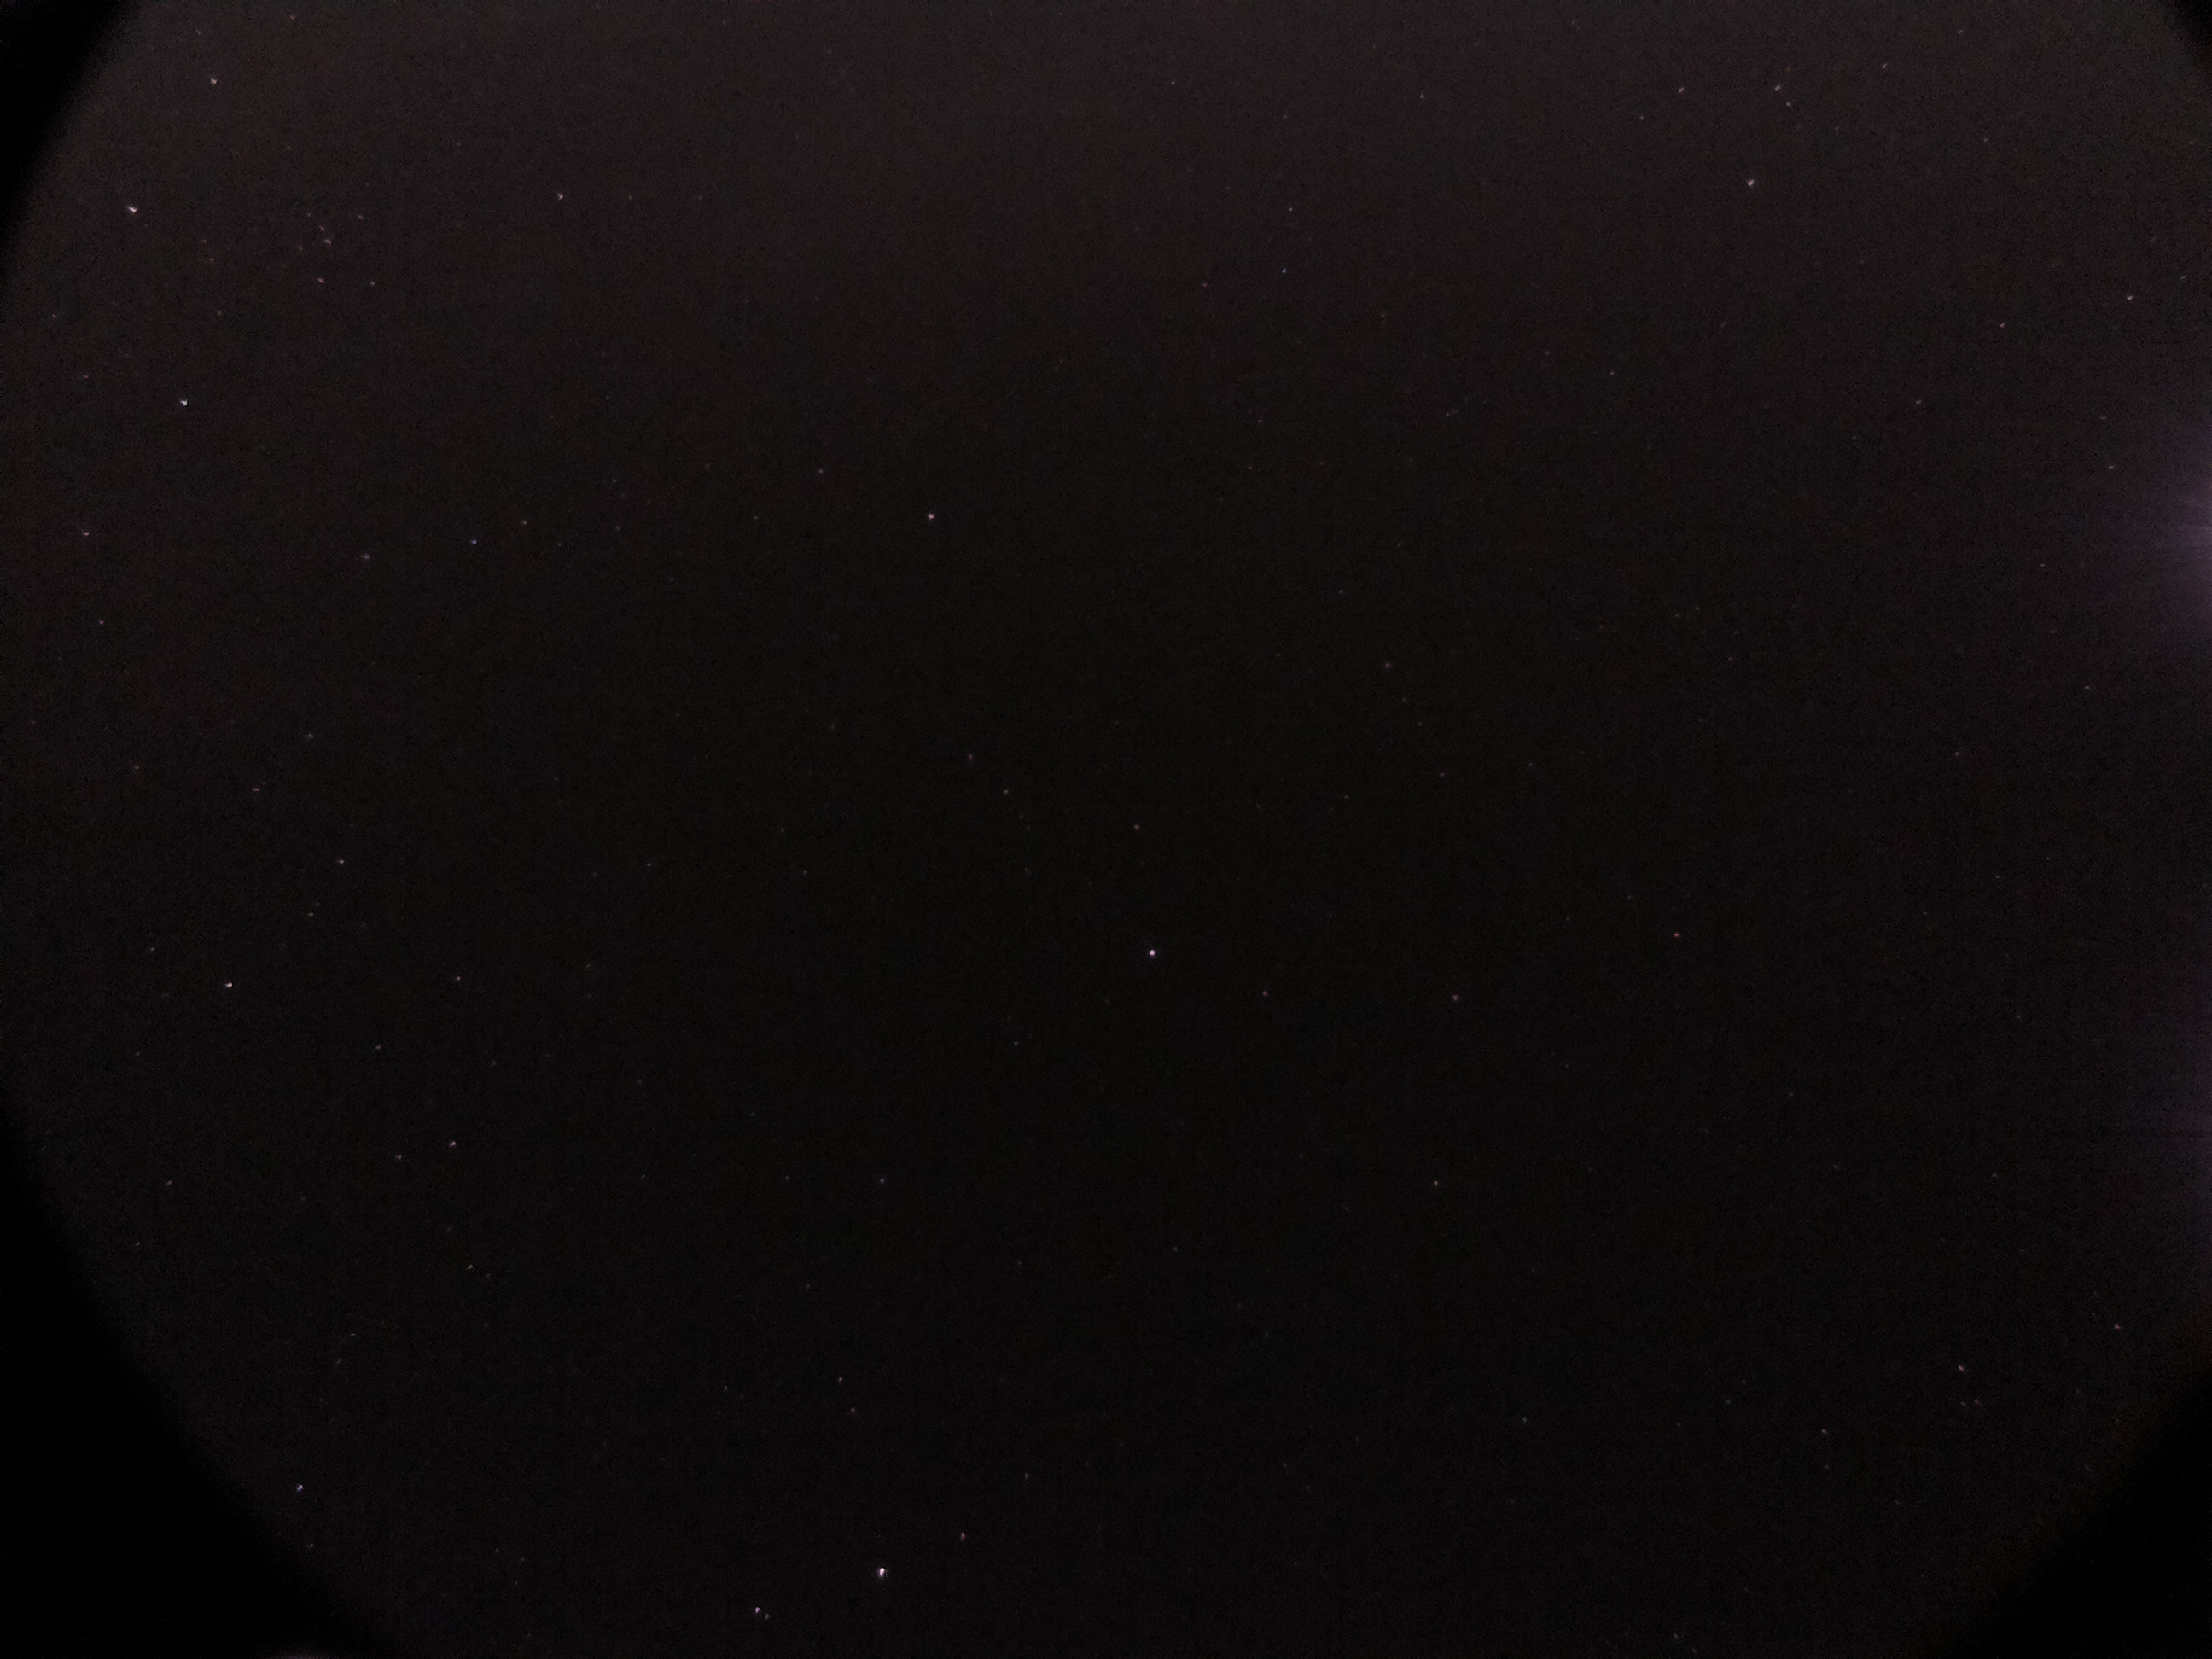
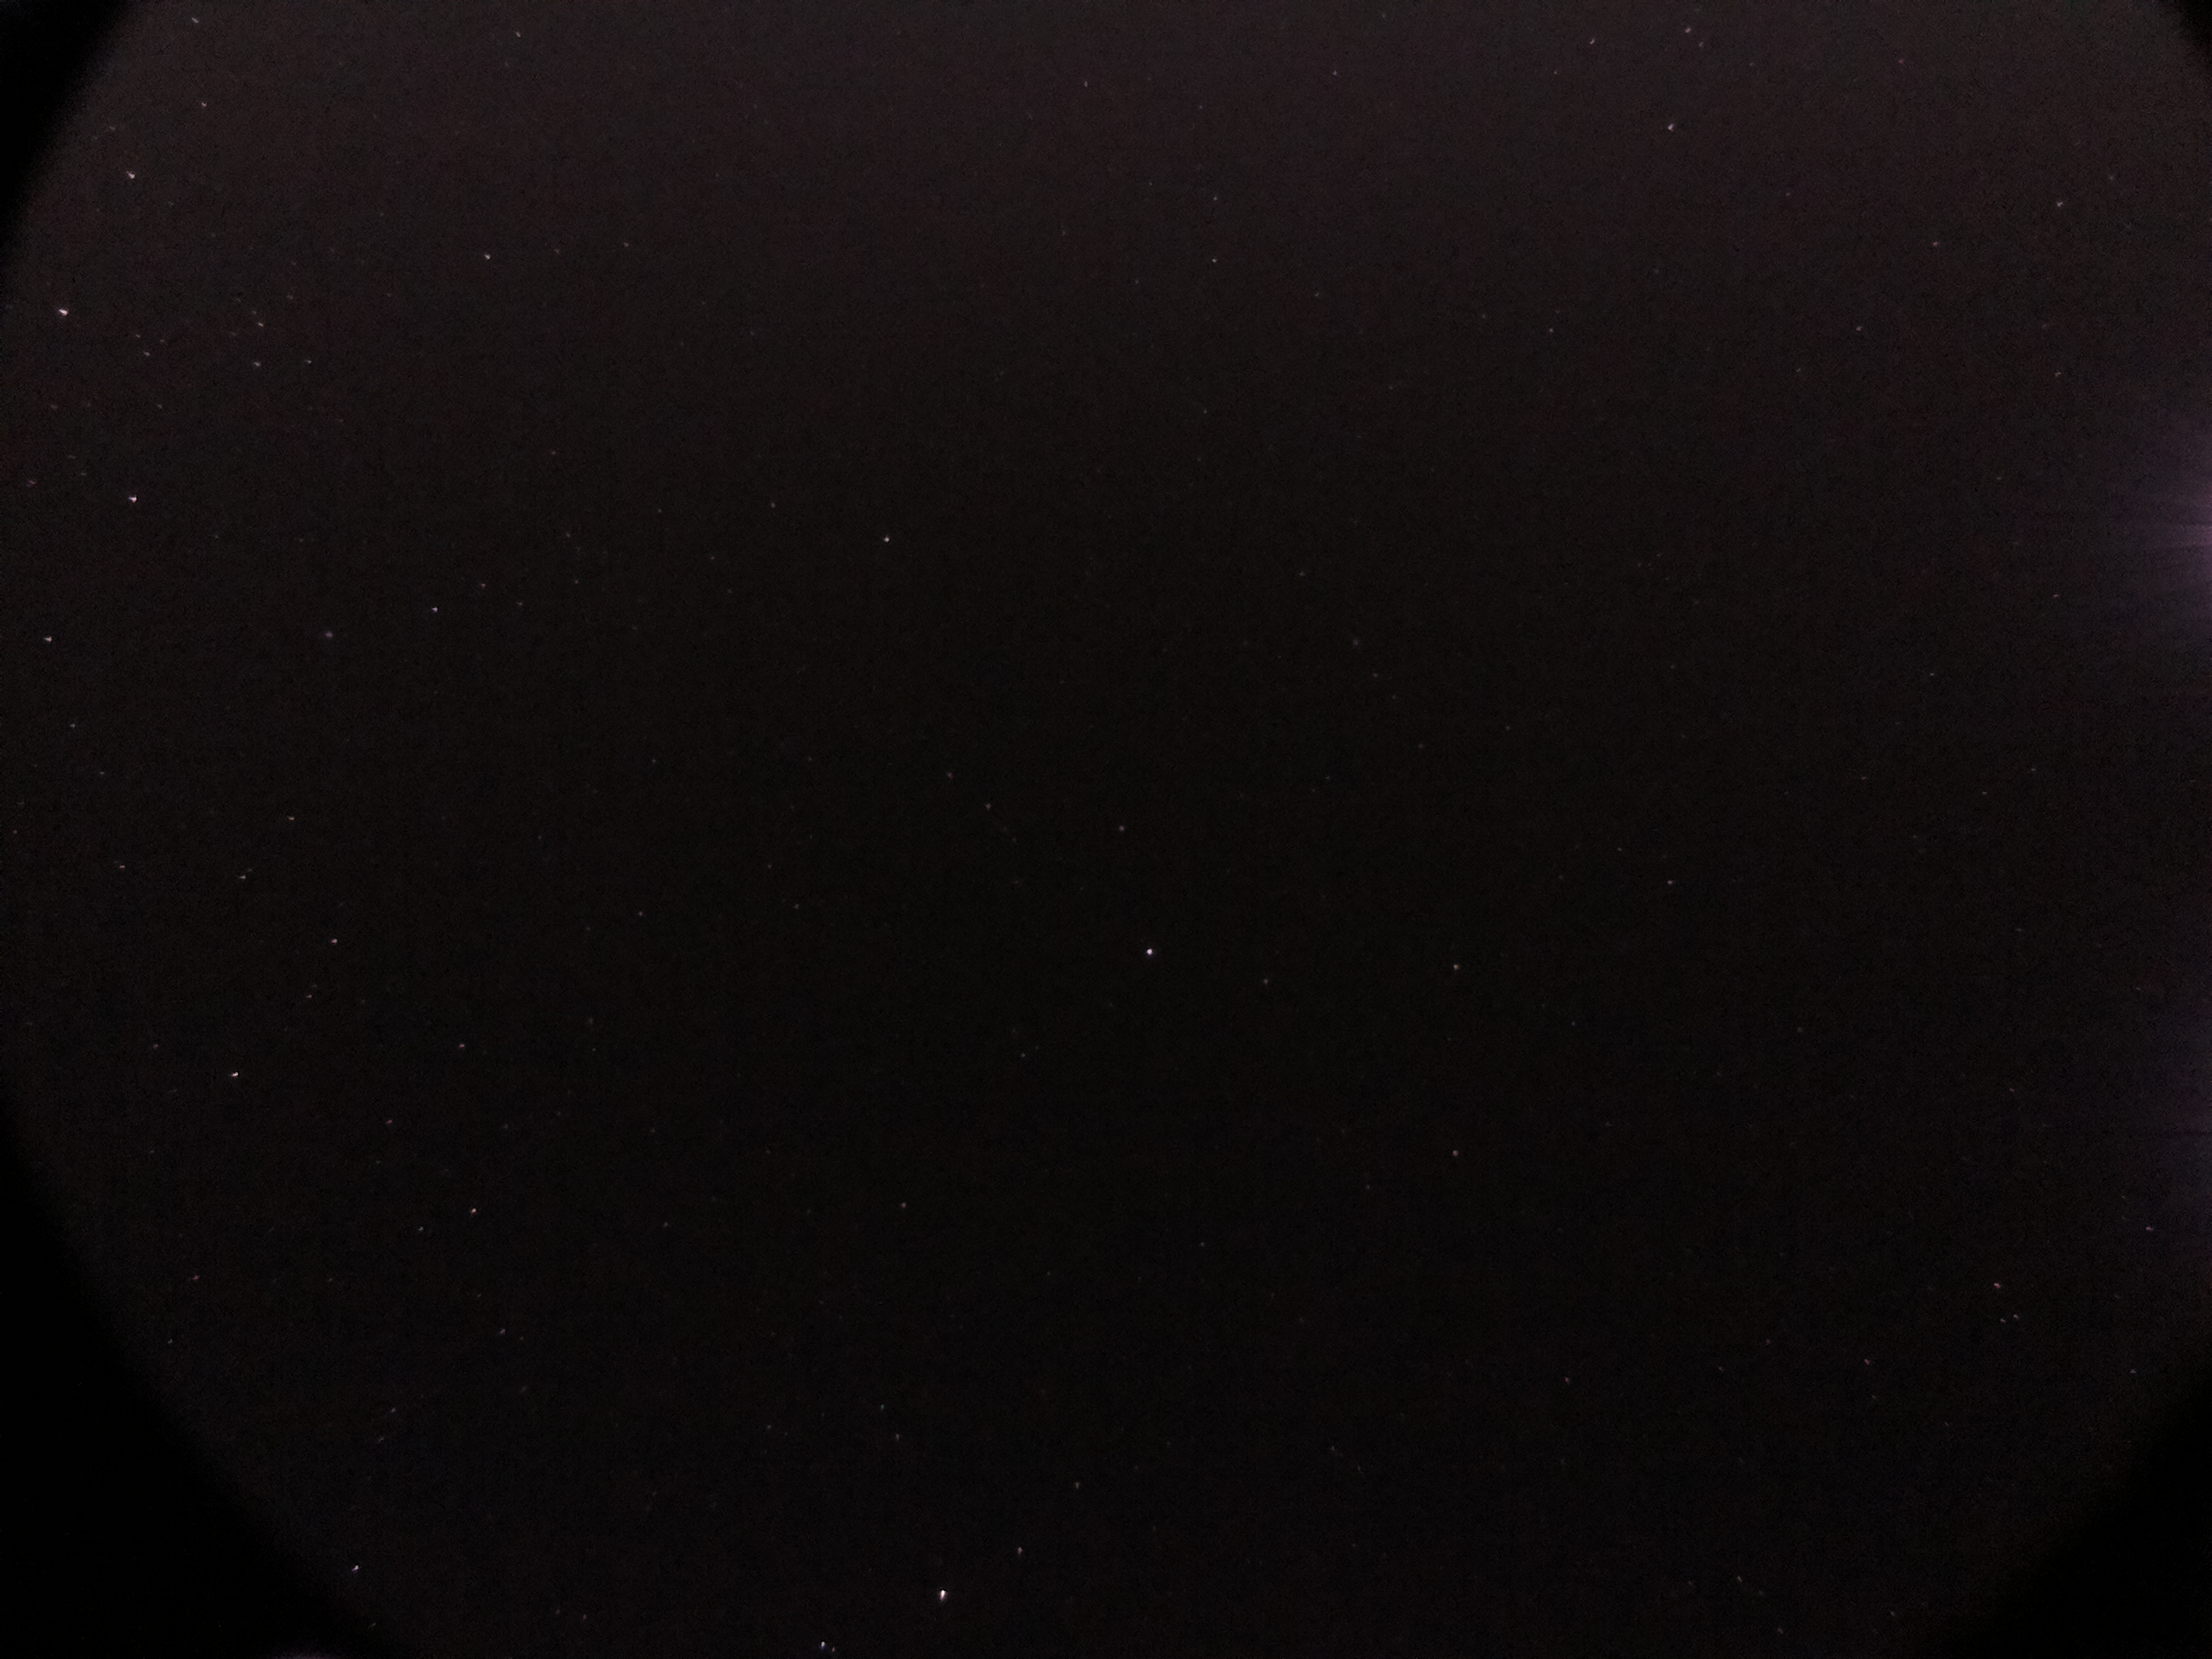
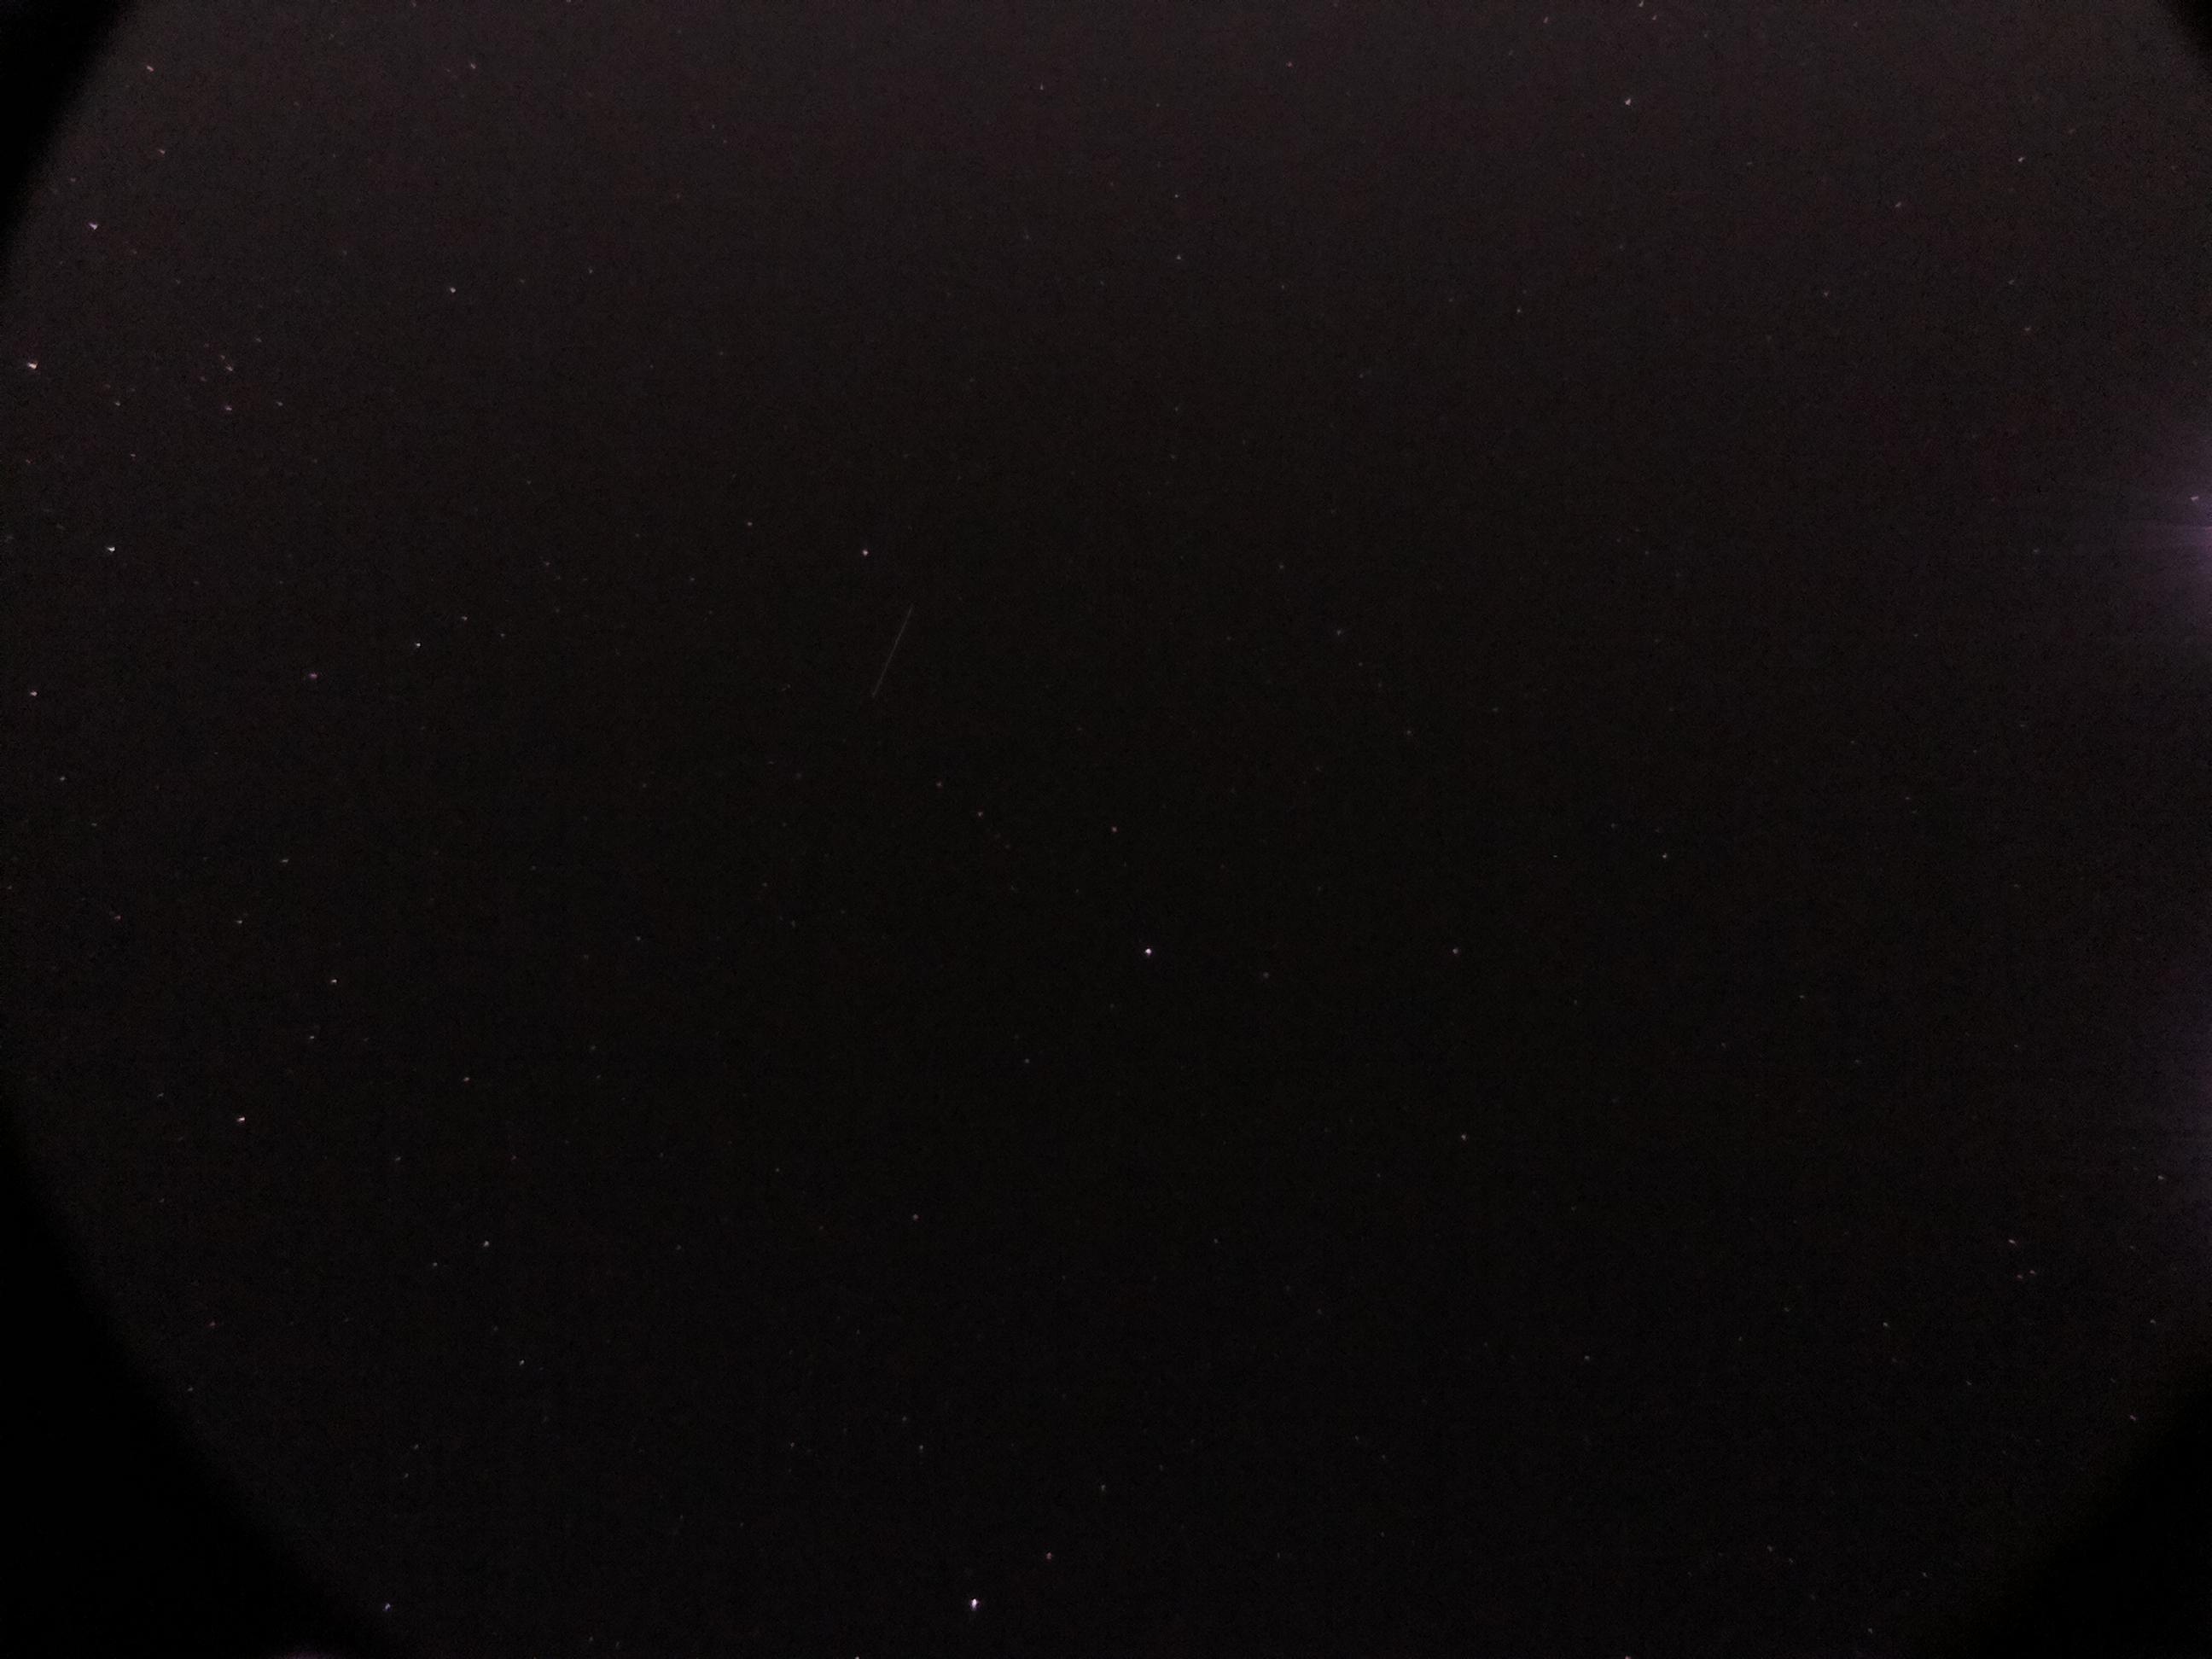
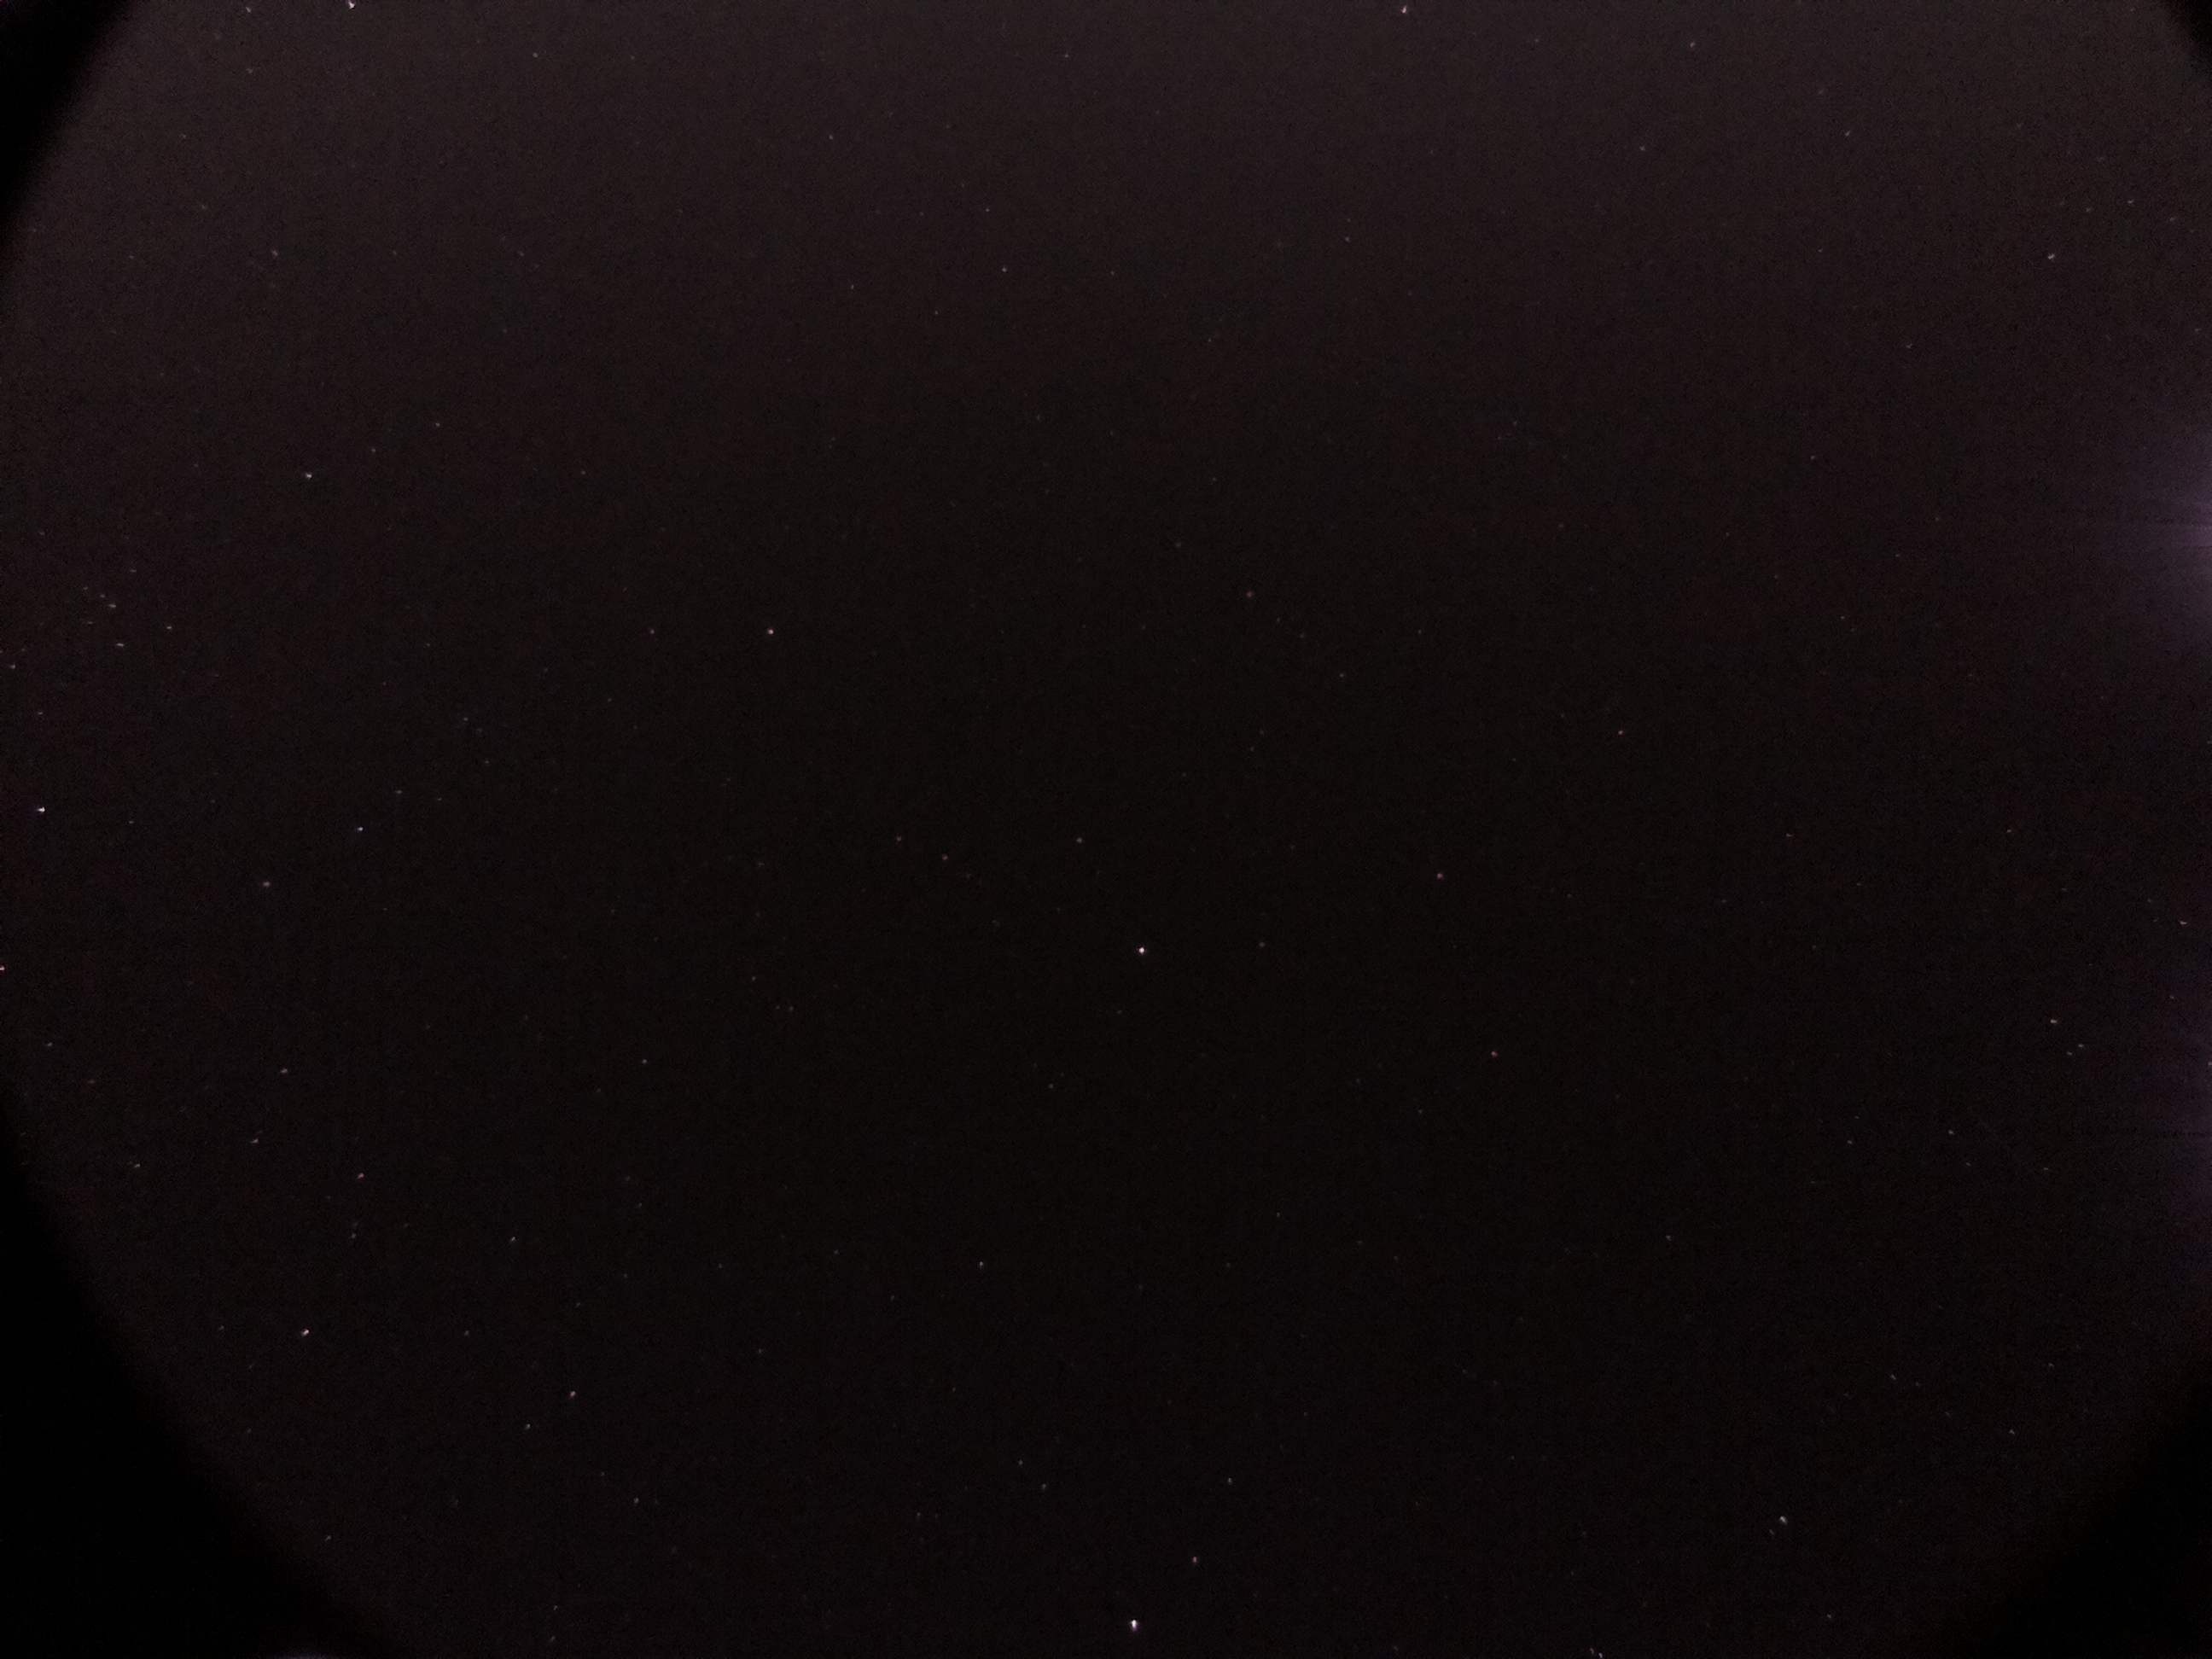
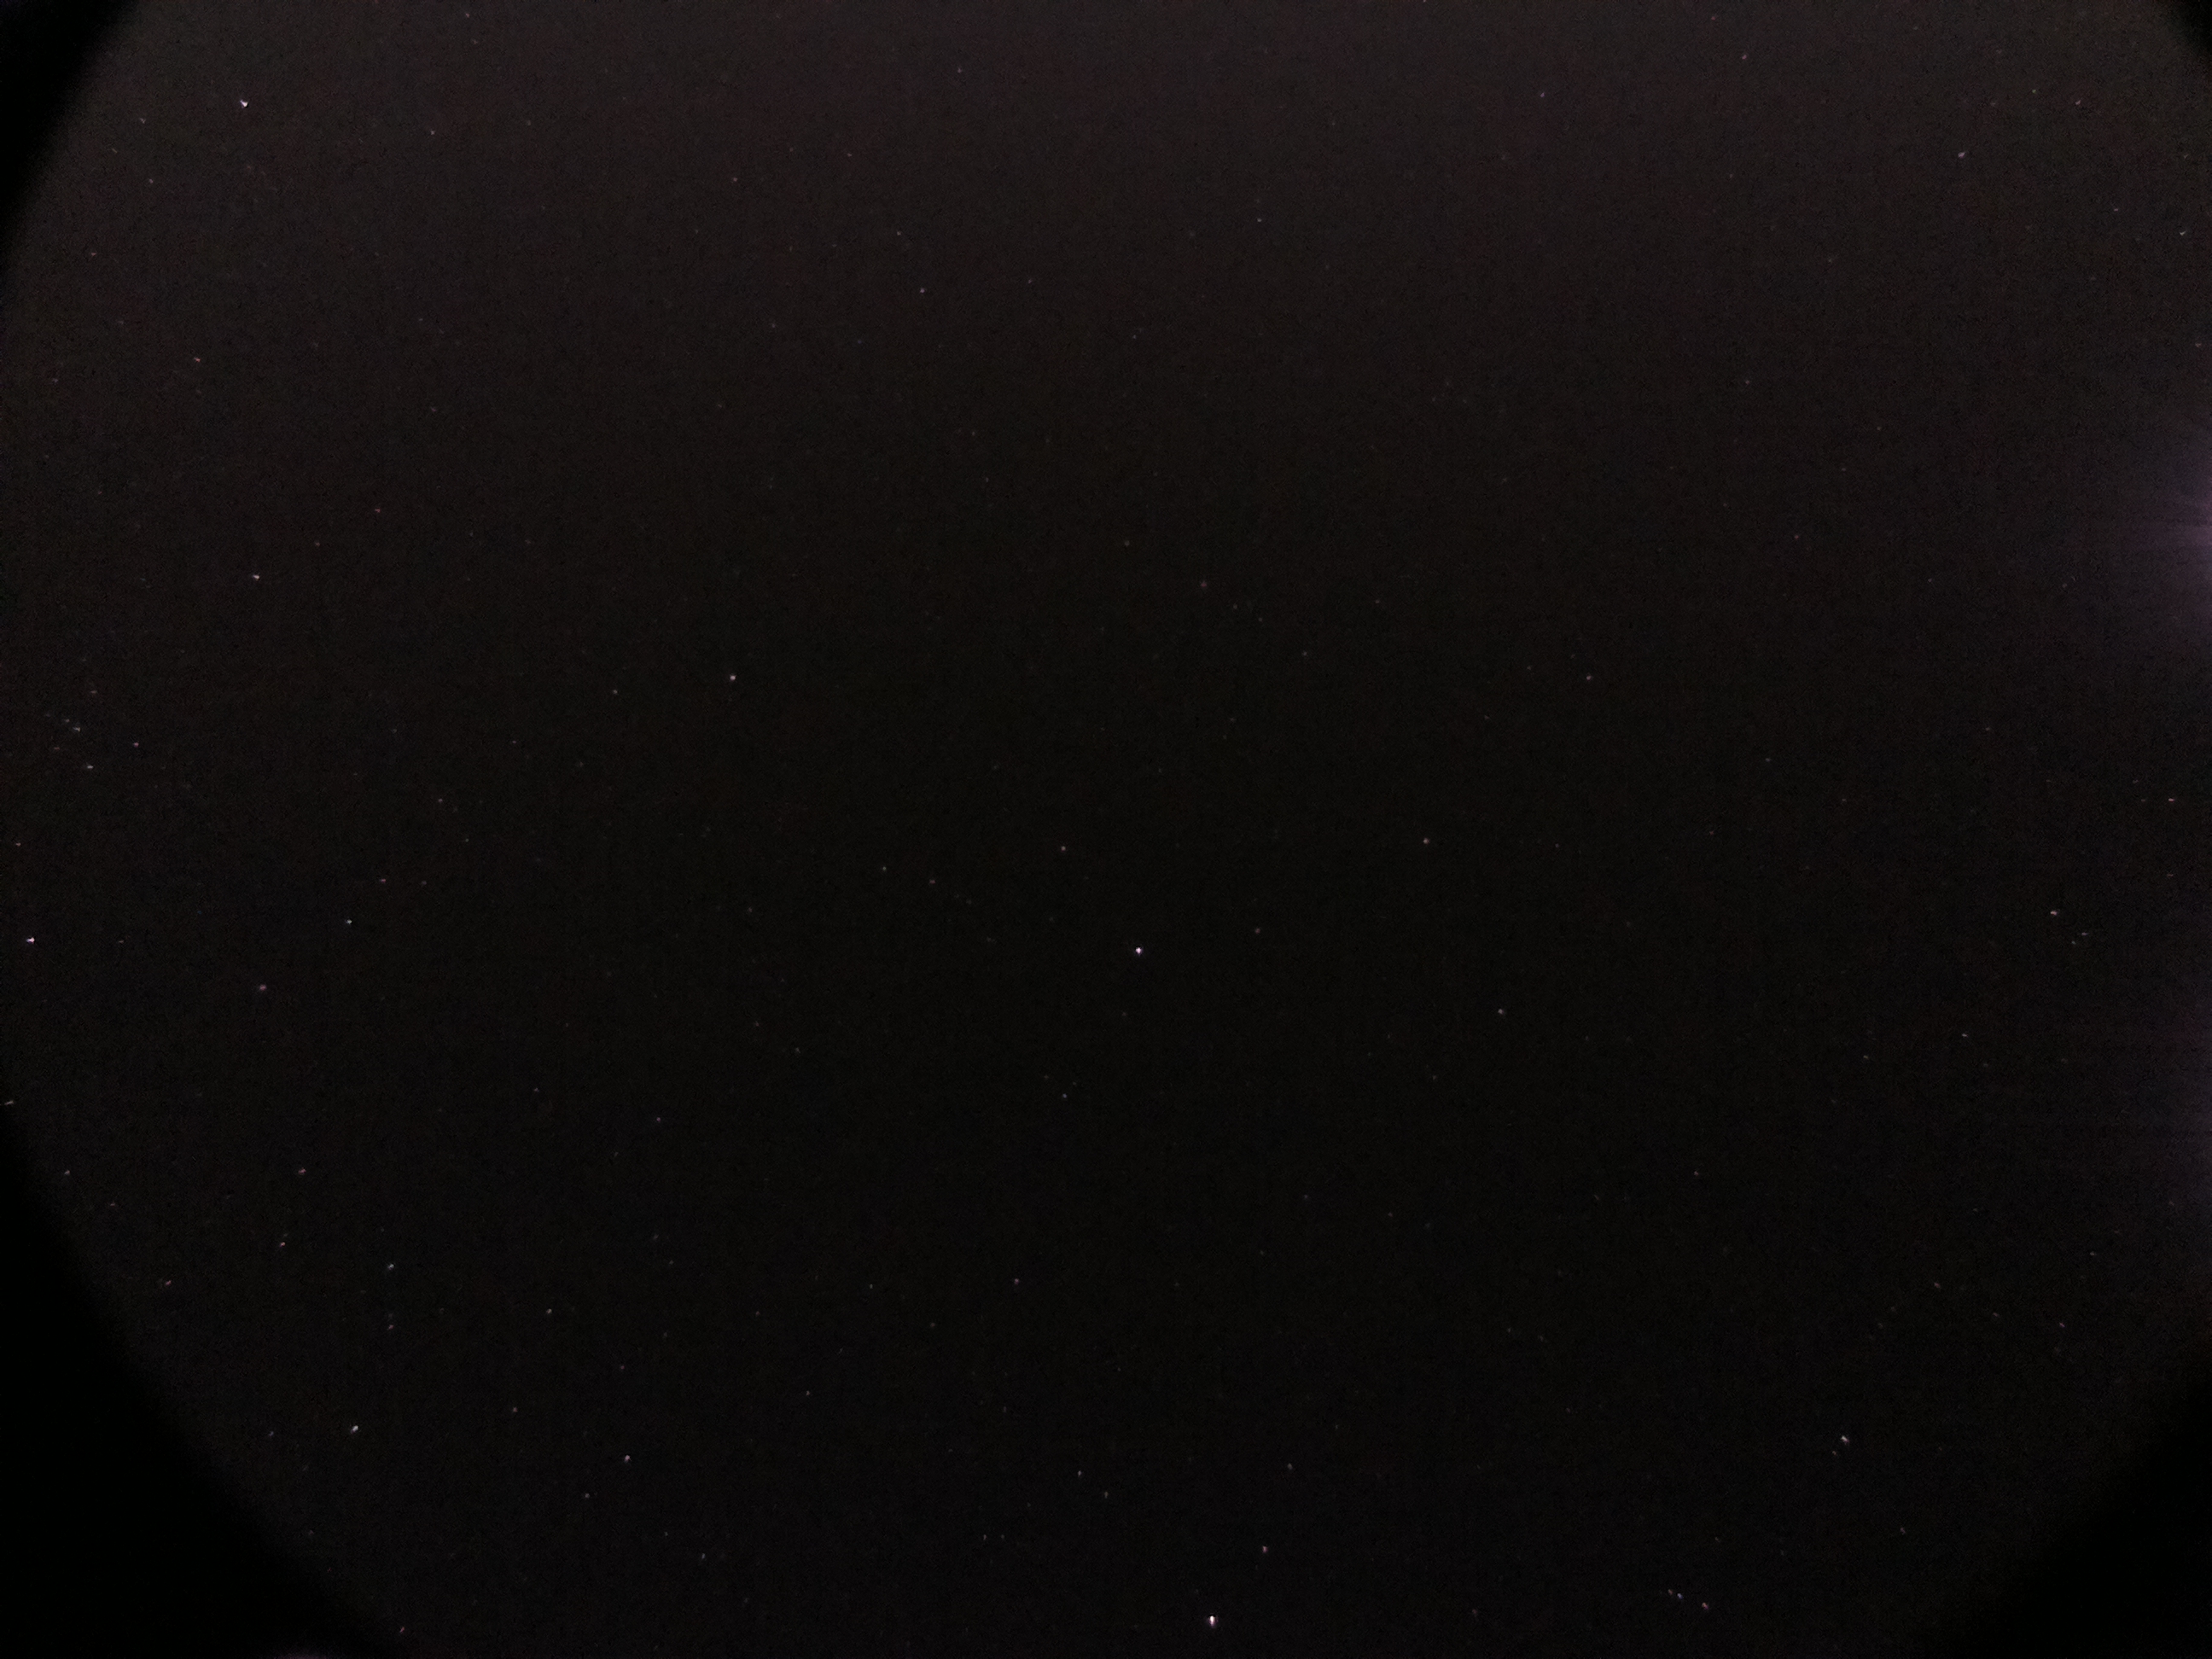
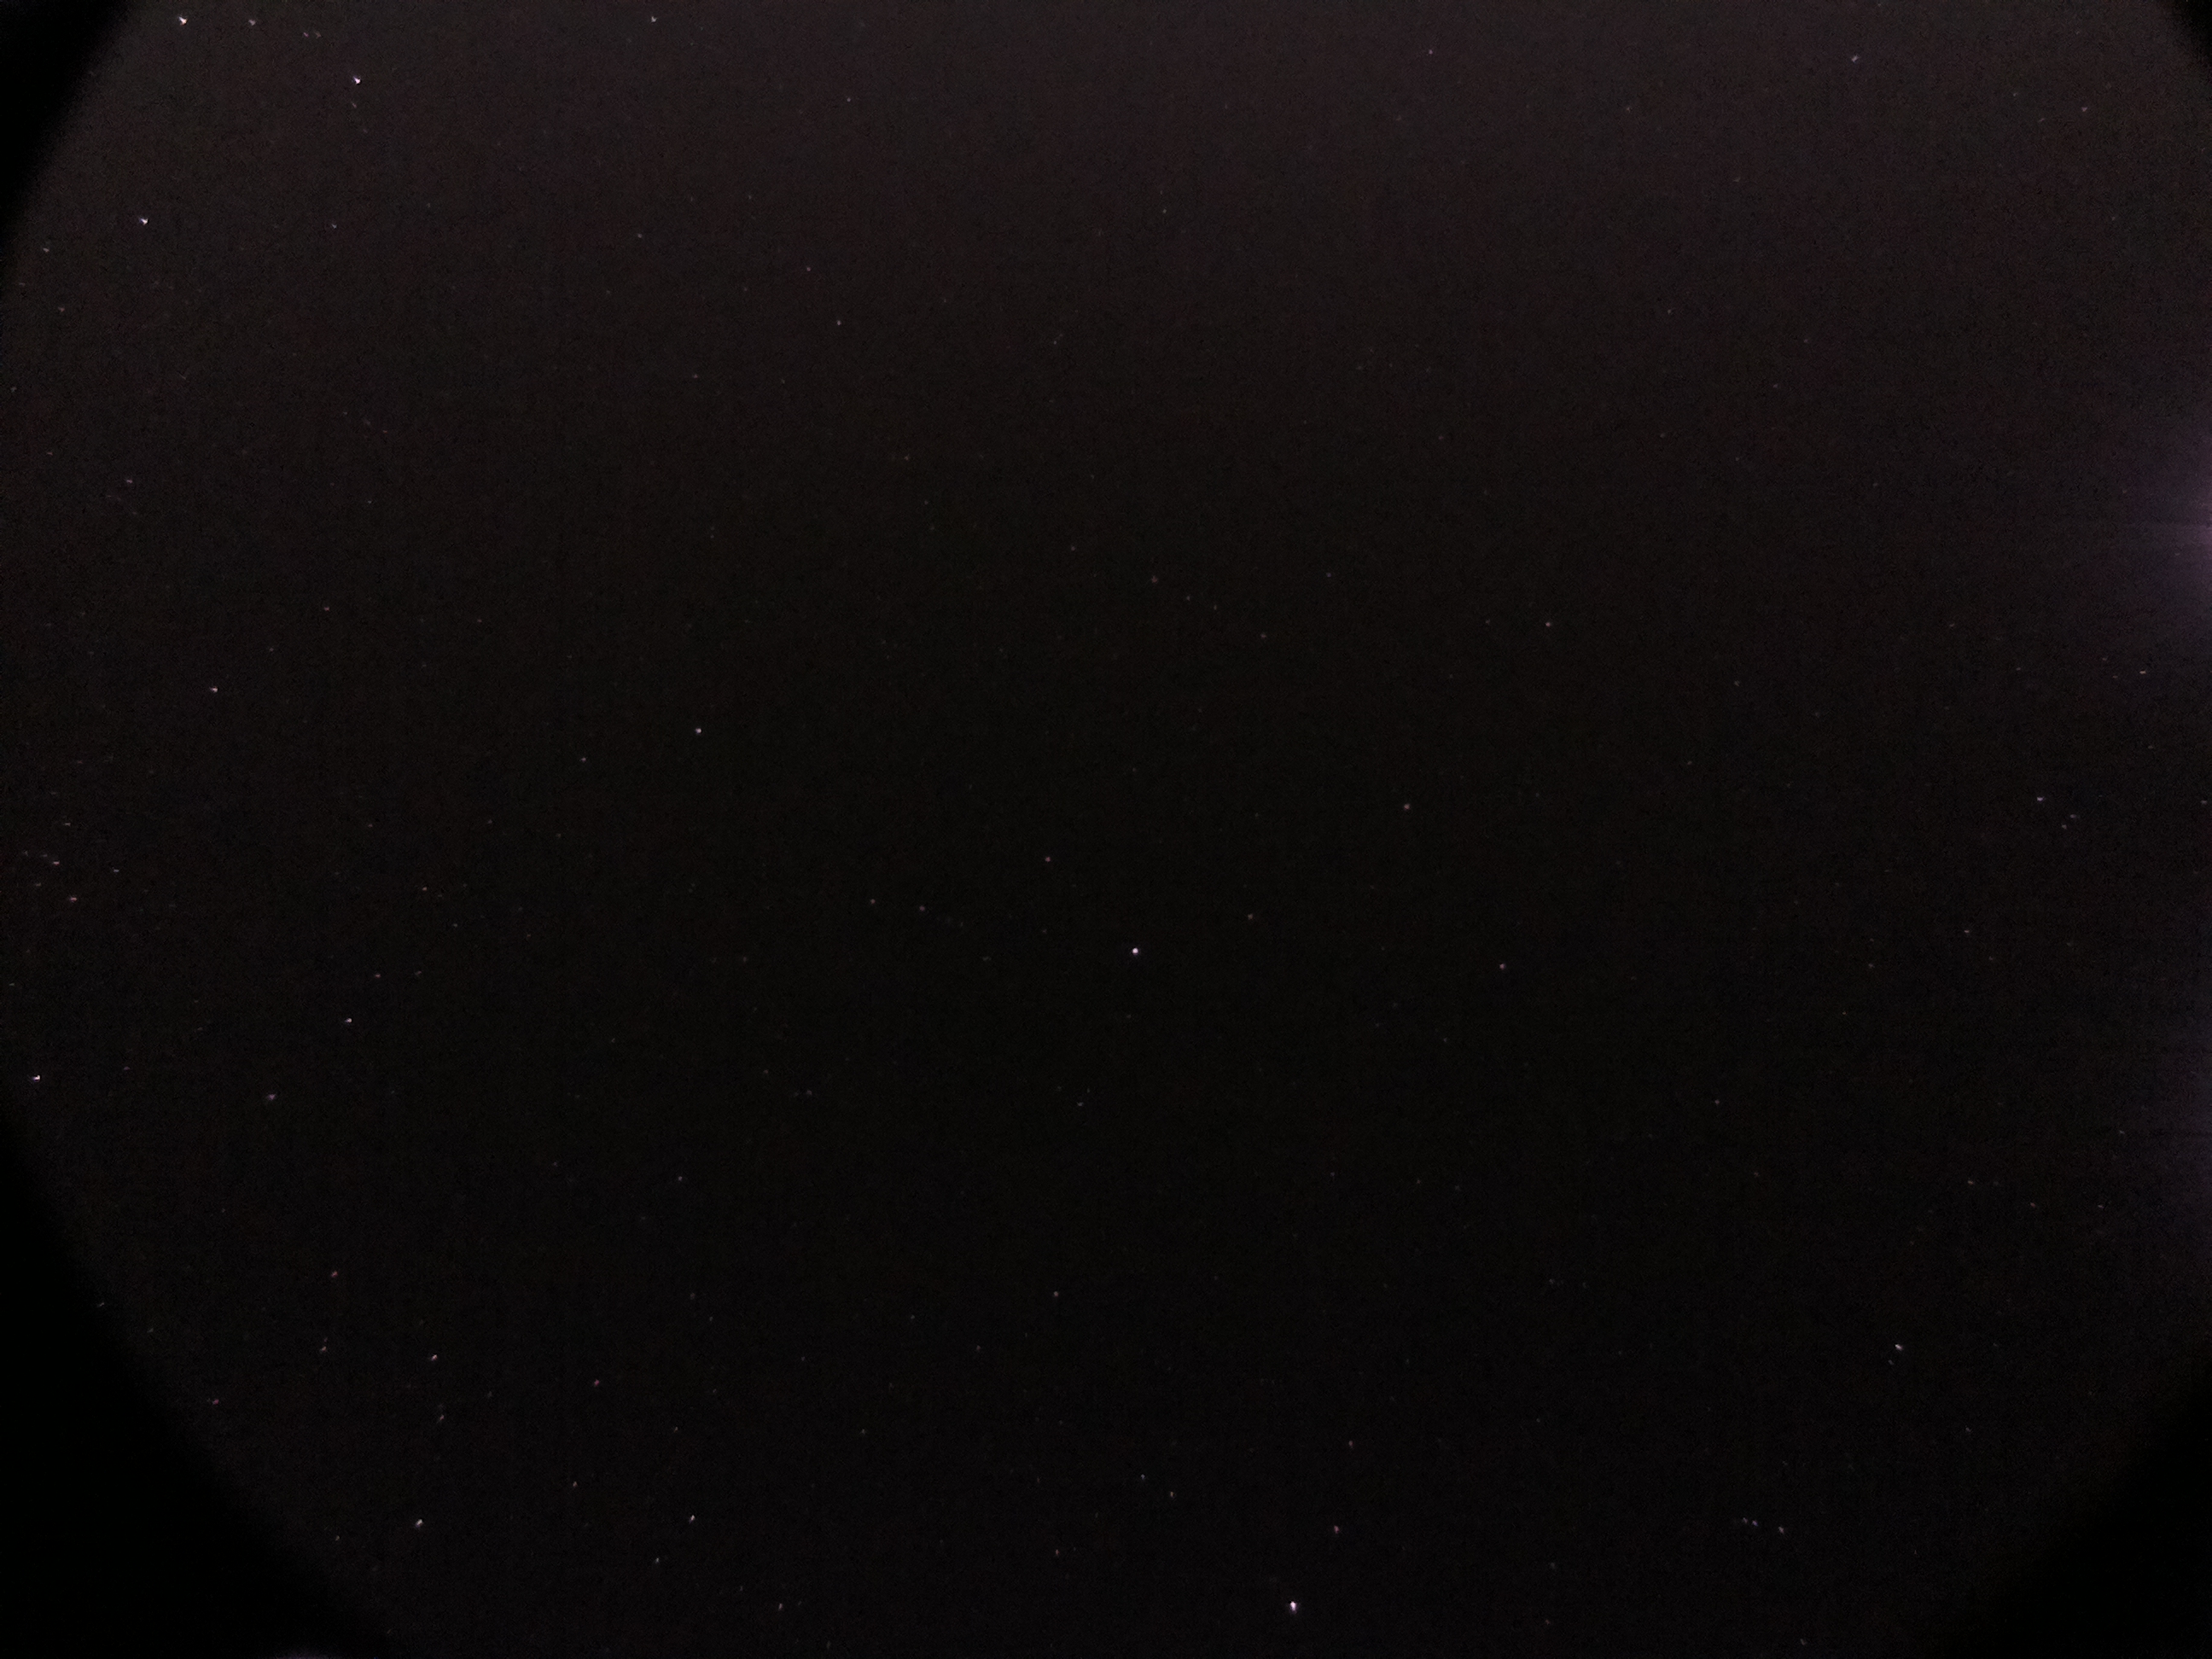
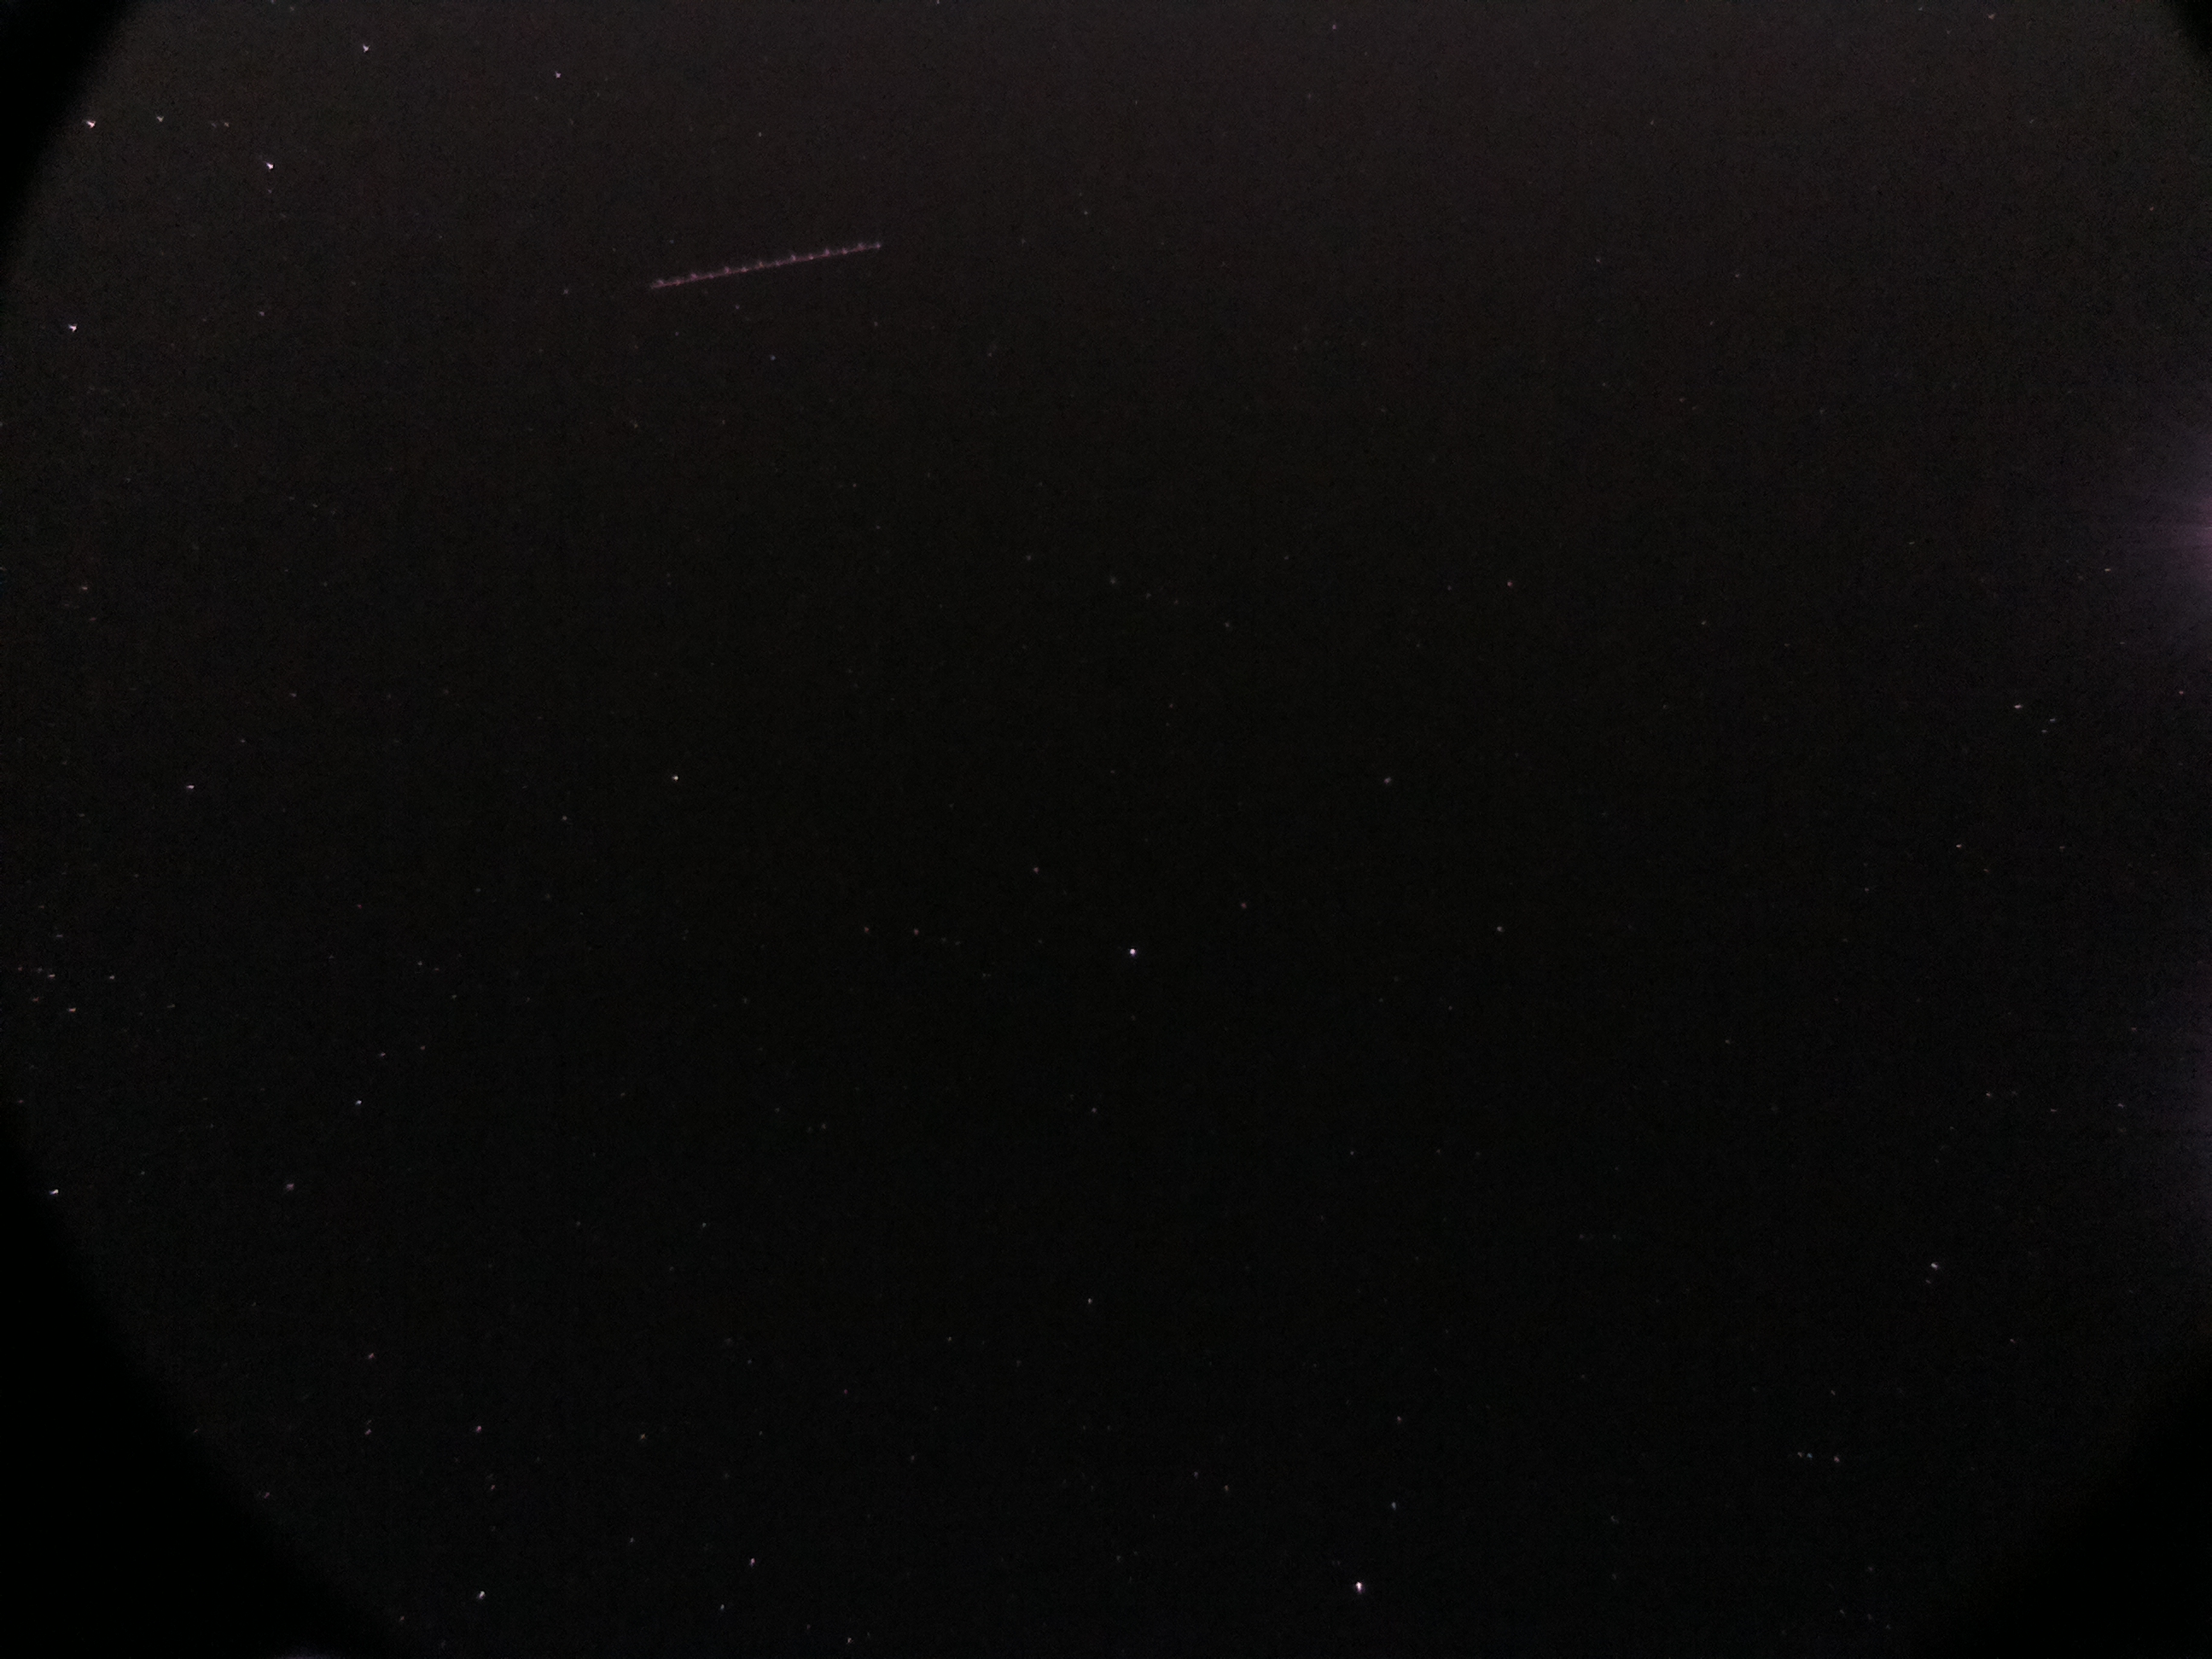
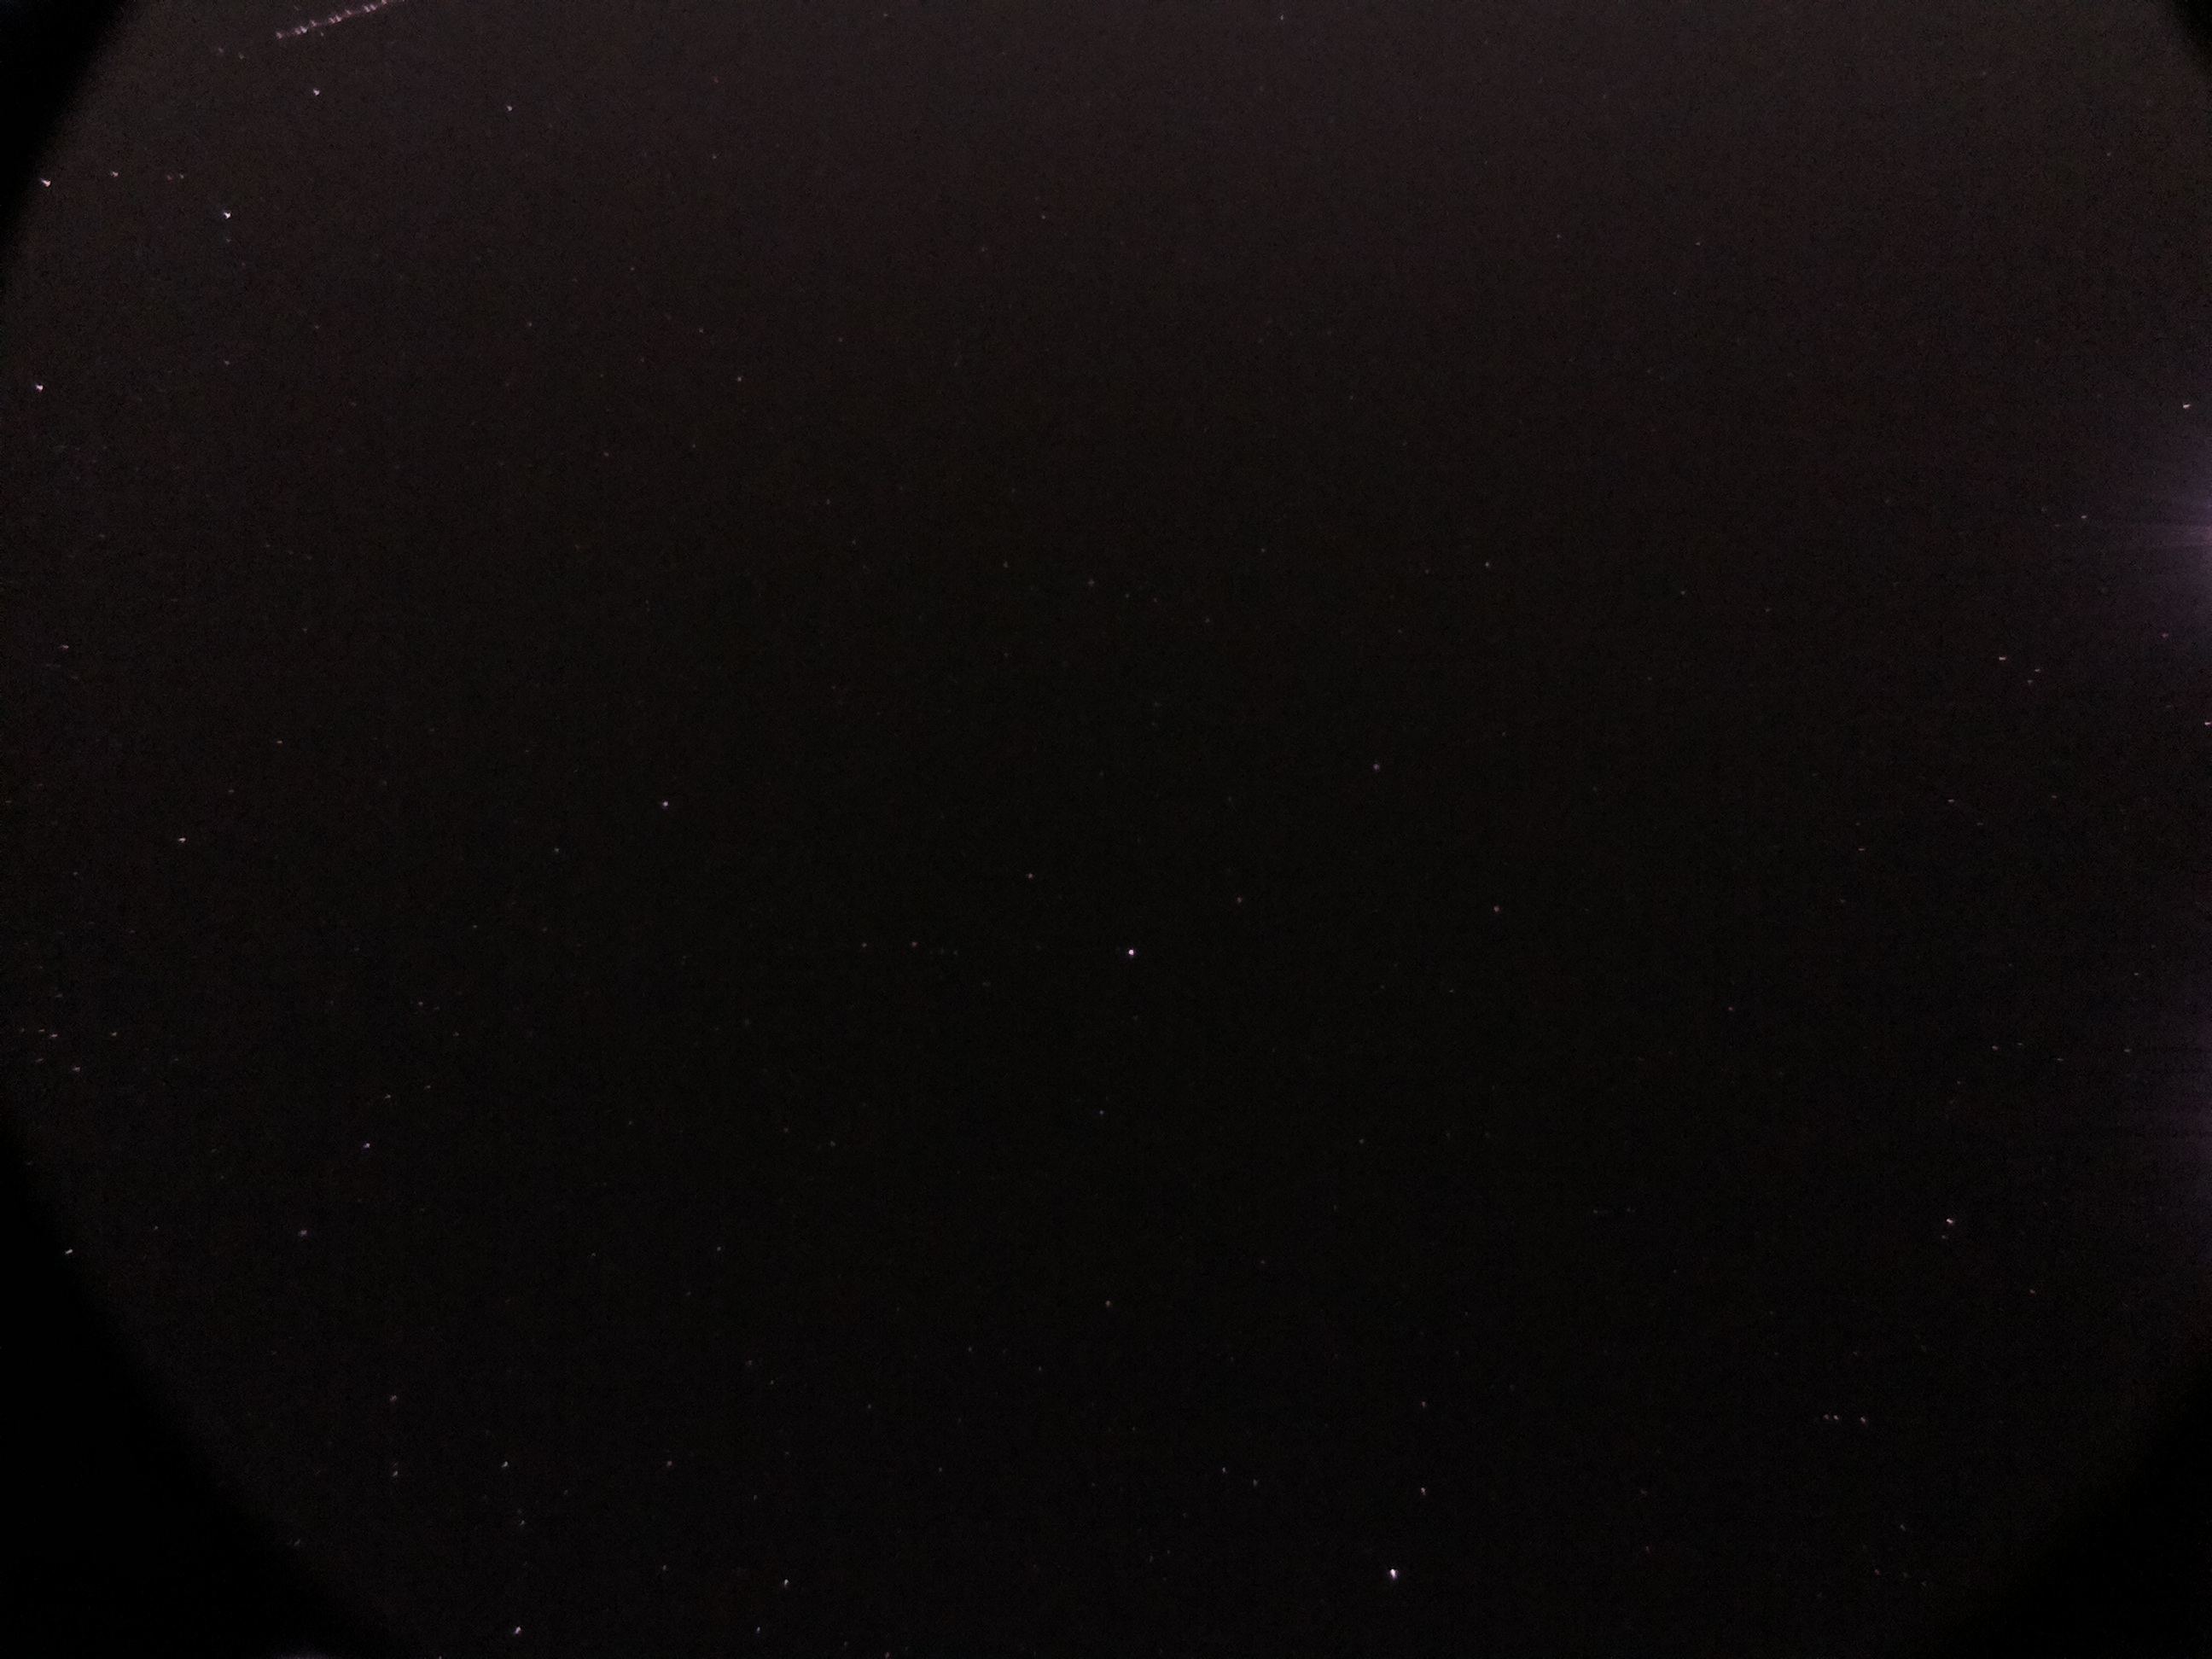
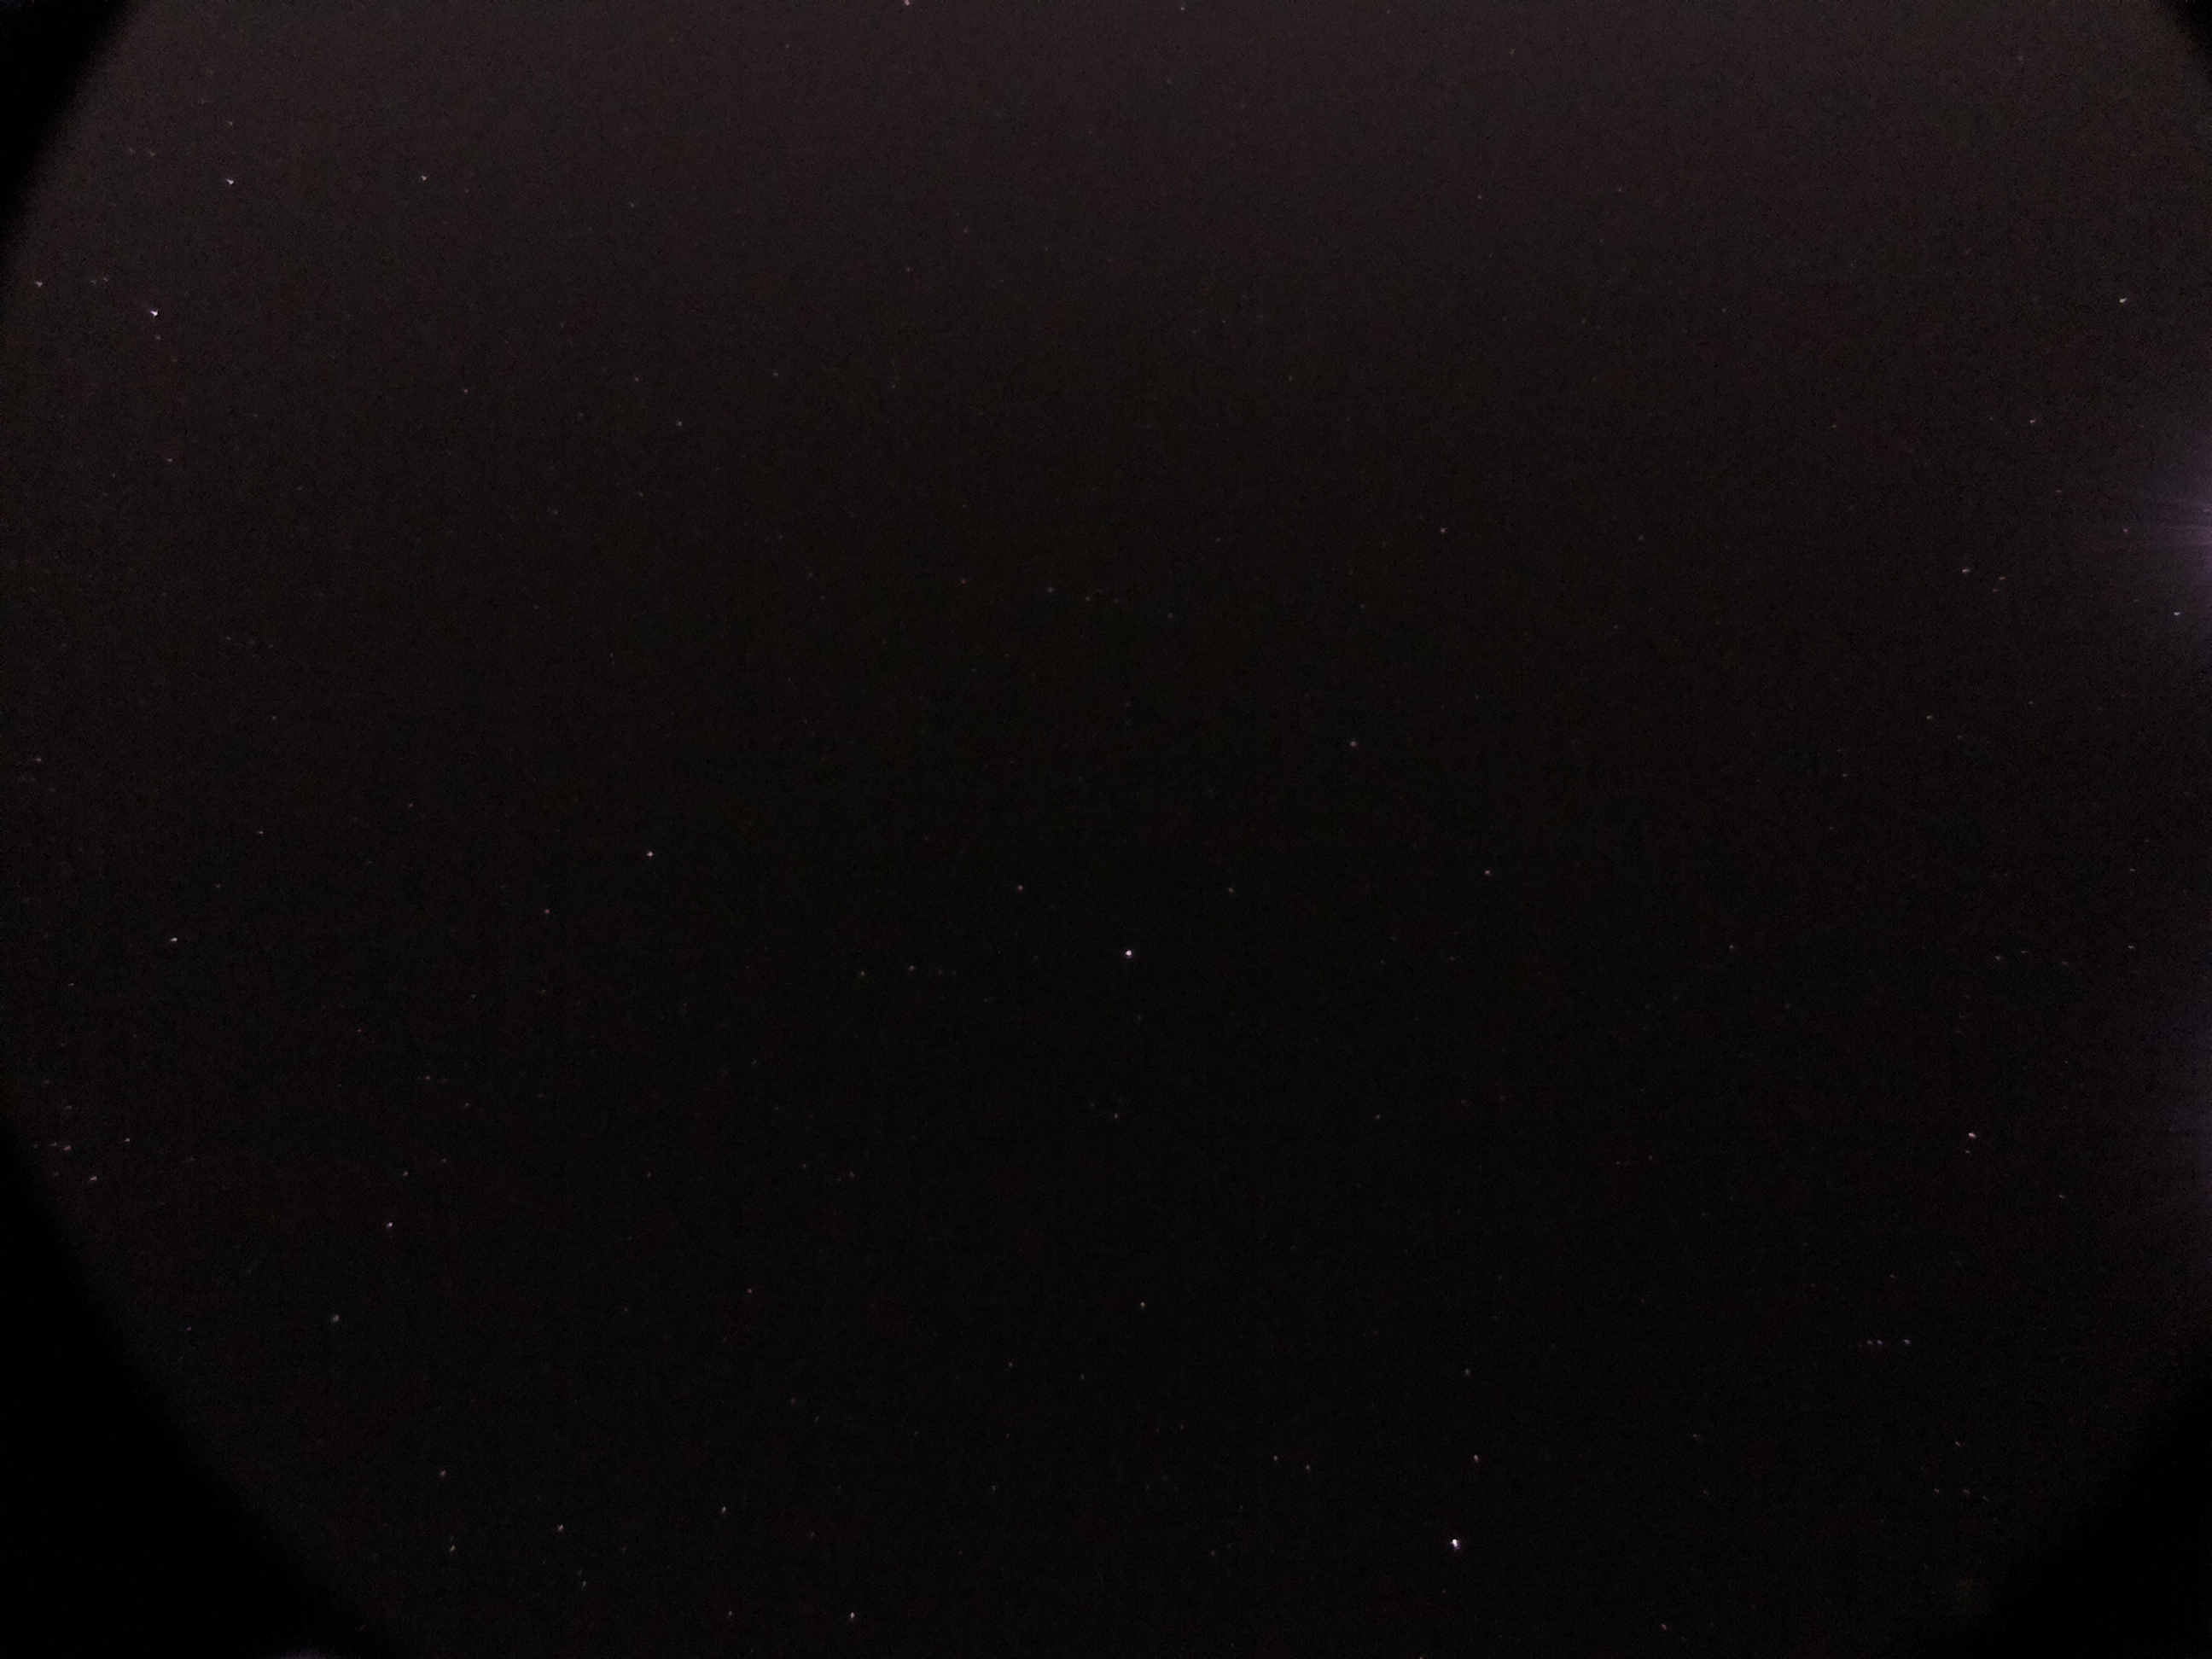
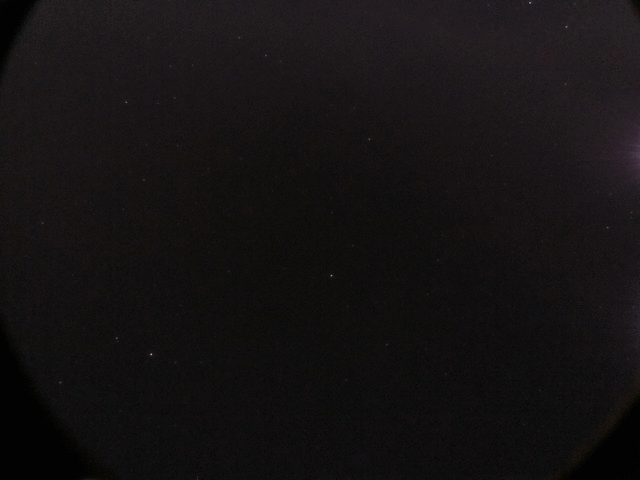
We set up the system to run overnight, taking a photo every 10 minutes, with a 6 sec exposure. Out of all the images we removed ones that were at dawn/dusk, had airplanes and the ones that had a lot of light pollution in them.
Here are the remaining sample images. This is without any active cooling, just the camera at ambient temperatures. One thing i noticed is the vignetting, turns out the lens angle is broader than I expected, resulting in a bit being covered by the case itself. I also got some streaks across some photos, which I suspect was a satellite.
Conclusion
Overall, a decent first start, the noise at high ISO levels is not as bad as I expected. I however did find out one irritation. It seems the raspberry pi camera has a maximum shutter length of 10 seconds. No matter how much beyond 10 seconds you set the exposure time, it only captures for 10 seconds. If this turns out to be a limitation of the hardware, then the pi camera, for all its strengths, will not be adaquate for long-exposure astrophotography,
 |
 |
 |
 |
 |
 |
 |
 |
 |
 |
 |
 |
 |
 |
 |
 |
Also, I merged the above photos into an animated gif for your pleasure. You can see the rotation of the sky as time progresses, which I thought was a nice effect.
Mark I - 2017
This is the rasbperry pi and camera attachment. The camera is a CMOS based OmniVision OV5647 sensor, with 5 megapixels (2592 x 1944px) with a fixed focus lens, and a sensor size of 3.76 × 2.74mm.
It is a bit small, especially compared to DSLR sensors, so I don't expect the same level of quality and noise. However it is cheap, which means I can investigate things like active cooling to reduce the noise level of the small sensor, and removing the IR filter.
Unlike a DSLR, I feel more comfortable experimenting with this camera. To do similar things on a DSLR would involve ripping it apart, and there is no guarantee I could get it to work (nor could I really use my SLR for anything else afterwards). If I do break the pi camera while doing my experments, it is not the end of the world, it is cheap enough that I can just buy another.
The first job, is for me to get it working, and get the software functioning. The current setup is really quite simple, being a pi, in a case, with the camera attached by a bolt. as so:

It isn't the prettiest, but it works. The tape is to keep the ribbon from detaching from the pi, causing occasional errors (i.e. camera dropping off the bus). It is a good prototype to get the logic working, and to see what kind of photos I can get out of it.
Pre-2017 Archive
My original article on astrophtography (then called "webcam astrophotography") was to do with webcams, and I actually bought a few to check them out. This information is left archived here in case someone needs it, or just for general info/historic interest. I removed a lot of the article, only providing the final result of my investigation. Reading through it now (in 2020), it is really impressive how much better things are since the raspberry pi came out.
So which webcam is good for astrophotography?
Amazingly enough, this is a much harder question than it should be. One thing I found out is how much manufacturers lie about their cameras. For example, I bought a "HD webcam" that supposadly can do 1080p. Turns out it is 640x480 RAW, and just enlarges the image it sends to you to 1080p. Completely useless! It seems that almost all webcams can't actually do the resolutions they say they can. Some of them hint at this, when they say for example " 5 megapixel (effective resolution)". That is usually weasel words for "We enlarge it to this size in software, even if it all looks like a bunch of lego blocks". So completely ignore this, we need to find another way of judging.
Things I intend to look for in a camera:
- CCD sensor (not CMOS). Provides better imaging performance (sensitivity), but pricier.
- CCD came first, so used to be everywhere, but CMOS is cheaper, and as such is replacing CCD in everything but the most expensive cameras.
- CMOS sensors have a random noise pattern, which makes it harder to remove. CCD's have a static noise pattern which is easily removed with a dark-frame subtraction. This trick can't be used for CMOS. Note that static noise is different to the "random" noise you see due to thermal effects at high ISO. The wiki article explains things a bit more
- CCD has a better response to light, and can do higher resolutions and higher ISO settings (as they don't build up heat like CMOS, noise is less of an issue)
- CCD Sensors use what is known as a global shutter, rather a r
olling shutter (probably due to the complexity of CMOS limitng its performance
- Monochrome Camera. Monocrome cameras have no need for a bayer filter, so nothing to remove. In this case we would make use of filters if we want particular wavelengths of light
- RAW Format support (so no messing with the stream before it gets to us)
- Cheap and readily available
- Linux support (I use Linux exclusively)
The above is ideal, and I doubt I will find a camera that matches all the above. In reality some cameras will match some features, others won't. This is what I've found so far:
| Camera Model |
Info Link | Price (qty1) | Features | Max Resolution (HxV) |
Notes |
|
Videologyinc 20K13XUSB USB Monochome CCD Camera |
OEM | £100.00 |
|
752 x 582 |
The best option so far, despite having the lowest resolution. Unfortunately not "Cheap and readily available". Oh, and I've not found a reseller which actually sells these bare, but I |
|
Logitech C600 2MP HD Webcam |
Logitech Website | £40.00 |
|
1600×1200 |
How nice of Logitech, as well as usual "8 megapixel" resolution marketing fluff, they also CMOS sensor, and Bayer matrix, so not perfect, but far more available than the Videologyinc and cheaper too for a higher native resolution |
| Logitech C270 HD Webcam | Logitech Website | £18.00 |
|
1280x720 | Cheap version of above, lower resolution, but otherwise the same. |
It seems that Logitech are the only consumer level camera maker that actually allow you to stream out the RAW Data (aka Bayer data). This means that rather than dealing with the interpolation, you get each pixel as it is, representing the bayer pattern. Not as good as pure monochrome, but better than the rest.
While they come with a IR filter, there is a lot of information online on how to remove it, so Logitech are probably the "least worst" option that is currently available. I'll give them a try.


